The Dark Pictures Anthology: Man of Medan Distress Signal Guide
After the group chat during Open Deck, Alex will mention using the radio to call for help. This sounds like a good idea. Learn everything you need to get the good ending in our Distress Signal guide.
Chapter Notes:
- There are seven collectibles in this chapter:
- Secret #50: Anti-Aircraft Shell Casing.
- Secret #3: Gas Mask Instructions.
- Secret #42: Ship’s Logbook.
- Black Framed Picture #6: Loose Cannon.
- Secret #6: Nautical Chart.
- Secret #10: Navigator’s Notebook.
- Secret #29: Radio Operator’s Final Message.
- Choices made in this chapter do impact the outcome of the game.
- This guide is for the best ending where everyone survives.
- This article is part of a bigger everyone survives guide.
Distress Signal – Alex
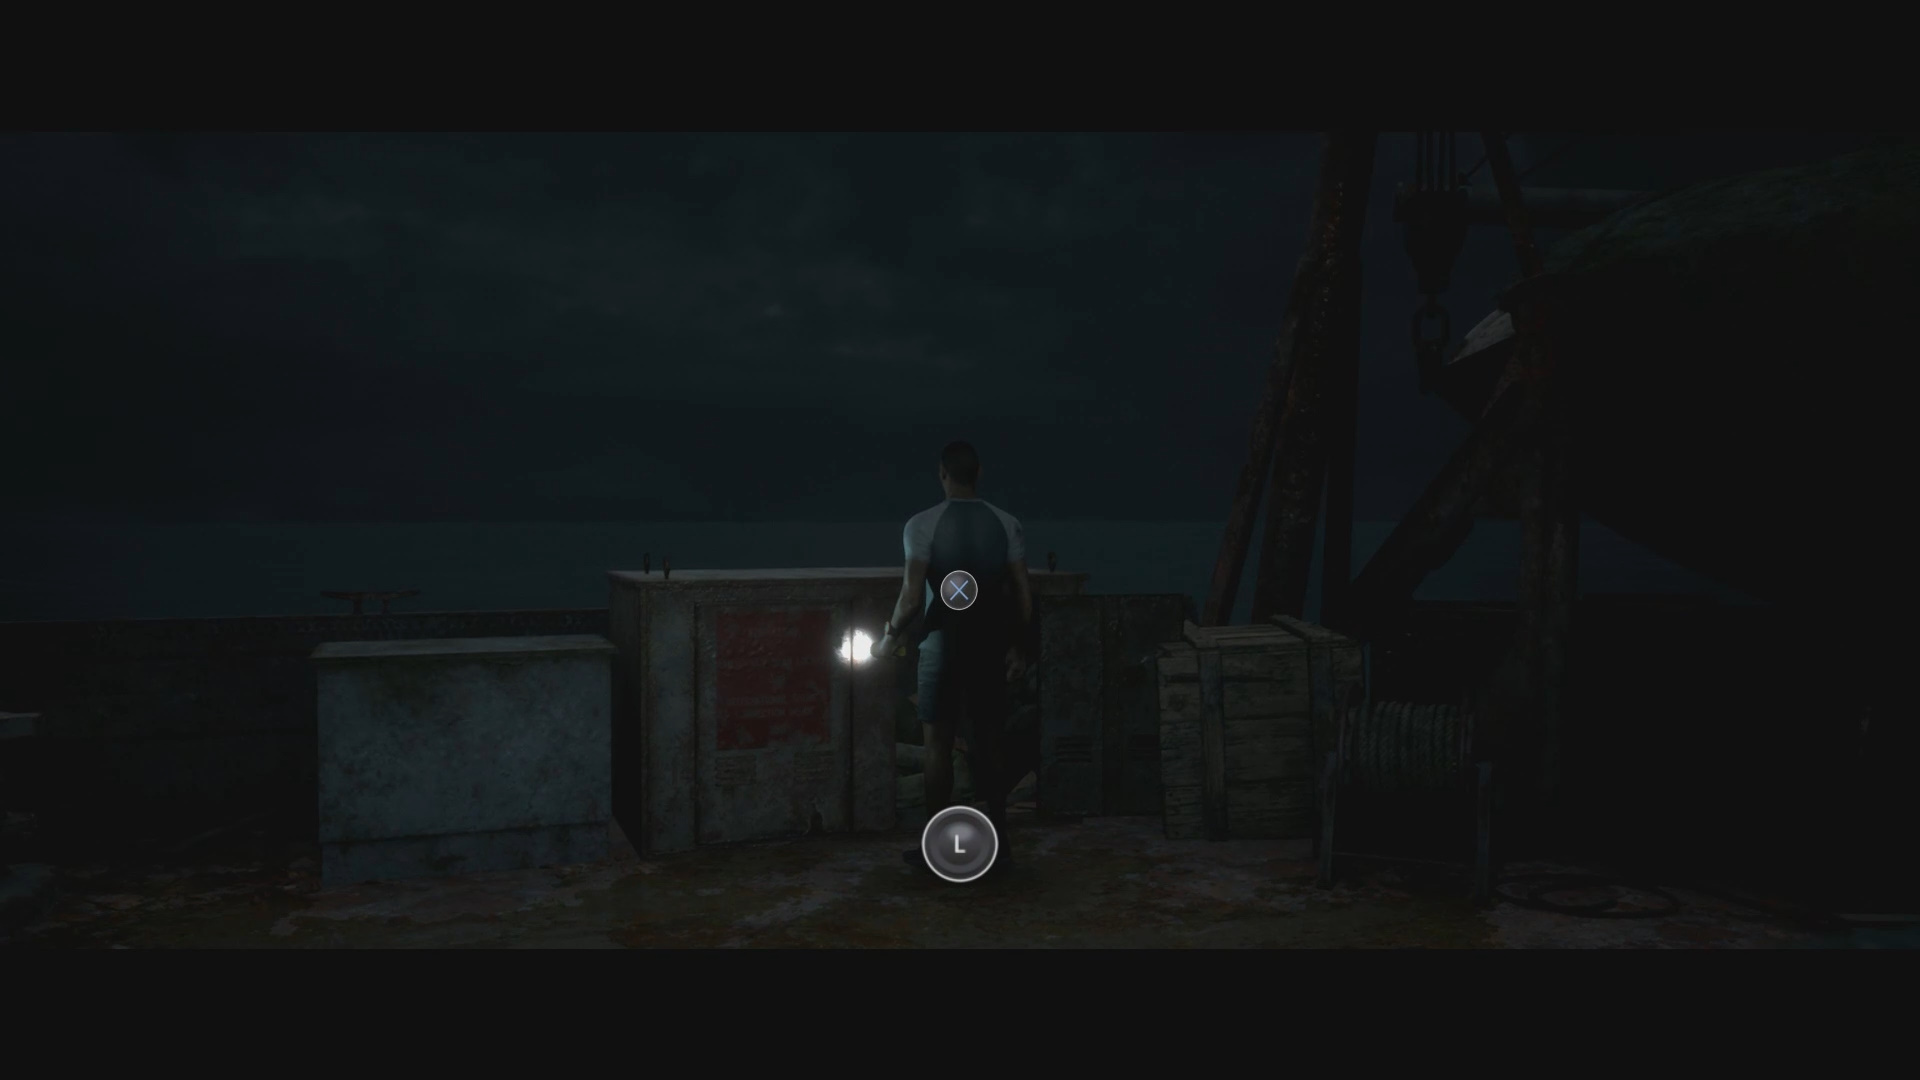
At the start of the Distress Signal chapter you will take control of Alex. Walk out to the weather deck of the ship. Outside there are a couple of collectibles to grab.
Collectibles: Secret #50: Anti-Aircraft Shell Casing
As you follow behind Fliss you will see a crate to your left. On this crate there is a Anti-Aircraft Shell Casing.
Continue from this collectible and follow Fliss. She will take a right to the other side of the weather deck. Follow her to reach another collectible.
Collectible: Secret #3: Gas Mask Instructions
From Fliss hang a right and walk down the weather deck. You will see a cabinet you can interact with. Open the cabinet to get the Gas Mask Instructions.
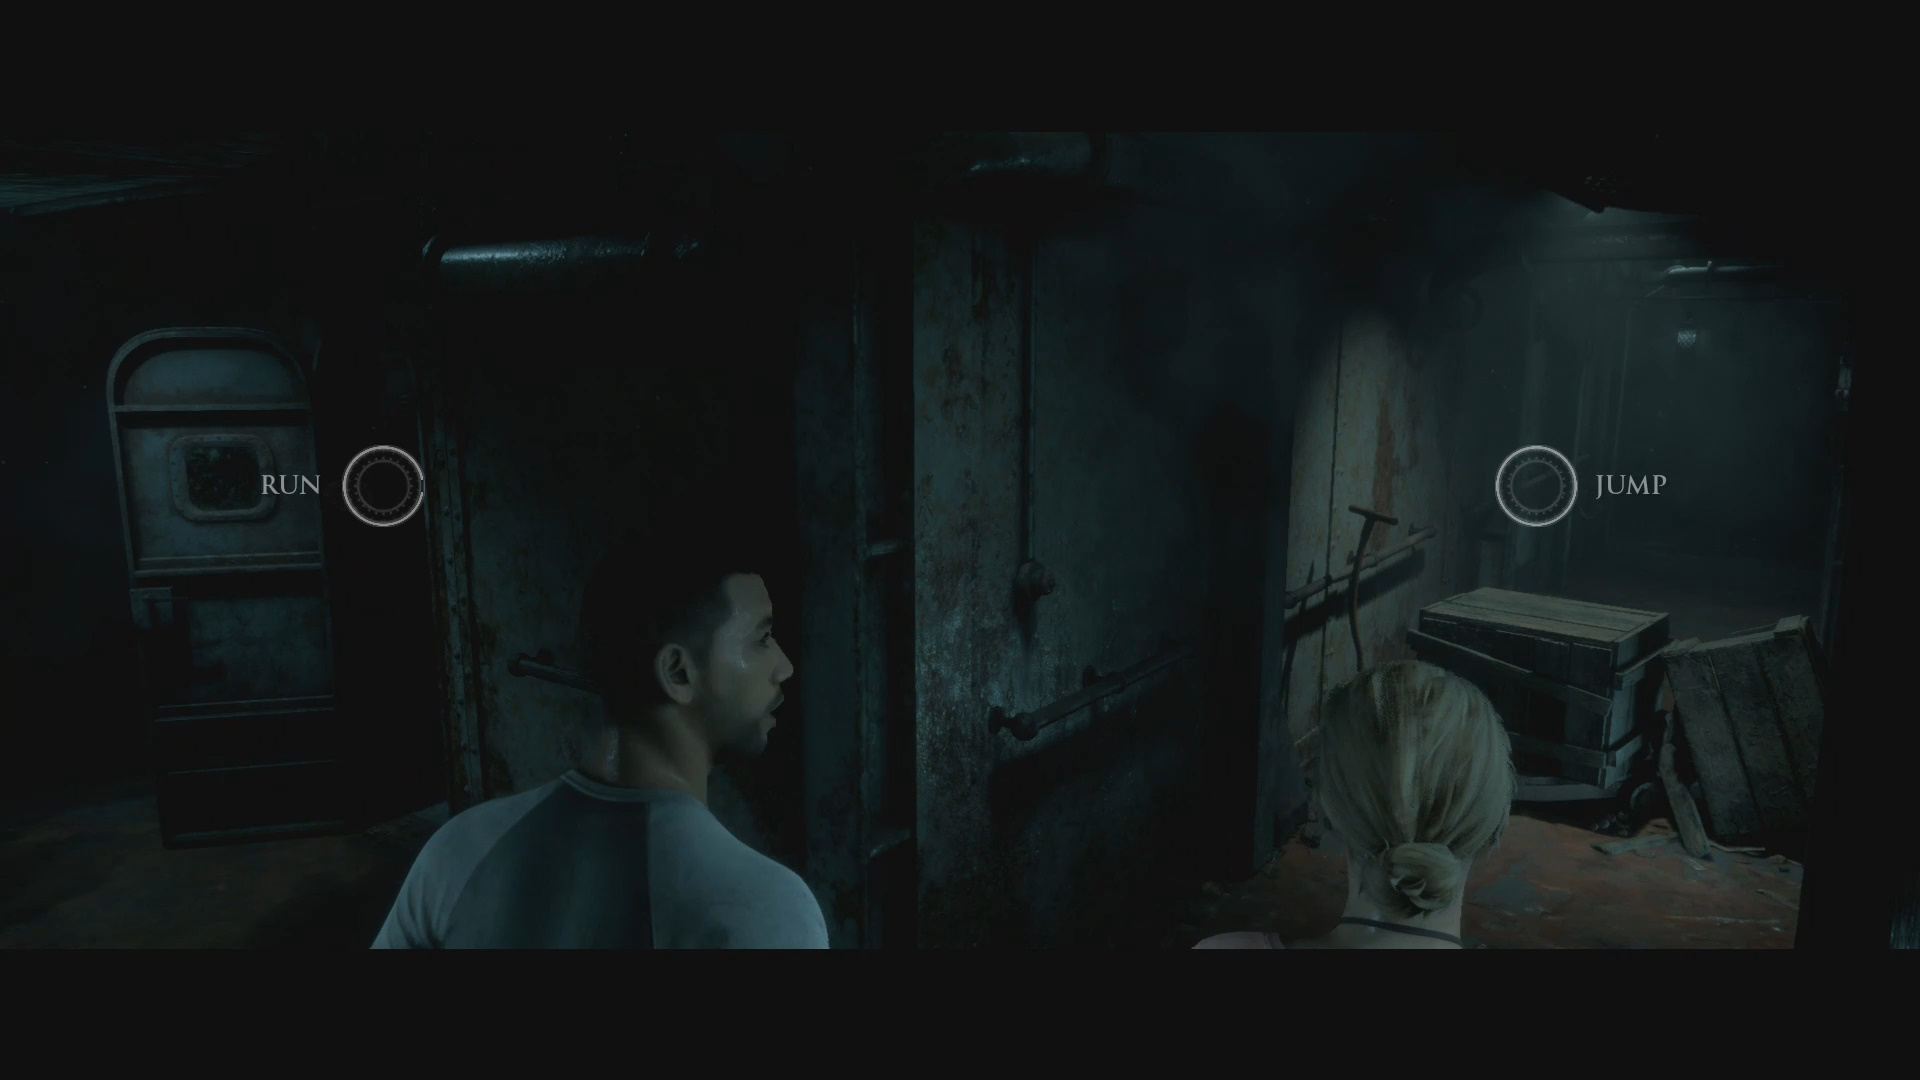
Once you’ve grabbed both of the collectibles highlighted above, make your way over to the climbable ledge where Brad is standing. Climb up the ledge to reach the control area of the ship. Make your way up the stairs and and walk around to the closed door. Open the door by completing the QTE – Square.
Control Room Collectibles
Inside the control room there are five collectibles for you to find. These collectibles are fairly straightforward so I will simply list them below.
- Secret #42: Ship’s Logbook – On Desk along right wall in Control Room.
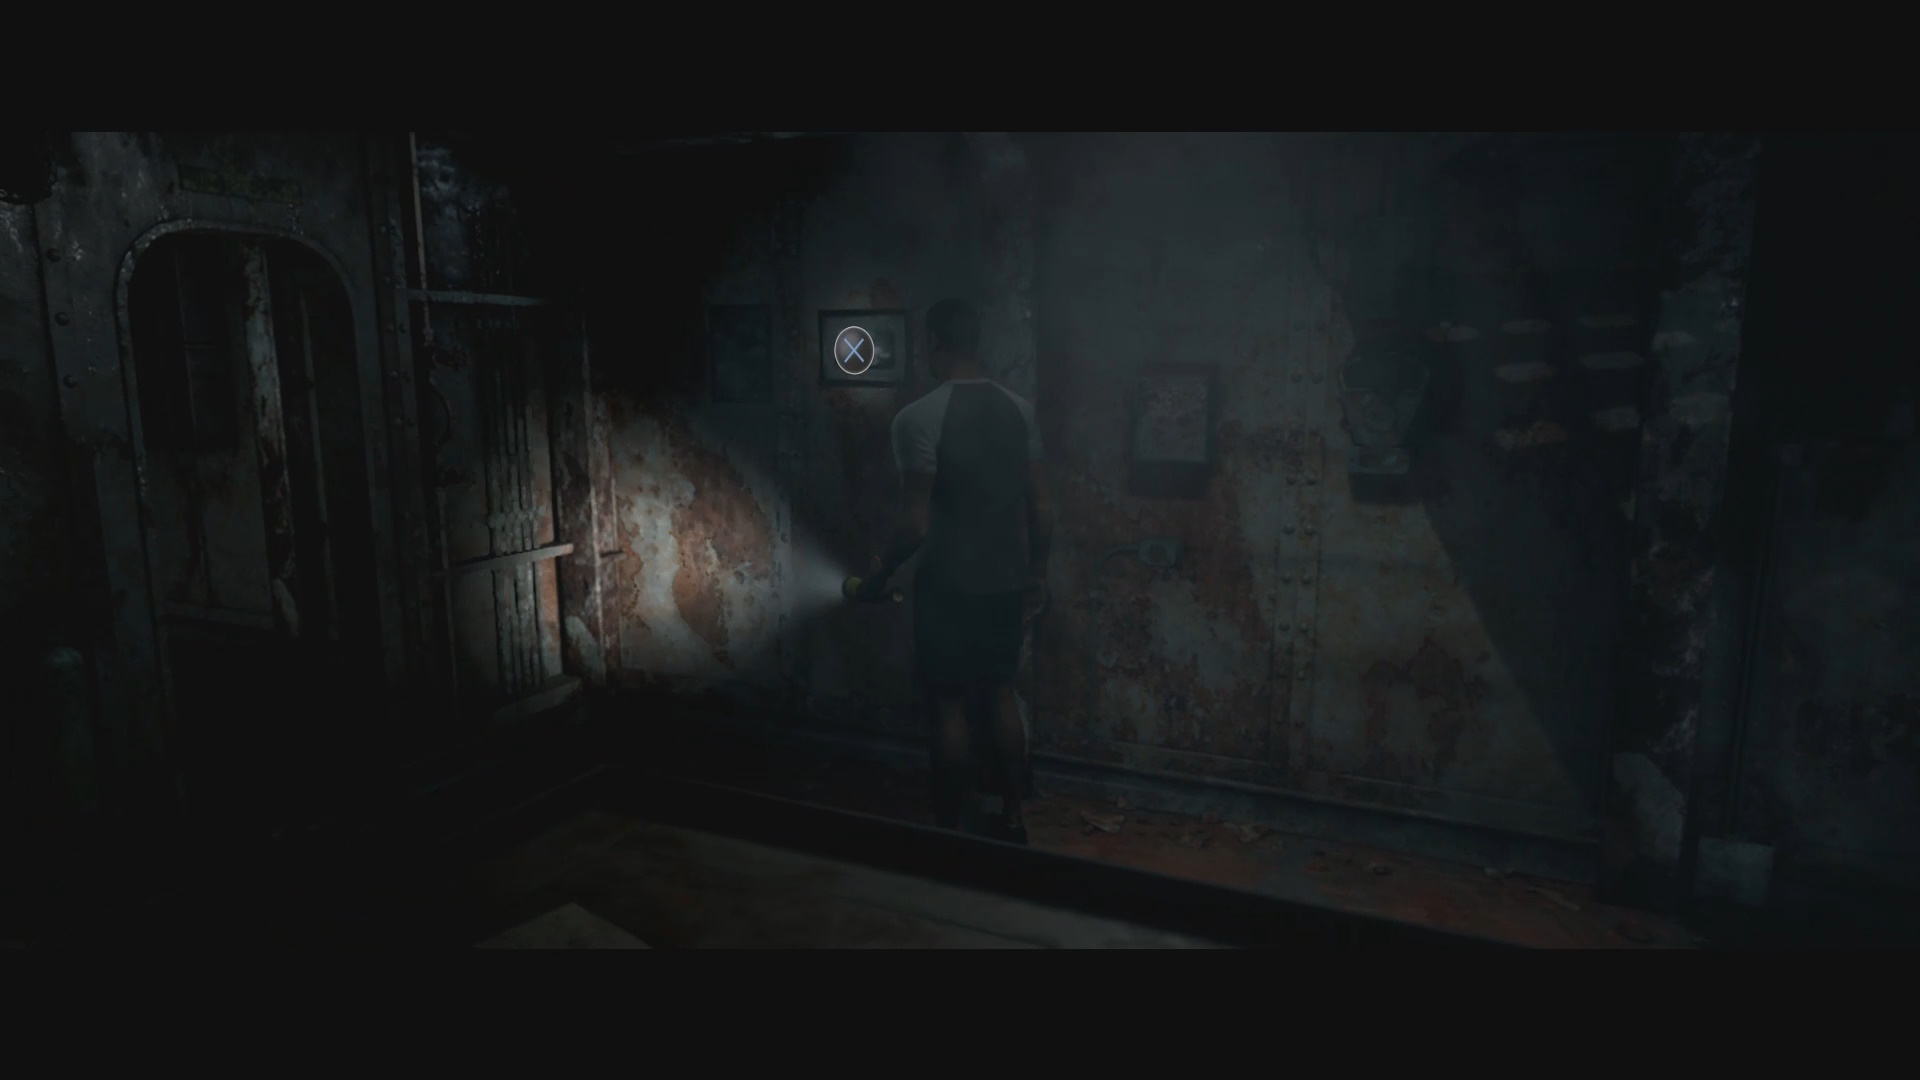
- Black Framed Picture #6: Loose Cannon – On left wall of Control Room.
- Secret #6: Nautical Chart – Head into the room behind the Control Room to find this map on the wall in the center.
- Secret #10: Navigator’s Notebook – On desk just outside the entrance to the Radio Room.
- Secret #29: Radio Operator’s Final Message – Inside Radio Room. Grab before using radio.
Once you’ve collected all the items above it’s time to think about radioing the military.
Radioing the Military

Note: If you wish to do a kill everyone/save everyone in a single playthrough, make a save backup now.
After you’ve collected all of the items above head to the radio and use it. You have two options here:
- Emergency call the military station and tell them your coordinates. This leads to the group being killed or imprisoned.
- Emergency call the military station and SAY NOTHING.
Since we want everyone to survive, let’s SAY NOTHING. This causes the radio to go dead. Brad will call you over to a hole in the floor. Respond to him by being ENCOURAGING “If you’re sure you’re up for it.”
Both Brad and Julia will enter the hole ending the chapter. The next chapter is called Depths.
This concludes our Distress Signal guide. Drop any comments you have into The Pit below.