Borderlands 3: Devil’s Razor Crew Challenges Guide
Once you’ve cleared the vault on Eden-6 you will return to Pandora. On Pandora you will head to a new zone called the Devil’s Razor. In the Devil’s Razor there are a total of nine Crew Challenges for players to complete. To help you complete all these challenges, check out our Devil’s Razor Crew Challenges guide.
Devil’s Razor Crew Challenges Locations Map
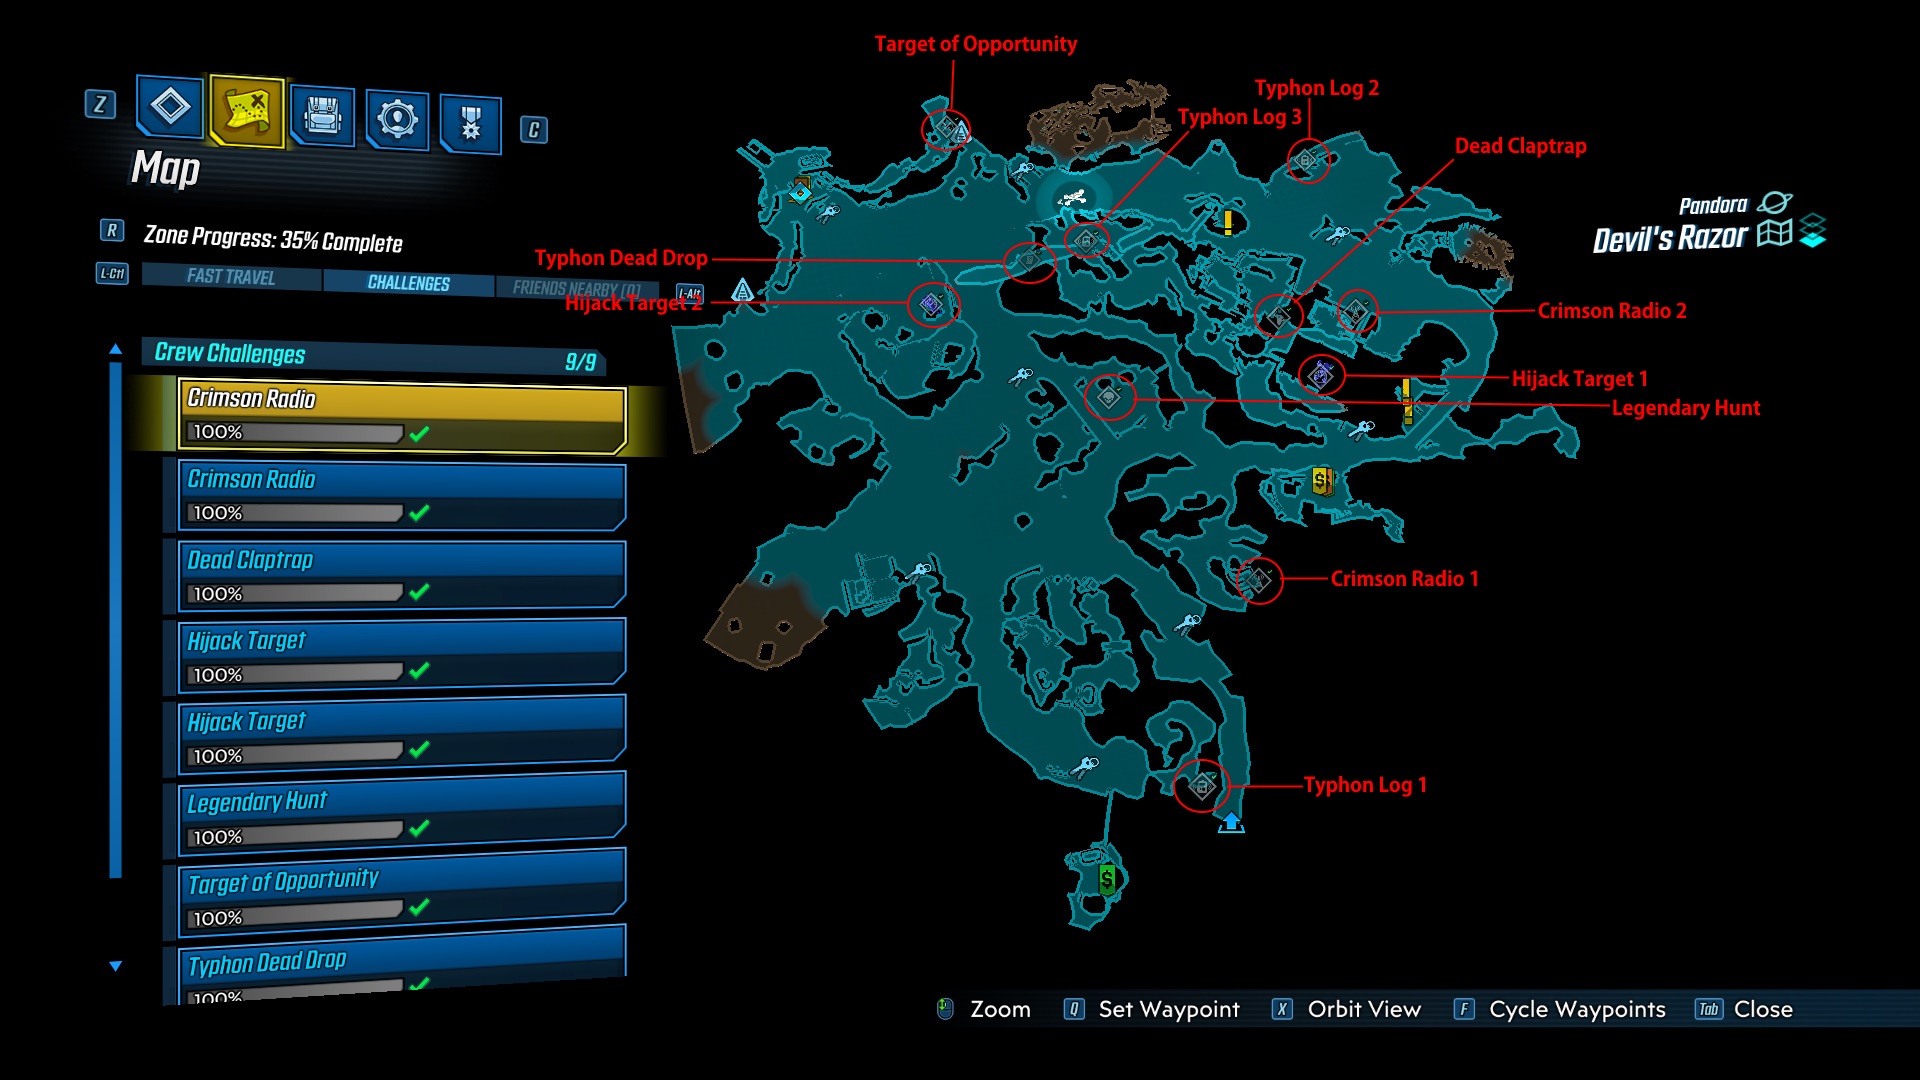
The Devil’s Razor is a large area featuring a number of challenges. To find the locations of each challenge, consult the map located above. On this map I’ve highlighted the locations of each challenge for you to complete.
Typhon Log #1: East of The Lonely Pillar

Head east from the bridge leading to The Lonely Pillar. Here you will find the Typhon Log on a cliffside facing The Lonely Pillar.
Crimson Radio #1: The Devil’s Razor

To the south of where you found the Legendary Hunt you will find this radio tower. It is located along the cliffside behind the shipping containers. You need to drop down to get it.
Legendary Hunt: The Devil’s Razor

You will find the Legendary Hunt in the middle of The Devil’s Razor in a flood control channel. Take out the Antelope Spiderant to complete this hunt.
Hijack Target #1: Dahl Refinery

South of the Dahl Refinery you will find this Hijack Target. Use the marked ledges below to climb the wall up to the Zippy Outrunner. Take the Zippy Outrunner to the nearest Catch-A-Ride to complete this challenge.
Crimson Radio #2: Dahl Refinery

In the area called the Dahl Refinery, you will find this radio tower. To reach this tower climb up the stairs nearby and drop down onto the platform with the computer on it.
Dead Claptrap: Sin-A-Plex

Inside the area called Sin-A-Plex you will find a Dead Claptrap. Make your way to the southwest corner of the area and go through the open shipping container next to the ventilation system. In this small room you will find the Dead Claptrap.
Typhon Log #2: Bollock’s Niche

In the area called Bollock’s Niche you will find a Typhon Log located on top the far west container raised.
Typhon Log #3: Phalanx Pass
Located on a ridge in the Phalanx Pass area to the west of the Dahl Refinery you will find this log next to the T-Spot shack.
Typhon Dead Drop: ECHOnet Hub 37
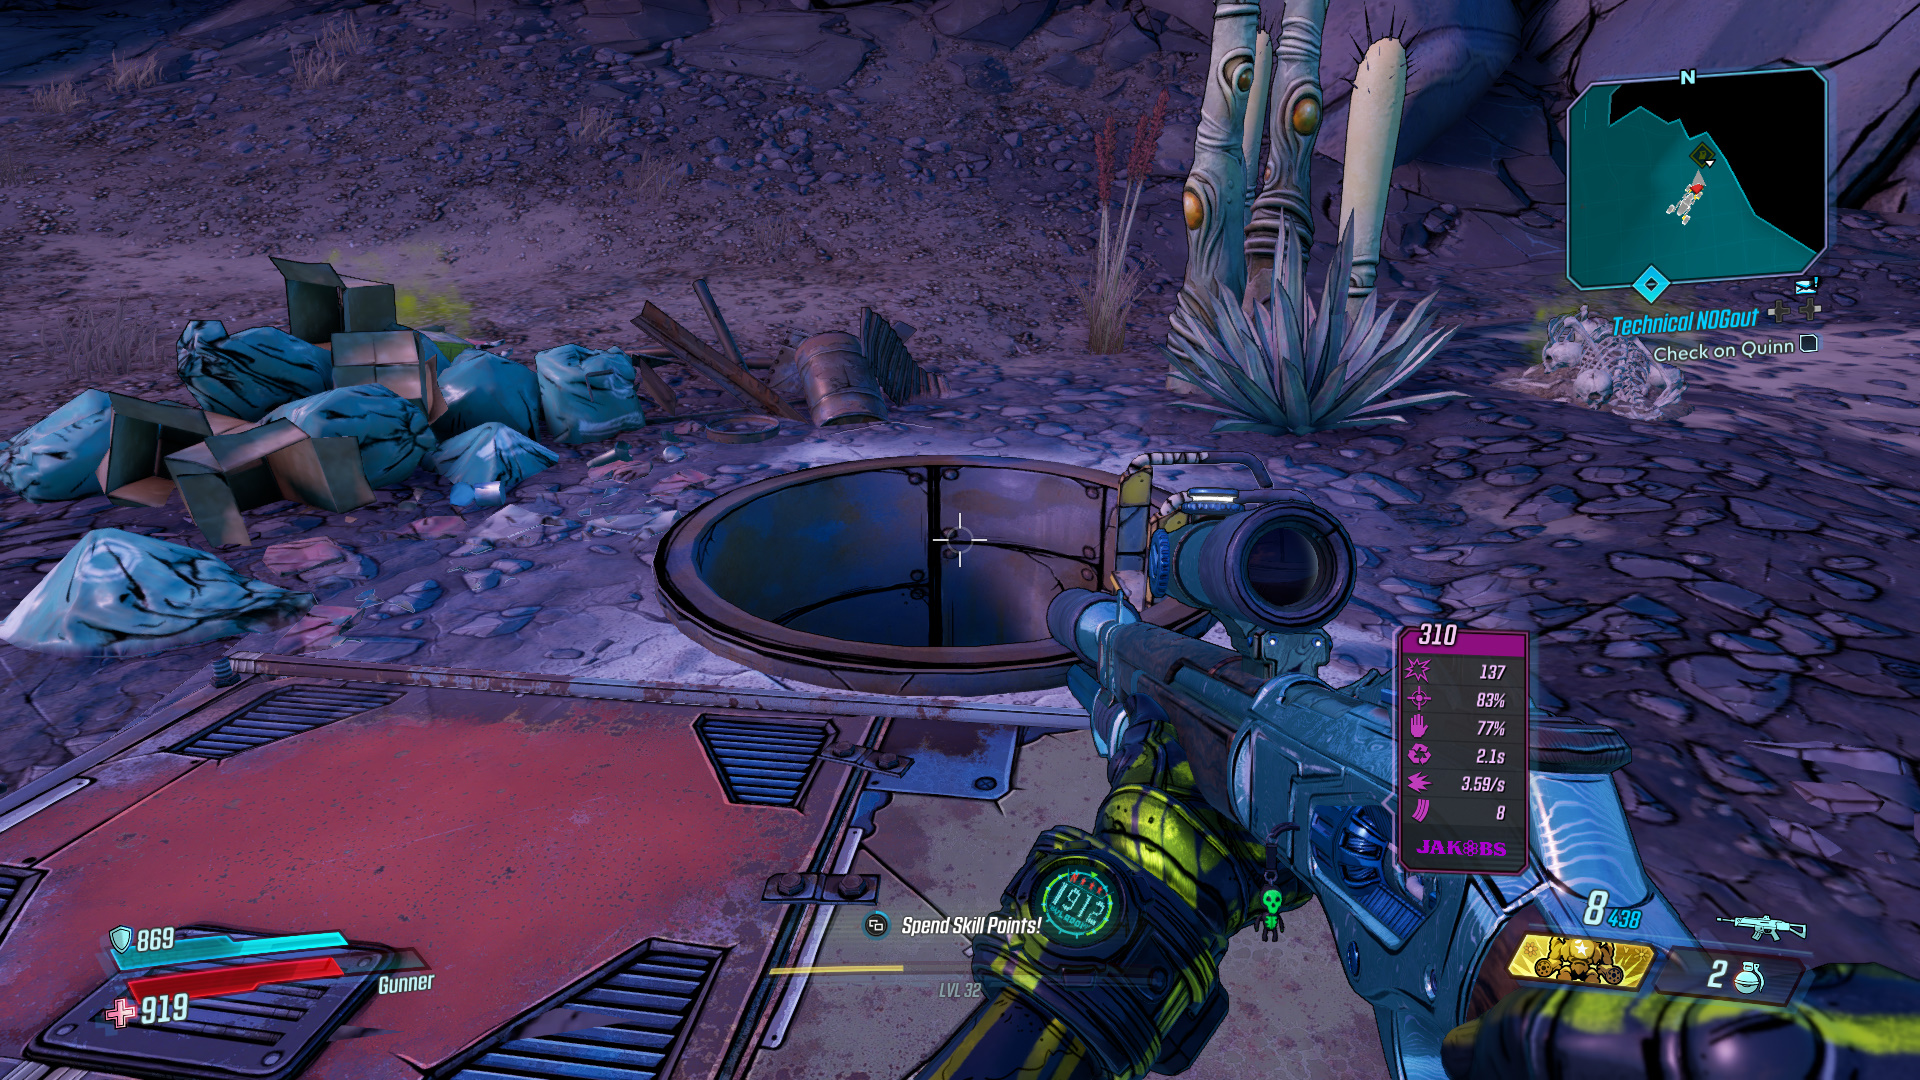
Note: If you go to the here without gathering the logs, the chest is locked.
After you’ve collected all of the Typhon Logs you will unlock the Dead Drop. Make your way to the location marked on the map above to find a hole in the ground. Drop down this hole to reach the Red Chest.
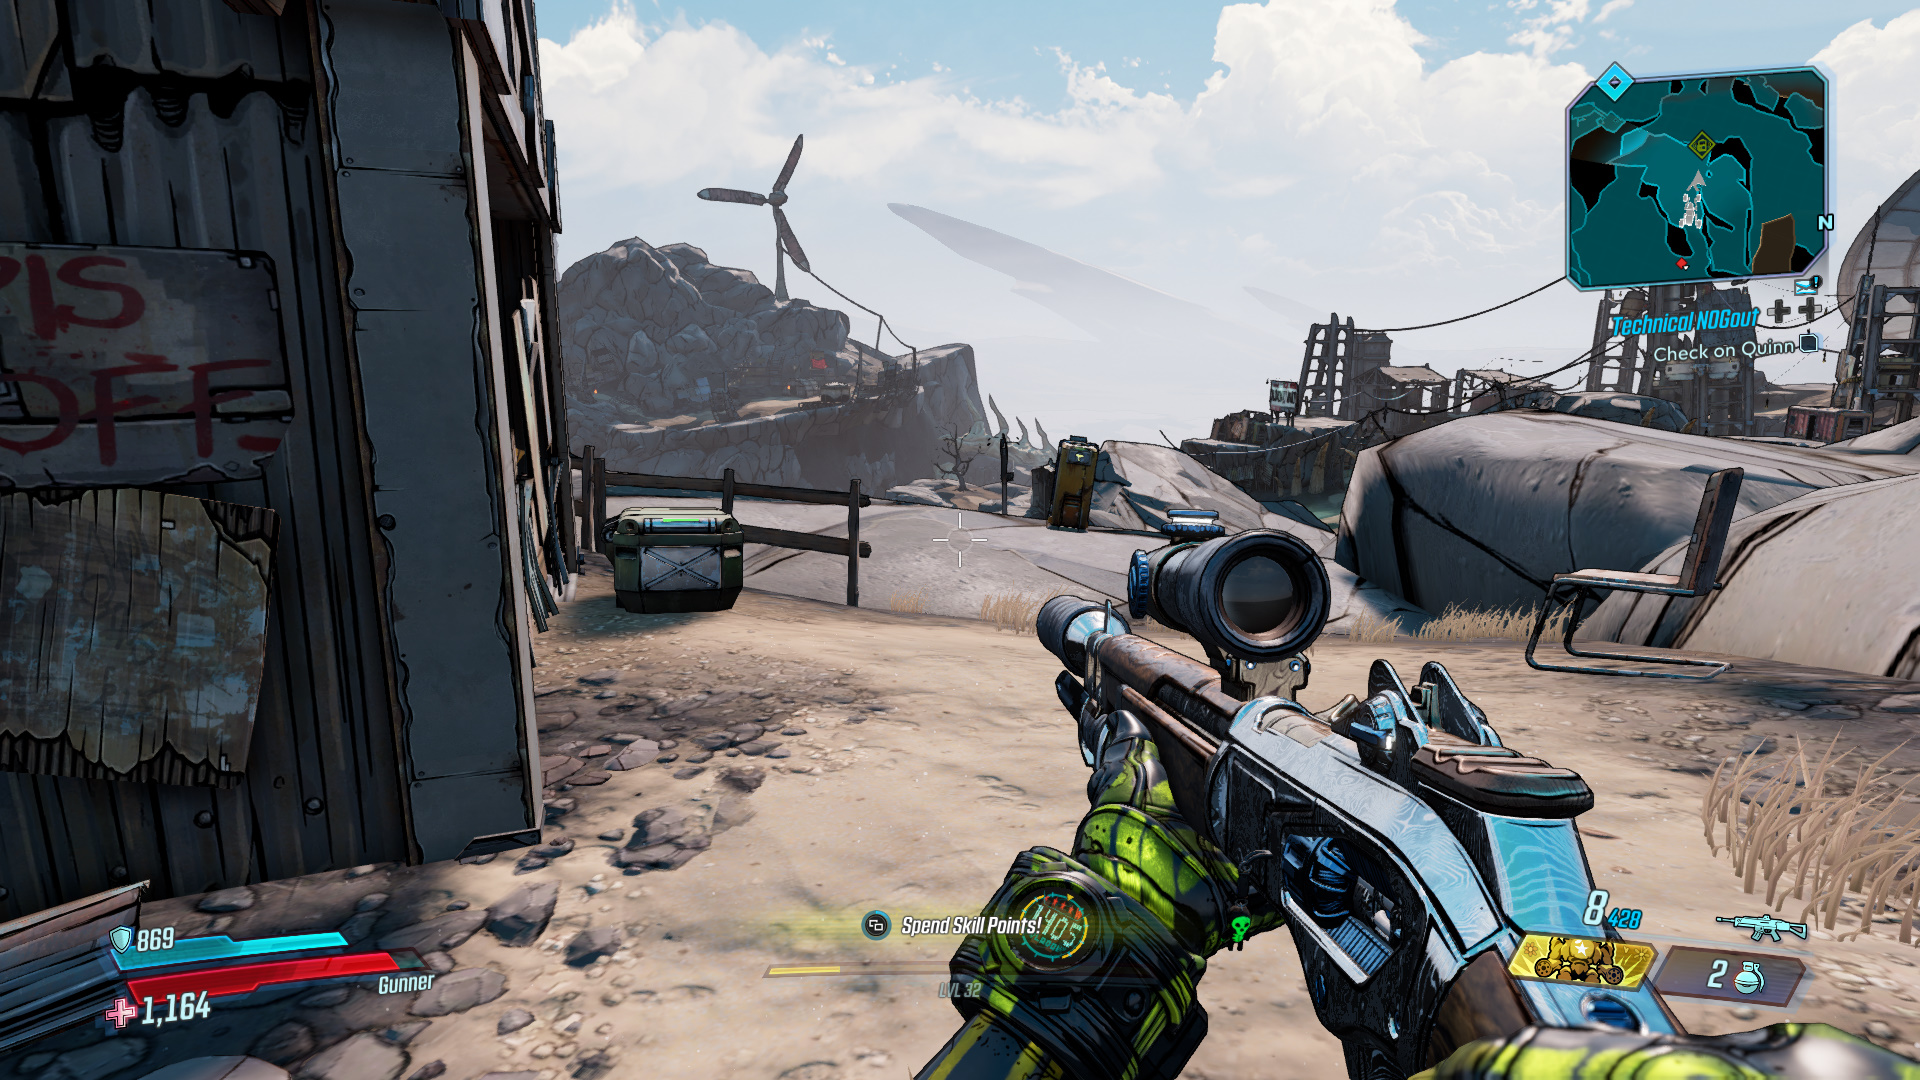
Hijack Target #2: Dusty Acres

South of the area called Roland’s Rest is this Hijack Target. The Spiked Technical is located on the roof of a building. Climb the exterior to reach the vehicle and drive it to the nearest Catch-A-Ride.
Target of Opportunity: East of Roland’s Rest

Next Crew Challenges Guide: The Splinterlands.
To the east of the area called Roland’s Rise you will find the Target of Opportunity called Hot Karl.
Next Crew Challenge Guide: The Splinterlands.