Cuphead Walkthrough Guide
World 1: Inkwell Isle I

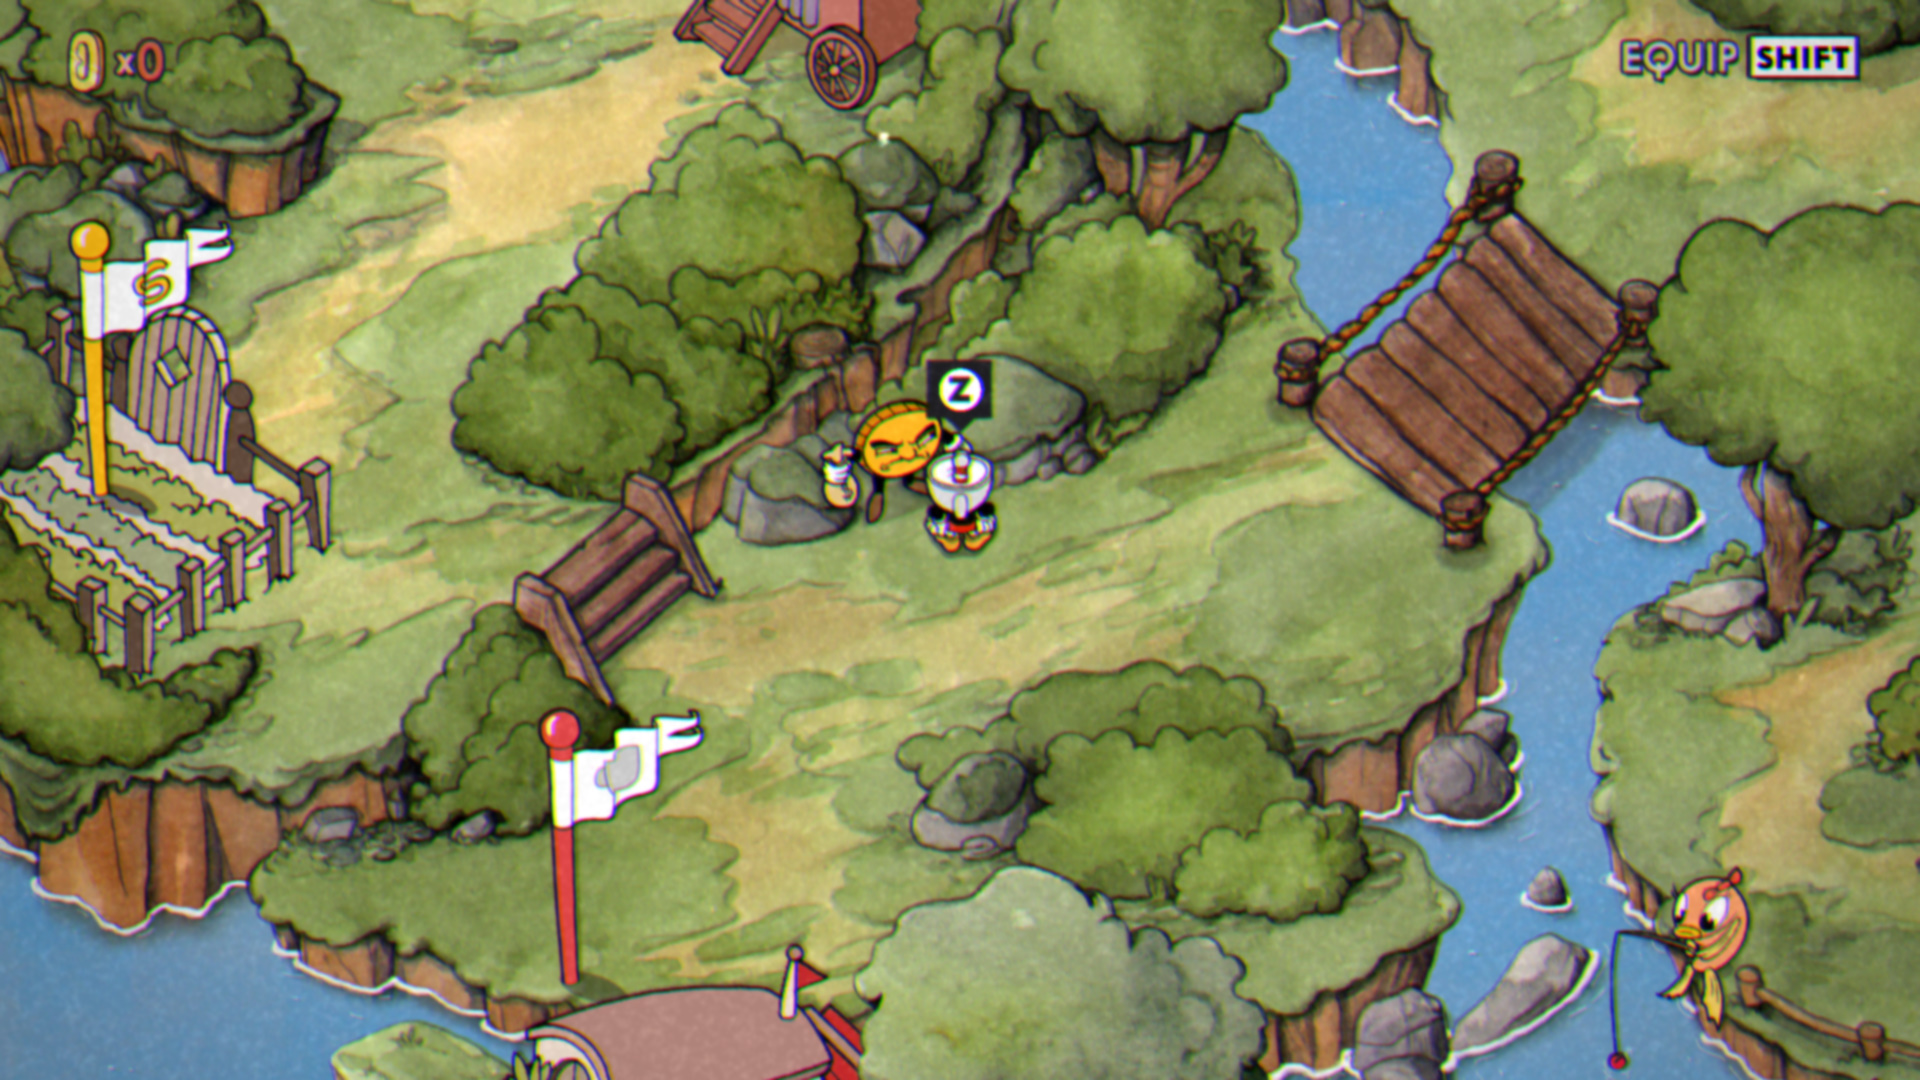
When you start Cuphead, you begin inside Elder Kettle’s house. Inside this house you gather some story information and can run through the tutorial. Besides that, there is nothing else of interest here, so head outside into the overworld (pictured above). Cuphead features numerous paths and ways to play, so feel free jumping around this guide. IF AT ANY TIME YOU FEEL STUCK, TRY ANOTHER LEVEL.
NPC: Apple Boy

This is Apple Boy.
Follow the only path you can take and make your way to the bridge. Here you can talk to Apple Boy. Apple Boy talks about adventuring and gives you 3 coins! With these 3 (4 if you did the tutorial) coins you can head to the nearby shop!
Shop: Porkrind’s Emporium

This is the first shop you will encounter in Cuphead.
Porkrind’s Emporium gives you access to various items which include shots, and charms. Buying shots and charms will help you on your journey. Use the 3 (4) gold you’ve collected to buy the items that you think will be useful for you (I like Spread shot personally). Finish shopping and leave. From here you have a couple of choices: fight two bosses, complete the Run and Gun, or complete the Mausoleum challenge.
Boss: The Root Pack

Near the shop, you will see a garden that is moving. This is a boss level. Interact with the garden to start the level.
The Root Pack boss fight consists of three phases: potato, onion, and carrot.
Phase 1 (Potato): The potato shoots four projectiles at you while staying stationary. This phase simply requires jumping over the projectiles (pink snake can be parried).
Phase 2 (Onion): The onion sits in the middle of the screen and cries. Avoid the falling tears while dealing damage (pink tears can be parried).
Phase 3 (Carrot): The carrot is the final and most difficult form. In carrot form, the boss shoots homing carrots as well as sonic waves. Avoid all the projectile and target the carrot. Defeating the carrot, complete the boss fight.
After completing The Root Pack fight, a stairway will appear which leads to the next boss fight.
NPC: Coin Guy
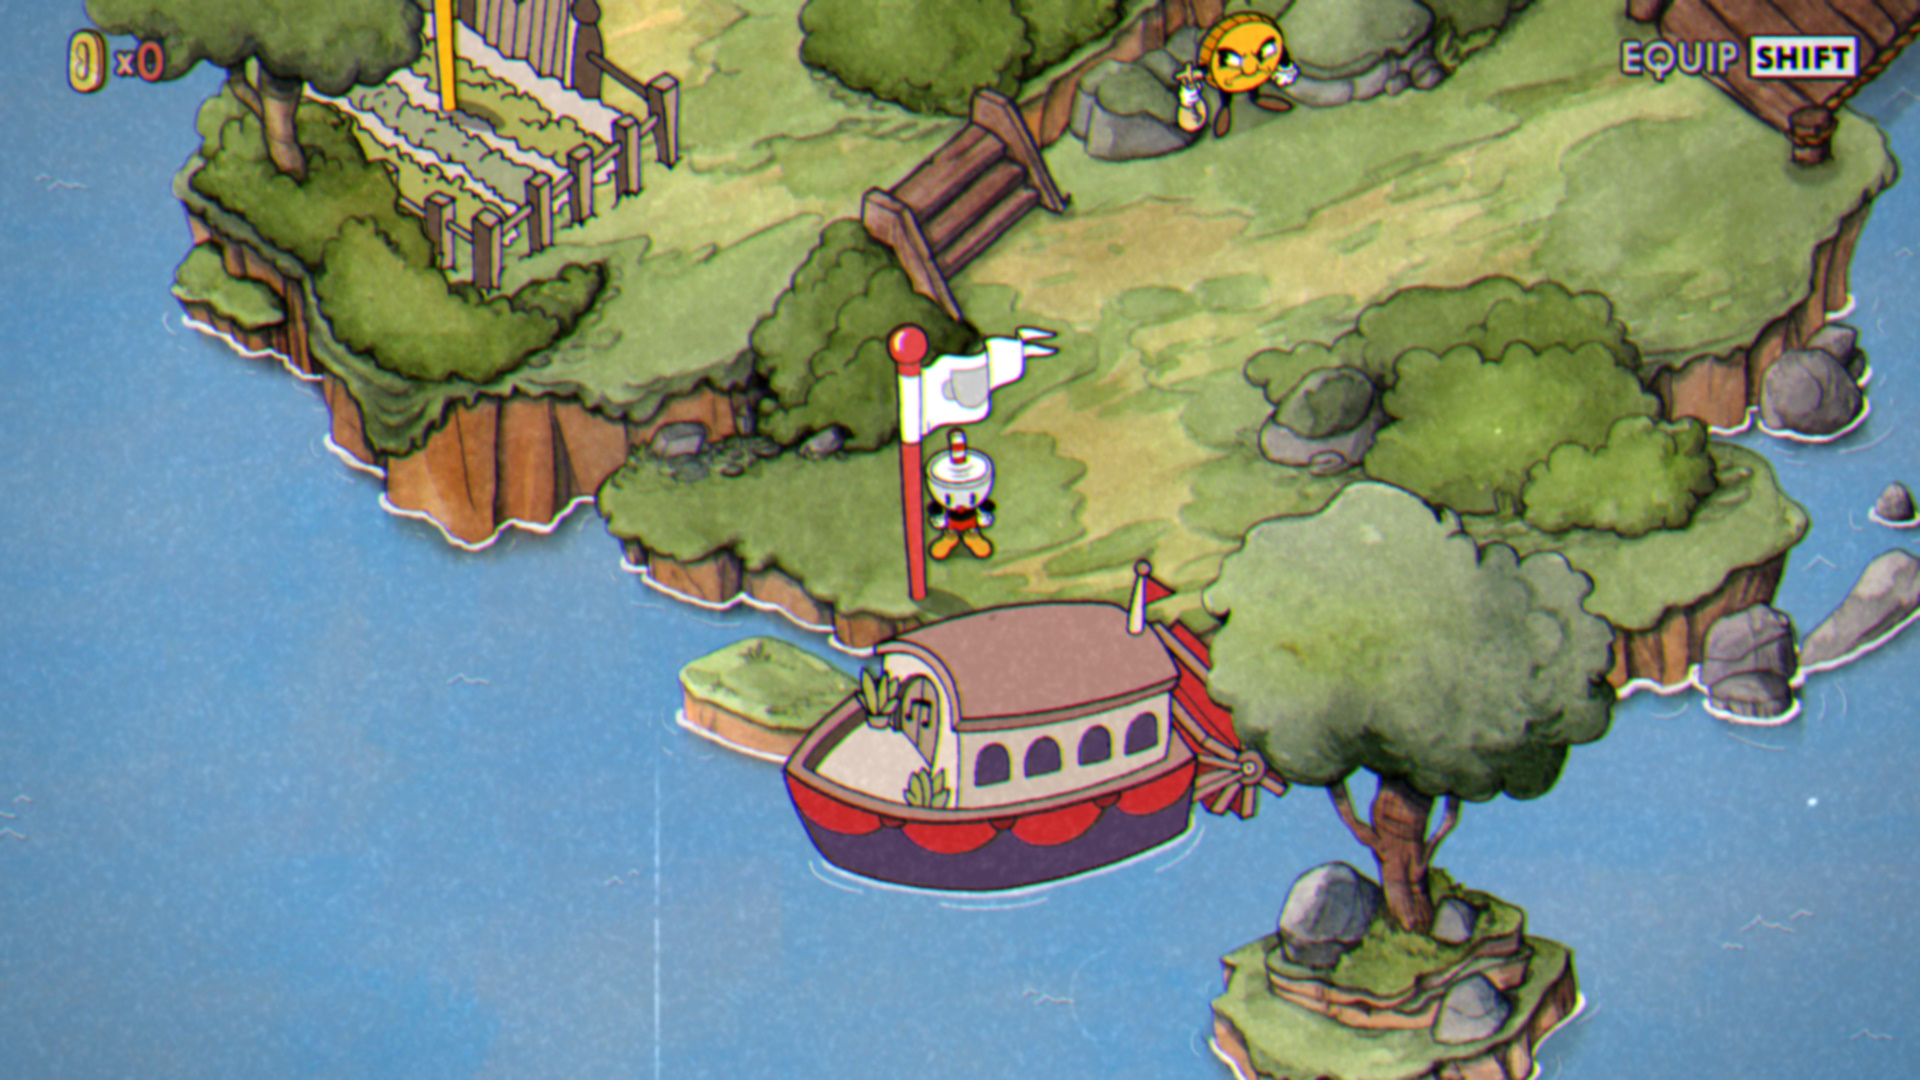
After defeating The Root Pack, you will be able to head down the stairs into the next area. Here you will meet a Coin. The coin tells you that he doesn’t trust the bank and keeps all his coins hidden. This is a tip to the idea that there are hidden coins on every World overworld. After talking to Coin head to the boat for the next boss.
Boss: Ribby and Croaky
Ribby and Croaky serve as our first introduction to fighting multiple bosses as once. Luckily for us, the battle itself works very much like a single boss battle. There are three distinct phases to this fight:
Phase 1 (Ribby and Croaky together): In phase 1, Ribby and Croaky stand together on the right side of the screen and take turns attacking. The tall frog sends out flaming bugs into the top of the screen; the heavy frog sends out flying punches that need to be jump and crouch dodged. Once enough damage is done, the heavy frog will roll to the left side of the screen to start phase 2.
Phase 2 (Ribby and Croaky separate): In phase 2, Ribby and Croaky separate to the left and right sides of the screen. The tall frog morphs into a fan that makes movement difficult, while the heavy frog sends out a bouncing ball. Once enough damage is done in phase 2, the heavy frog will roll over to the tall frog and trigger phase 3.
Phase 3 (Slot Machine): The third phase see Ribby and Croaks turn into a slot machine. Here you will need to use the machine in order to do damage. Avoid the coins it shoots and wait for the handle to turn pink and then parry it. This determines the attacks you will be facing (you can deal damage to the machine at this point):
- 3 x Bull: The machine sends out spiked platform that shoot flames either up or down.
- 3 x Frog: The machine sends out spiked platforms that must be jumped on to avoid damage.
- 3 x Tiger: The machine sends out spiked platforms that juggle balls.
Beating Ribby and Croaky makes a bridge appear over the river. You can use this bridge to cross over to the Mausoleum.
Mausoleum

Mausoleums are challenges that involve simply parrying ghosts. Completing a Mausoleum challenge will earn you a new Super ability. There are 3 Mausoleum challenges in Cuphead. To get an idea of how these challenges work, watch this video.
Run & Gun #1: Forrest Follies – 5 Coins

Run and Gun levels are exactly like they sound. Instead of fighting a boss, you make your way through a platforming level. In these levels there are 5 coins to collect. Each world has two of these levels for a total of 30 collectible level coins in the entire game.
Boss: Groopy Le Grande

Beside Run & Gun 1 you will see an oddly colored tree. This tree is the home to Groopy Le Grande.
The Goopy Le Grande fight consists of three stages: small slime, big slime, and tombstone.
Phase 1 (Small Blob): Sees Goopy as a small blob that bounces around the screen. In this state, Goopy has a single wind up attack which can be dodged by ducking.
Phase 2 (Big Blob): Goopy becomes larger and pretty much retains the same moves as the smaller version. In this form, Goopy’s attack is replaced with a punch (use crouch like in the first phase).
Phase 3 (Tombstone): Goopy becomes a Tombstone. Goopy no longer bounces around the screen, but rather horizontally in the background. Goopy will stop intermittently and fall on you (dash to avoid this attack). In this phase, you need to focus the face on the tombstone to do damage.
Beating Groopy Le Grand unlocks the staircase you see in the upper – leftish portion of the screen. This leads to the next boss.
Boss: Hilda Berg

When you make your way up the steps, you will see an NPC. Talk to the NPC to be told to interact with the blueprints. This teaches you about airplane combat. Once that is learned, a bridge appears which will allow you to reach the Observatory and Hilda Berg.
Phase 1 (Hilda Berg on Unicycle): When you begin the fight against Hilda Berg, she is riding on a unicycle. In this form Hilda Berg has a couple of attacks. The first attack is a laugh (HAHA) which sends the letters across the screen at you. The second attack is a dash (she inflates and then dashes to the left side ending up off the screen). The last attack is a tornado she sends at you. Once you deal enough damage to Hilda, she dashes off screen and then returns to her starting position to trigger phase 2.
Phase 2 (Astrology Signs): When Hilda dashes off screen then moves back on screen and morphs into an astrology sign. We can tell which character will be summoned depending on the star pattern Hilda leaves behind. In total there are three possible summons: Taurus, Gemini, and Sagittarius.
- Taurus: A large bull. Attack is a charge towards you (can tell when it will happen by the mooing audio cue).
- Gemini: Twins. Attack is a summon of a floating orb that shoots in either clockwise or counterclockwise direction.
- Sagittarius: Zeus with a bow. Attack shoots an arrow and 3 tracking stars.
Defeating phase 2 returns phase 1 back to the screen. You will have to repeat the process twice (phase 1 + phase 2) before phase 3 triggers.
Phase 3 (Moon Hilda): Moon Hilda is the final phase in the Hilda Berg boss fight. During the fight, stars float by which deal damage if you run into them. Alongside the stars, UFOs float from the right to left side of the screen and shoot laser beams down at you. Besides these two environmental hazards, Hilda only has one attack in Phase 3 which is a limited range dash (her face extends towards you).
Beating Hilda Berg makes a stairway appear to the lower area (seen in pic). Here you will find another Run & Gun and the last boss.
Run & Gun 2: Treetop Trouble – 5 Coins

Run and Gun levels are exactly like they sound. Instead of fighting a boss, you make your way through a platforming level. In these levels there are 5 coins to collect. Each world has two of these levels for a total of 30 collectible level coins in the entire game.
Boss: Cagney Carnation

After beating the Run & Gun level, head past the Axe NPC to reach the final boss of World 1, Cagney Carnation.
Cagney Carnation is a giant flower that appears to like dancing. There are two real phases to this fight:
Phase 1 (Happy Cagney): In phase 1 of the Cagney Carnation fight, the boss has a number of attacks. The first attack is a dash/stretch across either the top half of the screen or the bottom half of the screen. The second attack in this phase is shooting seeds into the air. These seeds hurt if they hit you and also plant themselves in the ground creating environmental hazards. The other attacks are shot out directly level with the floating platforms and include a floating disc as well as three seeds.
Phase 2 (Angry Cagney): In phase 2, Cagney gets angry. In this phase, you need to stay on the floating platforms as the floor is covered in roots. Cagney will send roots up through the floating platforms (look for the roots to attach themselves to the platforms before the attack initiates). Besides this attack, Cagney also shoots small flowers at you.
Beating Cagney Carnation allows you to reach the World 2 (die building).
Leave

Before you leave World 1, head to the Axe NPC to see she has moved to the right. Look where she was standing and you will see a coin. Grab it and head to the die building. Head through the building to World 2.
This concludes our World 1 guide. If you require more assistance, check out our boss list and hidden coin pages for more information.