Graveyard of the Peaks – Blasphemous Guide
Once you’ve made your way through Where Olive Trees Wither, you will arrive in the Graveyard of the Peaks. This area features a mix of frozen platforming and spelunking. To help you navigate your way, use our Graveyard of the Peaks guide below.
Graveyard of the Peaks Map

The Graveyard of the Peaks area is heavily platform centric. Keep this in mind as you navigate the area. There are also a ton of items to collect in this location. So check them out on the map above.
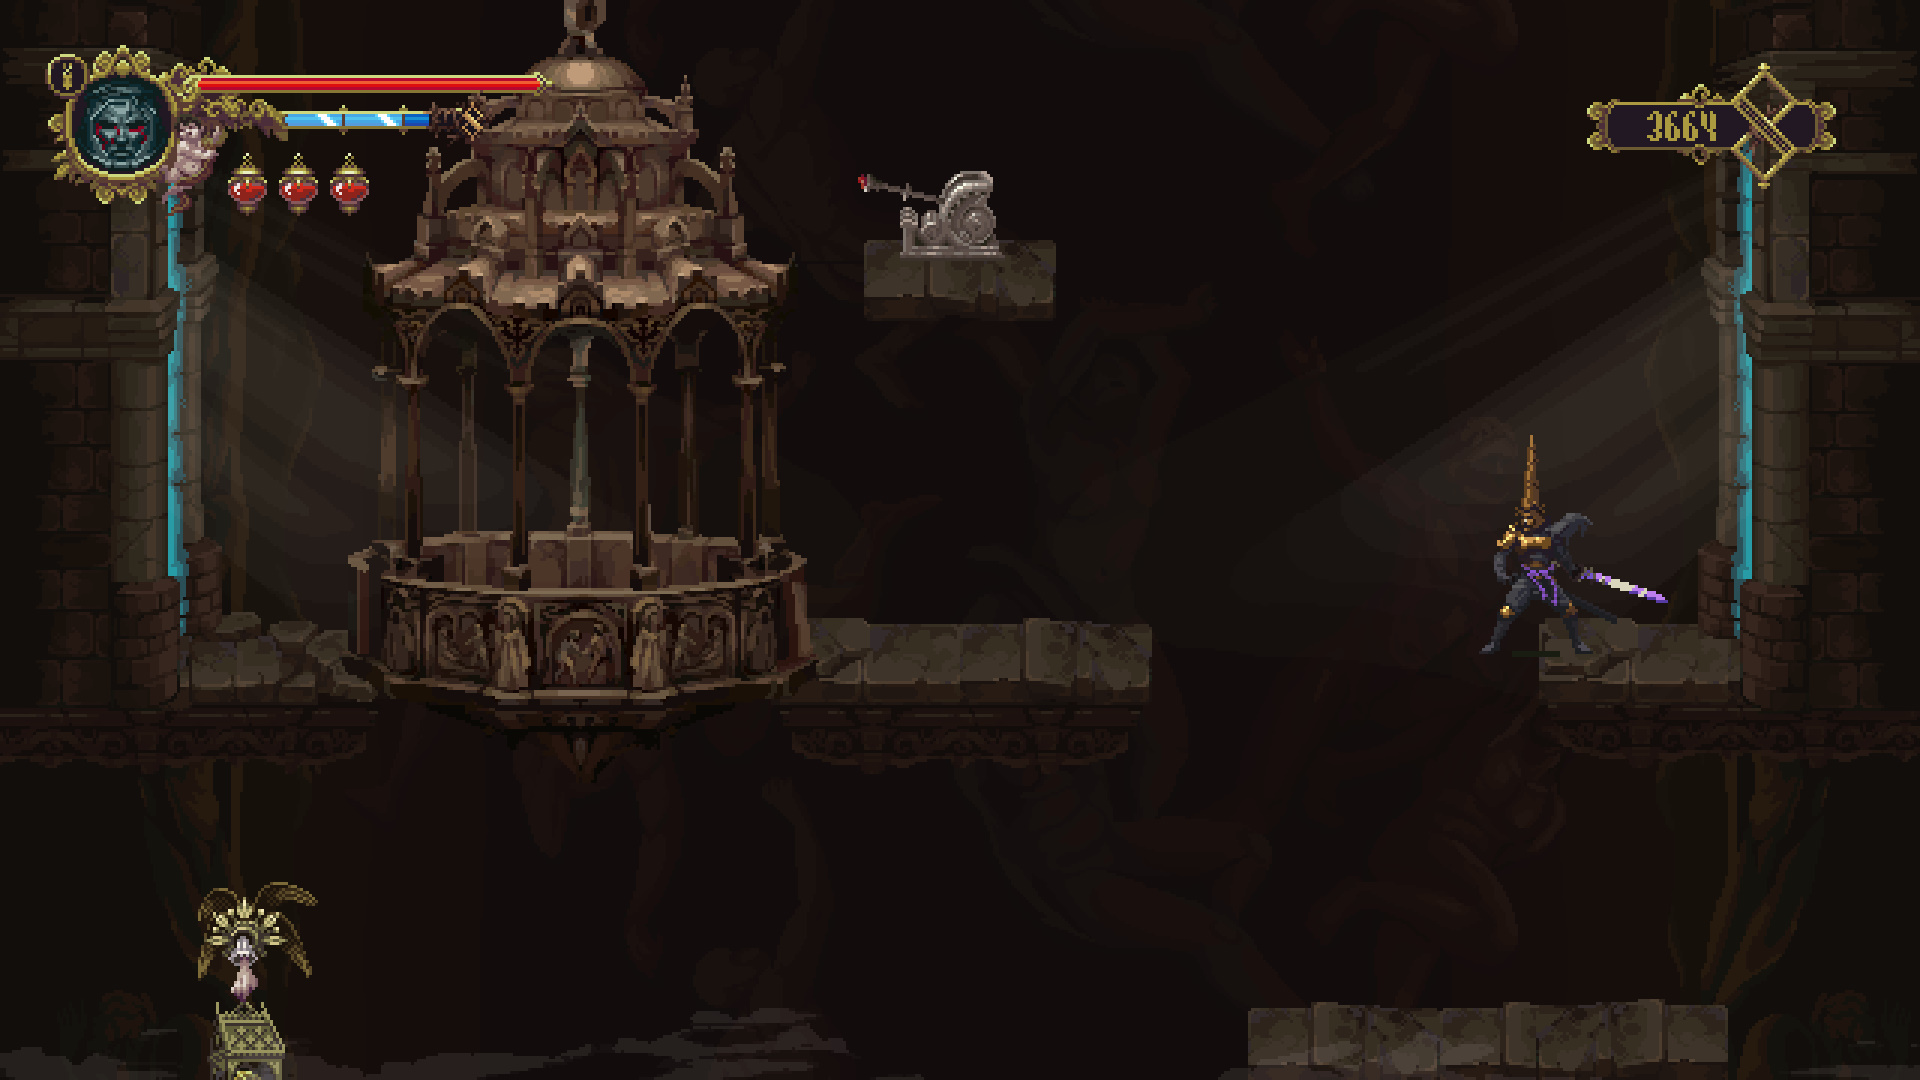
Room 1
In the first room of Graveyard of the Peaks you can go up or left. Go left for now and head inside the next room.
Room 2

Inside the second room equip your Relic: Blood Perpetuated in Sand to make some platforms appear leading to a ledge with the Children of Moonlight (7/38) on it. Drop to the ground below and the floor will break to reveal a secret area which leads to Collectible: Anklebone of Weston, the Pilgrim. Return to the main floor and head to the left to reach a Prie Dieu. Kneel at it then continue left to reach a crack in the wall. Go inside to visit Candelaria. She sells new items:
- Torn Bridal Ribbon (800): Needed to complete an unfinished ceremony.
- Calcified Eye of Erudition (1200): Shows health bars on enemies.
- Ember of the Holy Cremation (5000): Increases defense of whoever carries it.
Once you’ve perused the shops, return to room 2 and head left into the next room which has an elevator inside it.
Room 3
Note: The room to the along the right in this room is accessible after reaching Convent of Our Lady of the Charred Visage and using the elevator found.
This elevator leads back to Albero. Jump on top the elevator to reach a ledge on the left wall with the Quest Item: Knot of Rosary Rope on it. Walk through the elevator and into the Guilt room on the left to get Rosary Bead: Immaculate Bead (important item for game’s endings). Return to the elevator and ride it down to grab the Children of Moonlight I mentioned in my Albero guide. Once you’ve done this head back to Room 1.
Room 1 Again

Important: When jumping in the following areas watch the movement of the falling snow. If it is going with you you will jump further. Against you and you will jump shorter.
This time around we are going to head up. Use the walls on the left side of the room to make your way up. Complete the wall climbs on both sides of the room to reach the door on the left. Exit through it to reach the next room.
Room 4

The next few rooms involve a ton of wall climbing so be prepared. You will basically be making your way up the rooms using wall climbing on the left and right side of the wall. While you are doing this you will be chased by bell enemies. I highly recommend dispatching these enemies before trying to climb since they can be annoying. Regardless make your way up to the place where you can go left or right (see picture). Go right.
Right
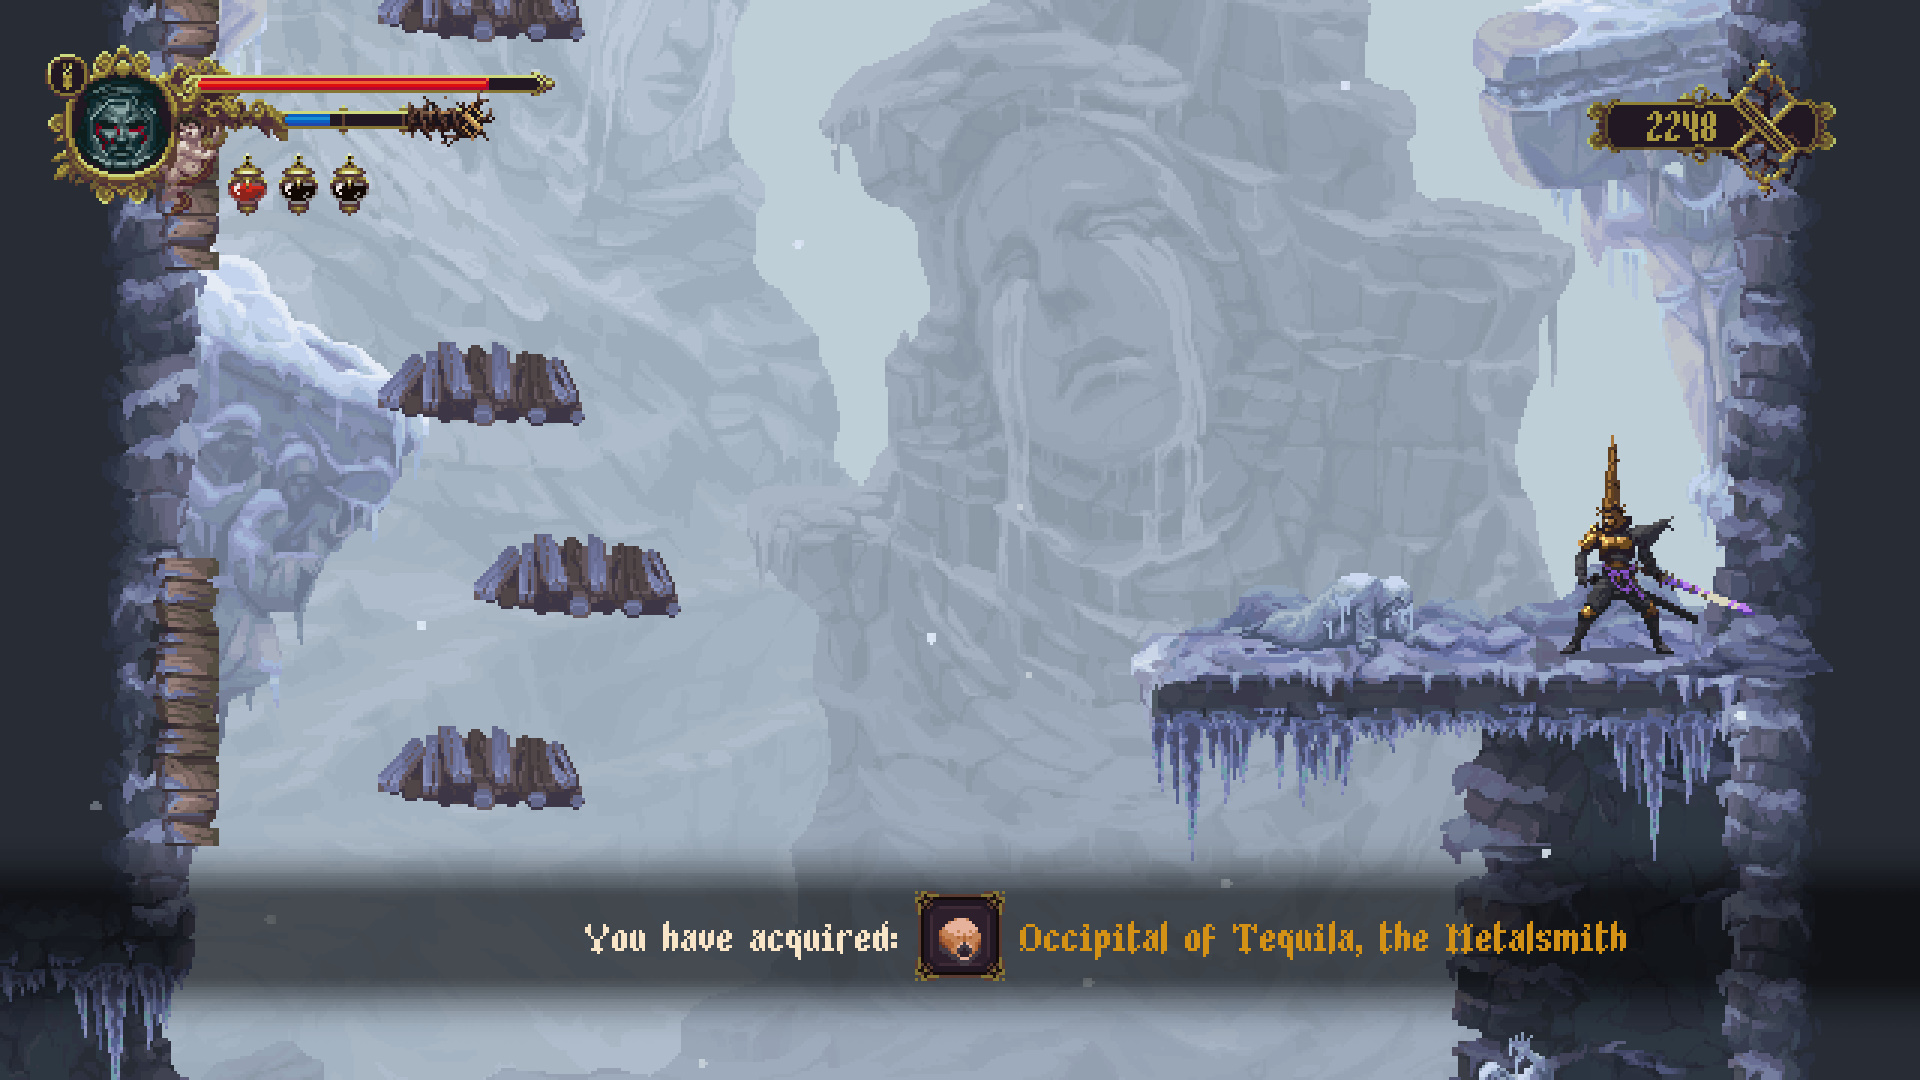
In the room on the right you will see an item on the wall opposite you. This item can be reached by timing your jump with the wind. Have it blowing right and you will be able to grab the wall below. The item is Quest Item: Empty Bile Vessel. Once you have this item wait for the wind to blow left and jump back. Head up the wall on the left until you reach the top most wood platform. Wait for the wind then jump to platform and jump off it onto the item to the right. This item is the Collectible: Occipital of Tequila, the Metalsmith. Make your way up to the exit on the left and go through it. Ignore everything in this middle room and head left.
Left

The reason I had you go through the right room first is because there is an item in the left room you can only get if you enter from the middle room. This item is the Rosary Bead: Muted Bell. Once you’ve grabbed this item slide into the room. Drop down and equip the Relic: Blood Perpetuated in Sand to reveal a blood ledge beside the Children of Moonlight (8/38) use it to collect. Once you’ve done this head up and into the door on the left. There is a Blood Fountain here. Pay whatever to get the Vessels filled (should have 5x at this point). Return to the previous room and go up. Grab the item on the left side of the room to get the Collectible: Parietal bone of Lasser, the Inquisitor. Head into the room on the right.
Room 5

In this room make your way up the room using the walls on the right side. Climb the walls to reach the middle platform pictured above. Hit the wall on the right to reveal a secret room. Go inside to raise your max blue bar. Return to room 5 and climb up the left wall. Continue climbing until you reach the tomb. Use the wind to max the jump to the right to get the Rosary Bead: Piece of a Tombstone. Make your way back up top and through the exit on the left.
Run through this last room to reach the Convent of Our Lady of the Charred Visage. There will be a brief cutscene that follows. Welcome to the new area.
Later: Remains

In the right room you may have noticed a upper portion that seems inaccessible. Come back here when you have the Relic: Three Gnarled Tongues and Relic: Blood Perpetuated in Sand to reach this upper section. Here you will find the Quest Item: Tentudia’s Skeletal Remains. Take these remains to the church in Albero.
there is a secret area here in the elevator ,, i dont know how to unlock it (right side) elevator area graveyard peaks
Just cut yourself with U and it should open