Grievance Ascends – Blasphemous Guide
After you destroy the statues and hit the urn in Jondo, you will open up a new area called Grievance Ascends. This area is home to a number of tough enemies and a boss. To help you traverse this new area check out our Grievance Ascends guide below.
Grievance Ascends Map

Grievance Ascends is a relatively straightforward area to explore. There are a number of items and a Relic you should grab. Check out the map above for locations.
Room 1
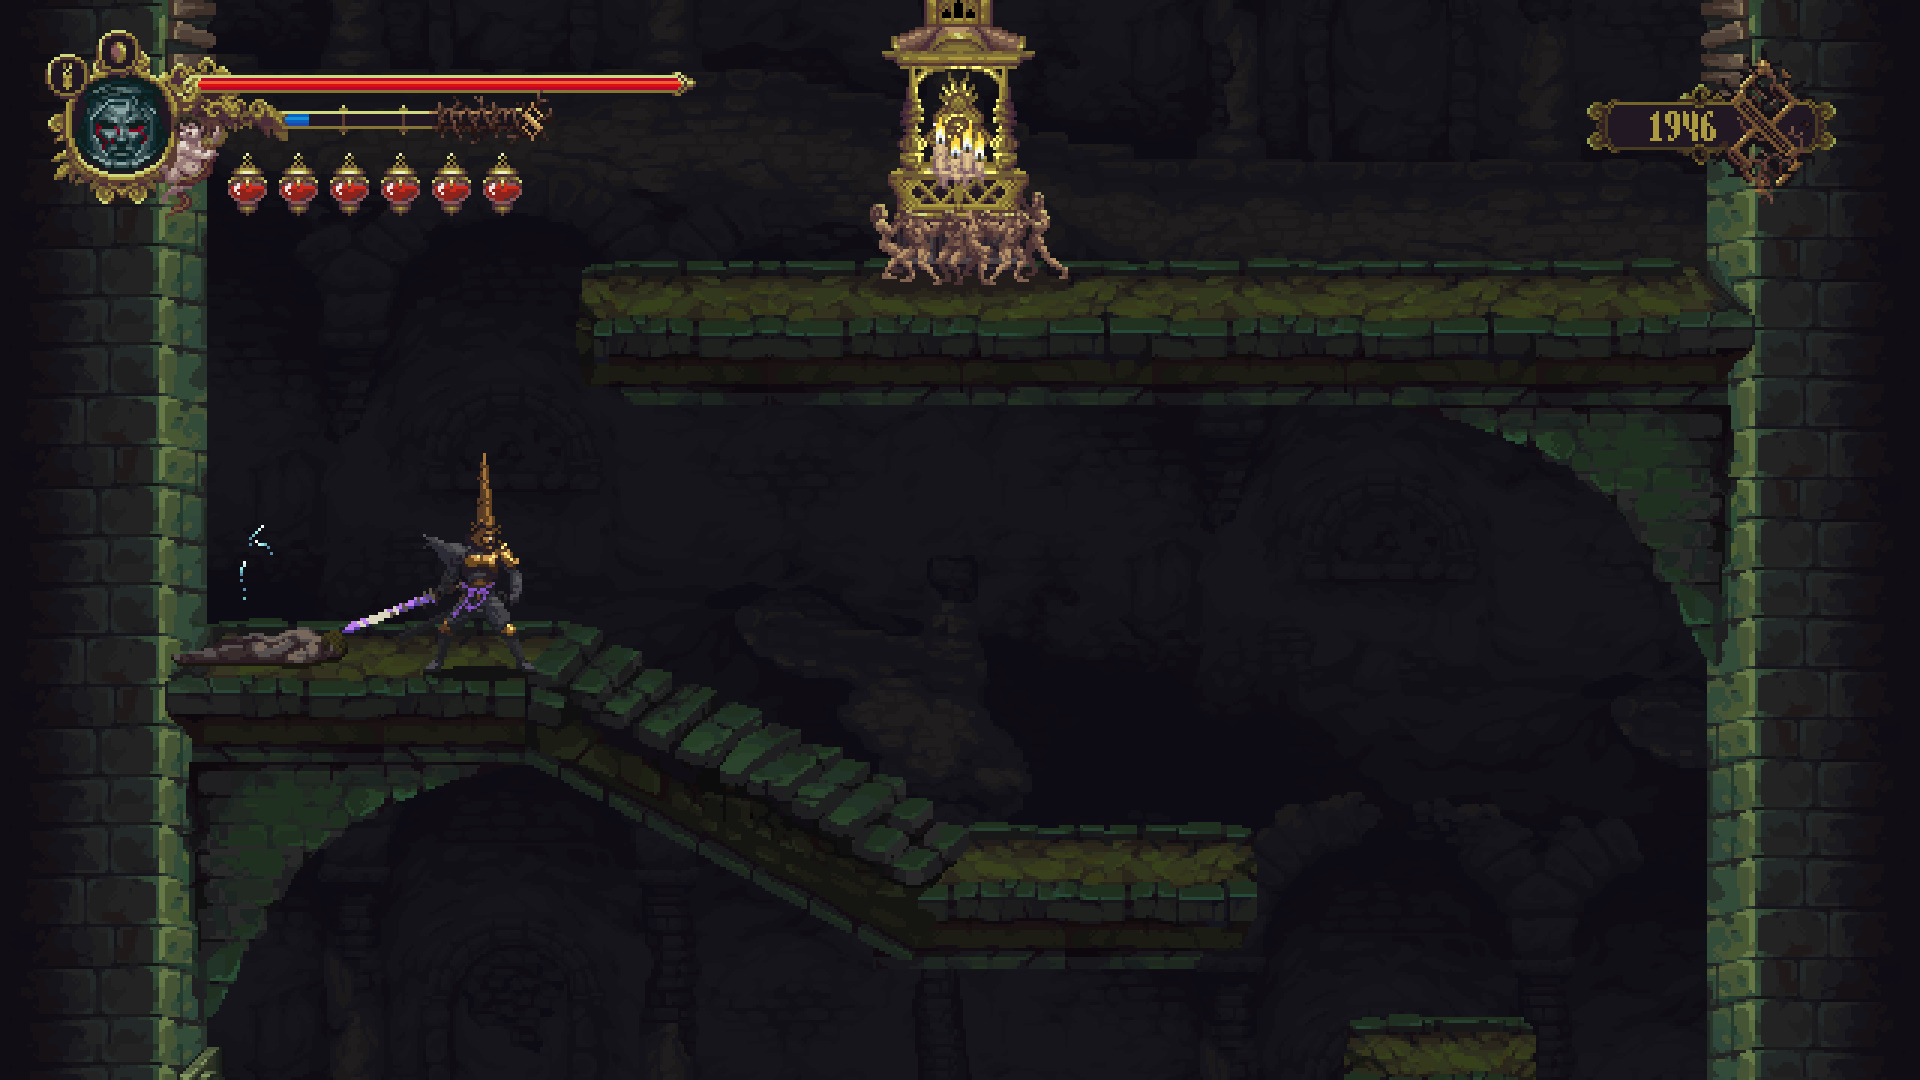
From the Prie Dieu go down the steps and enter the only exit you can on the bottom right side of the room. Upon entering this room you will need to defeat three bell enemies before you can advance. Do this and head into the next room. Inside room 1 you can go up or down. Going up leads you to a guilt cleansing room. Going down allows you to go further into the dungeon. Cleanse you guilt if needed then head to the exit below. Ignore the Rosary Knot below for now. Return to get it once you have the Relic: Silvered Lung of Dolphos (see room 2).
Room 2
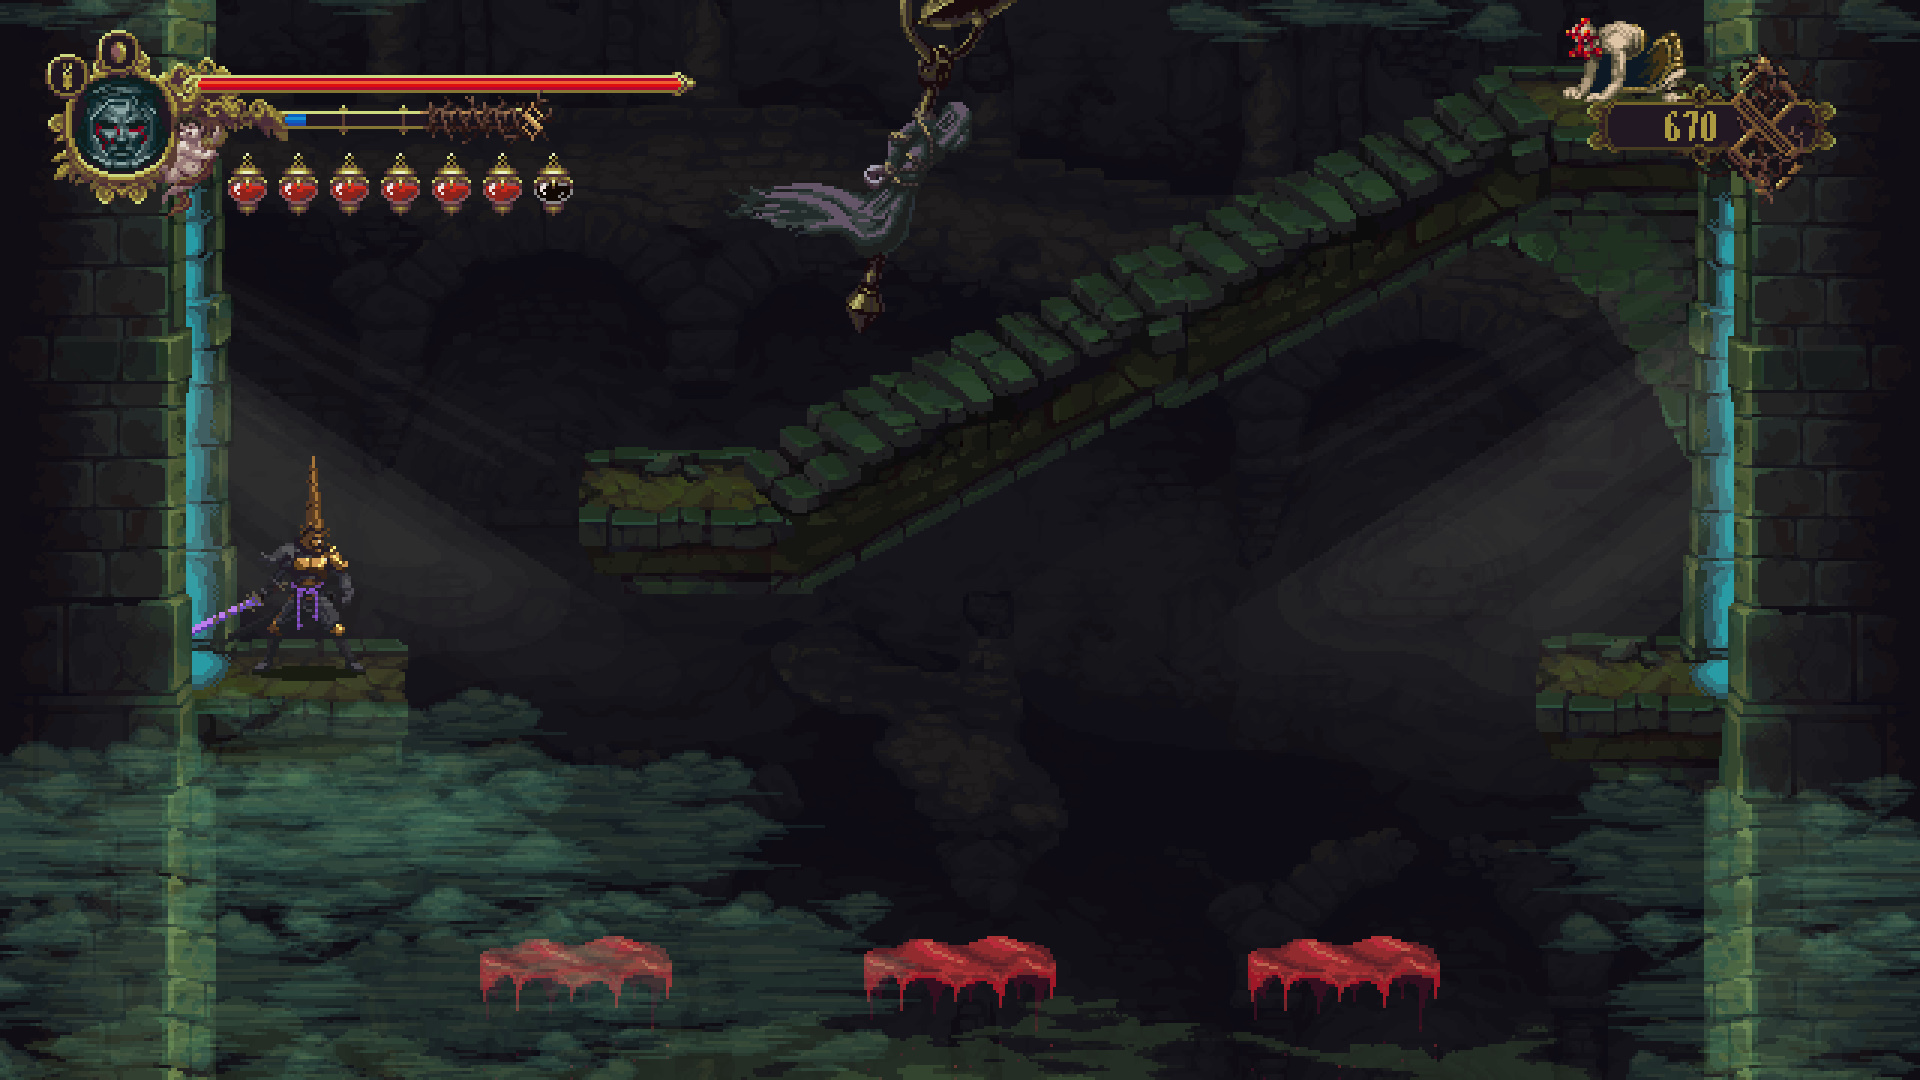
In this next bridge area you need to defeat a new enemy type that is a woman with a rapier. This enemy has one attack which is simply appear then dash towards you. Simple enough to dodge. You need to defeat three of them to clear a way forward. Once they are dead head into room 2. In room 2 you can go up, down, or right middle. Go down to start and increase your MP and use the Blood Fountain in the the rooms at the very bottom (use the Relic: Blood Perpetuated in Sand to reach room on bottom right).

Head up to the top right room and go inside. In this room you need to defeat multiple bell men and sword ladies on a bridge with crumbling platforms. After you’ve done this head into the next room. Make your way all the way up top to receive the Relic: Silvered Lung of Dolphos. This item allows you to stand in the poison without getting hurt. You can also grab the Children of Moonlight here if you have the throw sword ability. Regardless you want to equip the Relic now. Return to Room 2 and go inside the middle exit.
Room 3
Make your way across the small bridge to reach another tall room. Inside this room you can go up, down, or bottom right. Bottom right is the boss (so grab the Prie Dieu there now). Once you’ve sat at the Prie Dieu return to room 3 and make your way up. Head inside the room on the top right. Walk along the bridge until you reach the end, equip the Relic: Blood Perpetuated in Sand to cross the final part to reach the Quest Item: Melted Gold Coins. Return to room 3.

If you head to the bottom of room 3 you will enter a Ceremony room. If you’ve been following this guide up to this point you will have all items need to complete the ceremony. Place the following on each dish:
- Melted Gold Coins.
- Black Grieving Veil.
- Torn Bridal Ribbon.
For completing the ceremony you unlock an interesting looking NPC…She will reward you with the Quest Item: Egg of Deformity. With this item you can complete a sort of side quest. Return to the Prie Dieu. It’s boss time.
Boss: Tres Angustias

Before the boss fight you will run into our friendly old lady NPC. She will offer you her assistance. Decide if you want her help then continue to the right. Enter the boss arena and climb the platform in the middle to start the fight with Tres Angustias.
In this fight you will need to platform up while fighting the three bosses. This makes things a bit difficult as you will need to dodge projectiles, deal damage, and avoid falling to your death at the same time. With that said they are fairly simple to deal with as they have limited attacks:
- Lightning: Shoots lightning at you. This attack comes from the small spear wielders.
- Rotating Lightning: The one wielding the staff with the two balls on the ends will throw it and it will circle around her.
- Purple Lightning: They merge into one entity and shoot a large purple laser beam vertically where they are standing. This attack doubles in the second phase.
Your best approach to this fight is to stack up on defense including wearing the Perpetua’s Protection bead (since it gives protection against lightning attacks). You should also try to focus them when they are clumped together as it makes hitting them easier. For defeating Tres Angustias you unlock the Dance of Death achievement as well as 700 TOA.
If you’ve used the help of the NPC up to this point, speak with her and she will give you Prayer: Zarabanda of the Safe Haven. The NPC will then die, unlocking the Last Breath achievement.
After you’ve witnessed the old woman die (or not), head right into the next room. Like the previous boss fights you will enter another dream.
Desert/Sea Dream
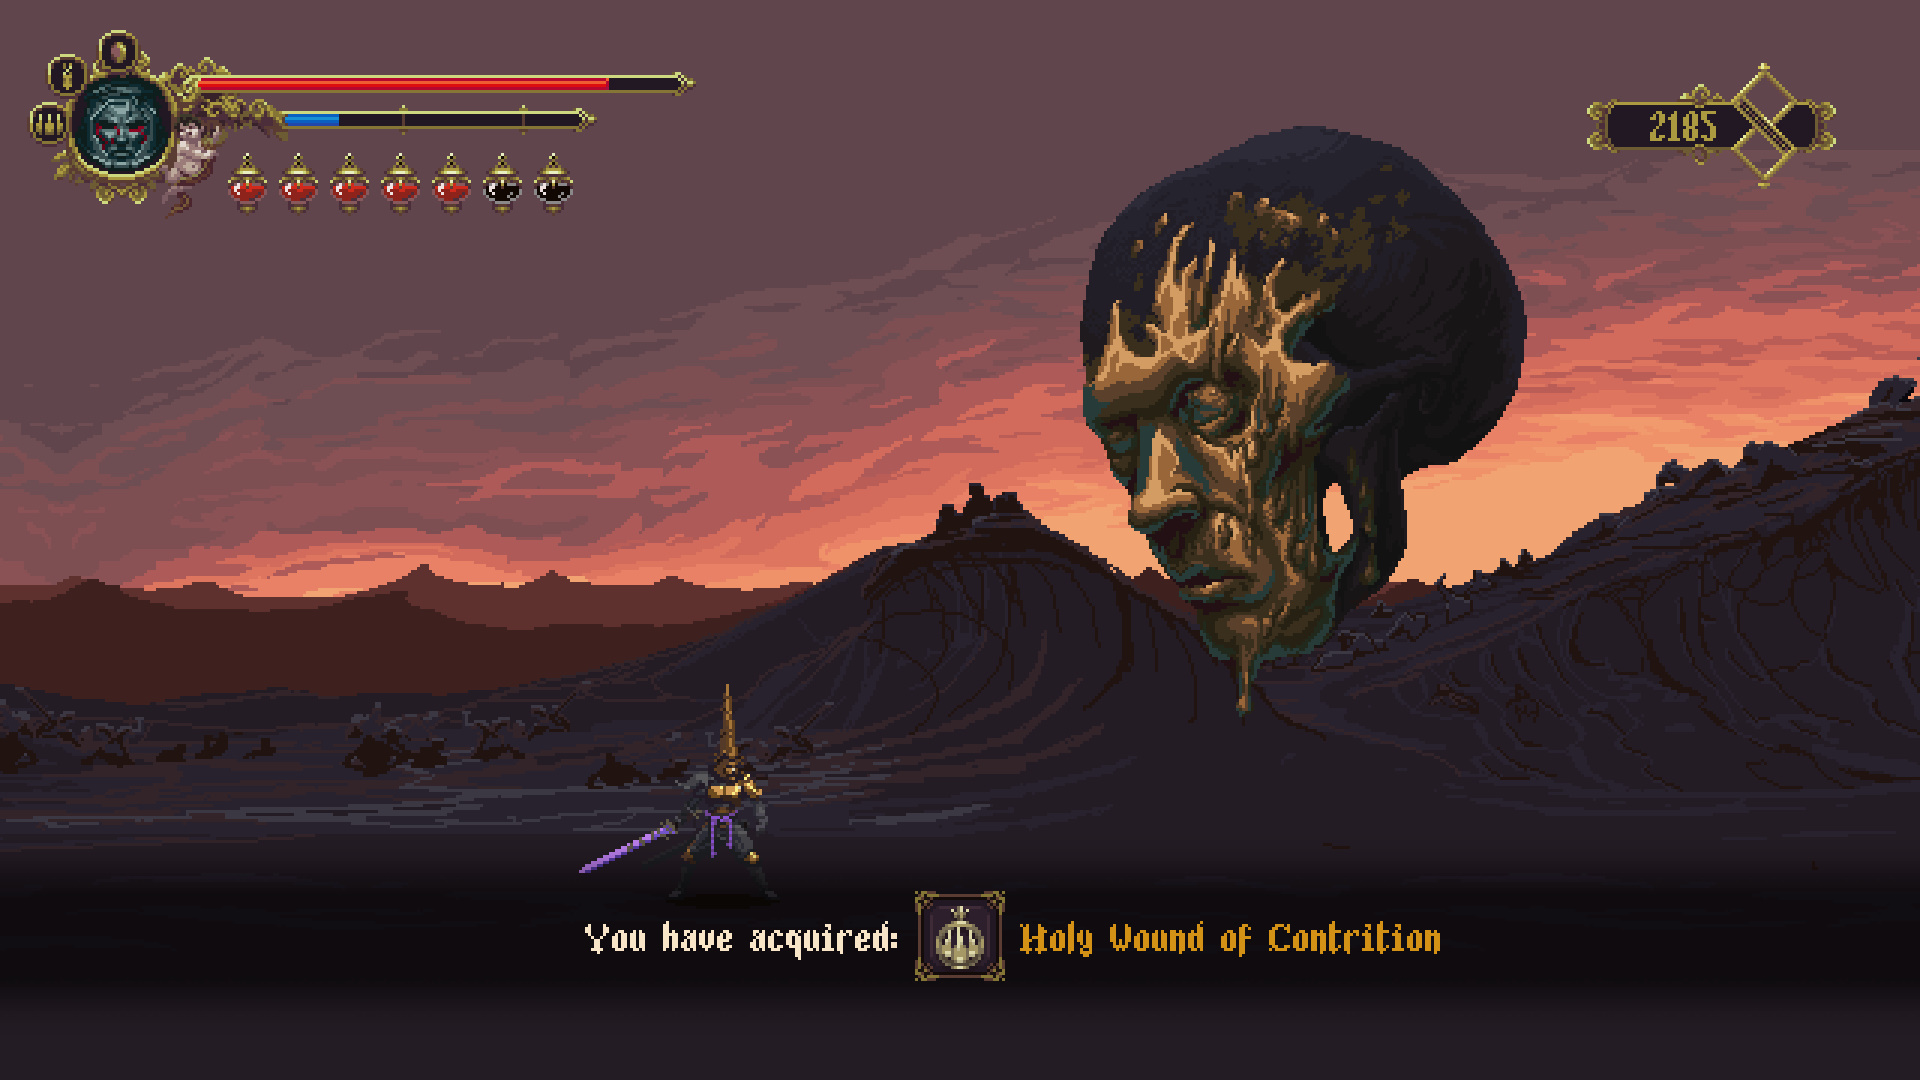
Inside the dream run to the right until you reach old metal face man. Speak with him to receive the Quest Item: Holy Wound of Contrition. After you receive this item a cutscene will play showing the gate opening.
Leave the dream room and head to the right. Here you will bump into Degracious. Speak to him to learn more about where to go next. Continue right and pull the lever to lower down an elevator. We are now in the lower half of the Desecrated Cistern.