Lost Lament – Destiny 2 Beyond Light Guide
The Lost Lament is an exotic quest that was released during The Season of the Hunt in Destiny 2. This exotic quest features a total of 11 quest steps that must be completed to receive the exotic sword called The Lament. To take part in this exotic event you need to own Destiny 2: Beyond Light. To help you complete this exotic quest check out our The Lament guide below.
How to Start The Lost Lament Exotic Quest

To start the Lost Lament exotic quest make your way to the Tower and speak to Banshee-44, the Gunsmith. When you speak to this NPC he will have the quest available to you. Accept the quest to add it to your inventory. Once you have the quest activate it and head off to Europa to complete the first quest step.
Step 1: Locate and Scan 3 Dead Exos on Europa
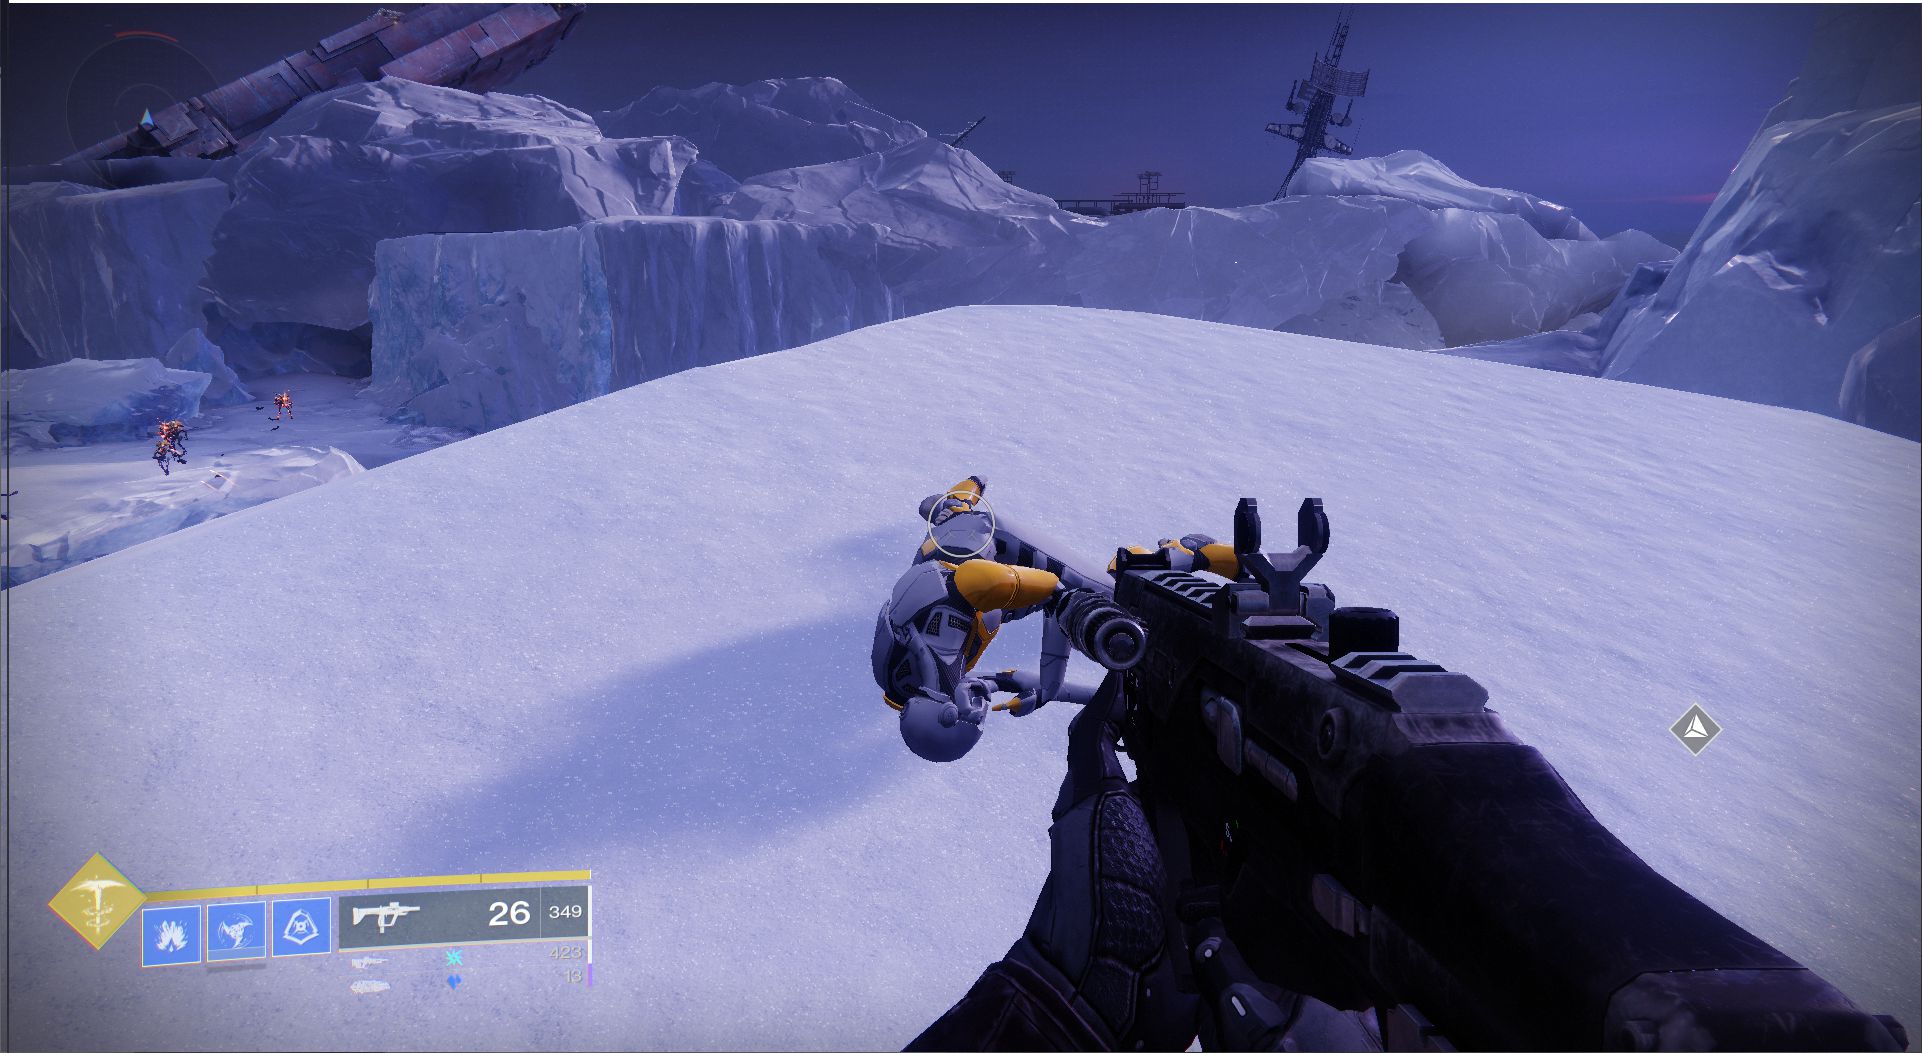
The first quest step for the Lost Lament is to find and scan 3 dead Exos on Europa. There are a total of 9 dead Exos scattered across Europa you can find. We put together a guide for finding all of the dead Exo you can consult if you wish. The three that I feel are the easiest to find are:
- Cadmus Ridge ice ridge west of Penguin Toy cave.
- Asterion Abyss snow drift next to Nexus entrance.
- Eventide Ruin northeast building next to pillar.
All of the above mentioned dead Exos can be located in the overworld in their respective areas. To scan them simple approach them and you will receive a button prompt. Press the button and repeat on 2 more dead Exos to complete this quest step.
Step 2: Locate the Giant Exo hidden in the Exo Facility

Note: Have the exotic quest active to flag the Giant Exo on your map.
The second quest step is to find the Giant Exo in the Exo Facility. To do this make your way to the Bray Exoscience building on the west-side of Cadmus Ridge. Enter the building and make your way through it into Creation. In Creation follow the quest markers until you reach the room with the Giant Exo inside it. Approach the Exo and activate AI by pushing the necessary button to finish this quest step.
Step 3+4: Use a Sword to Defeat Vex Across Europa
After you activate the Clovis AI you will trigger the third quest step. This step is combat focused and requires you to use a sword to get the following completed:
- 100 Vex killed on Europa with a sword.
- 20 Minotaur, Hydra, Cyclops Sword final blows.
How you want to approach this step is up to you. If you wish you can jump into the Europa strike, run the Peridtion Lost Sector, complete Spire Integration Public Events, or farm on the over world. Whatever your method just get the kills you need to advance to the next quest step.
Step 5: Exo Challenge Completed
Once you’ve completed the combat challenge in step 3 you will need to complete an Exo Challenge. Exo Challenges are challenges you can complete for loot. To complete an Exo Challenge you need to speak to Variks The Loyal and complete the quest called Old Secrets, New Challenges. This quest takes you to the Bray Exoscience lobby where you can interact with a mission flag to begin the new Exo challenge. Complete the Exo challenge to complete this fourth quest step.
Step 6: Vex Defeated with Finishers
Upon completion of the Exo Challenge you will need to defeat Vex on Europa with finishers. This can be done in a similar fashion to how you did step 3. You are free to do Europa strike, run the Peridtion Lost Sector, complete Spire Integration Public Events, or farm on the over world. Keep in mind the stronger the Vex the higher the percentage earned from the finisher. You need to defeat roughly 50 normal Vex with finishers to complete this step.
Step 7: Access the Strike The Glassway and Locate the Blade Pieces Within

When you’ve gotten all the finishers you need you will trigger a new quest step. This quest step tasks you with playing through the strike on Europa called The Glassway. During this strike you need to defeat the enemy called Transcendent Harpies during the boss fight at the end. This enemy will appear at the start of the fight and you will see text on your screen announcing their arrival. Defeat this champion enemy to receive the Blade Pieces needed to complete this step.
Step 8: Spoke to Banshee-44
Head back to the Tower and speak to Banshee-44. Here he will give you the Broken Blade exotic. When you receive this item you will trigger the next step in the quest. The end is getting closer.
Step 9: Search Eventide Ruins for an Abandoned Bunker and Explore Inside

Take the Broken Blade exotic and head back to Europa. Make your way to the Eventide Ruins area and enter the Lost Sector there called Bunker E15. All you need to do to explore the abandoned bunker is to complete it. When you open the cache at the end you will get the next quest step.
Step 10: Reforging the Past Completed
Once the Bunker E15 Lost Sector is complete the next quest step is to complete a mission called ‘Reforging the Past.’ This mission is accessible just outside the Lost Sector building on the northwest corner. Interact with the flag there to trigger the mission.

To complete this mission you need to go from the Eventide Ruins to Creation. This is done in a tank. When you reach Cadmus Ridge you will need to defeat Vex. Defeat them then head through Bray Exoscience into Creation to the AI. You can run past most of the enemies here so just make a bee-line for the AI if you want to end this step fairly quickly. Once you are at the AI you will defend it twice, once without The Lament and once with it. After you defend it twice the mission will end.
Step 11: Spoke to Banshee-44
The final step of this exotic quest is to return to Banshee-44 on the Tower. Head back to the Gunsmith and speak with him one final time. This final interaction will give you a bit of lore around the weapon and will complete The Lost Lament exotic mission. You will recieve The Lament sword power weapon and the Triumph attached to completing this quest-line.
The Lament Perks and Traits

The Lament is an exotic sword you unlock from completing the Lost Lament mission for Banshee-44. This sword is essentially a sword with a chainsaw blade. Like other exotics in the game this sword has unique perks and traits. Check out what The Lament perks and traits are below:
- Jagged Edge (Blade): Increase damage at the cost of sword ammo.
- Enduring Guard (Guard): Sword Guard has maximized efficiency and high endurance, but low resistance.
- Tireless Blade (Trait): Sword ammo granted for every other powered sword kill.
- Revved Consumption (Trait): Damaging a combatant heals the wielder.
- Banshee’s Wail (Intrinsic Trait): Hold button to rev the blade.
- Increases damage, shield bypass, and adds shield piercing to all attacks.
- Gain stacks when dealing damage with revved attacks.
- Additional stacks increase the damage and damage resistance of heavy attacks.
Visually this blade is a stunner. It also has some interesting perks and traits for those who like to wield a blade in their power weapon slot. There is no exotic catalyst for this blade as of the time of writing this guide (will update if that changes).
This concludes our The Lost Lament exotic quest guide. Overall this quest is fairly easy to complete, but is a touch time consuming. What did you think of this quest-line and the weapon it unlocks? Let me know in the comments below. As always thanks for reading.