One for the History Books Guide – Monster Hunter World
After you’ve completed the various Assignments located in the Ancient Forest and Wildspire Waste, you will see a cutscene outlining the Council’s plan to capture the elder dragon, Zorah Magdaros. This quest, called “One for the History Books”, is a bit of a departure from gameplay you have played up to this point, but is still really fun. Below is our One for the History Books guide, to help you complete the quest and get some sweet materials.
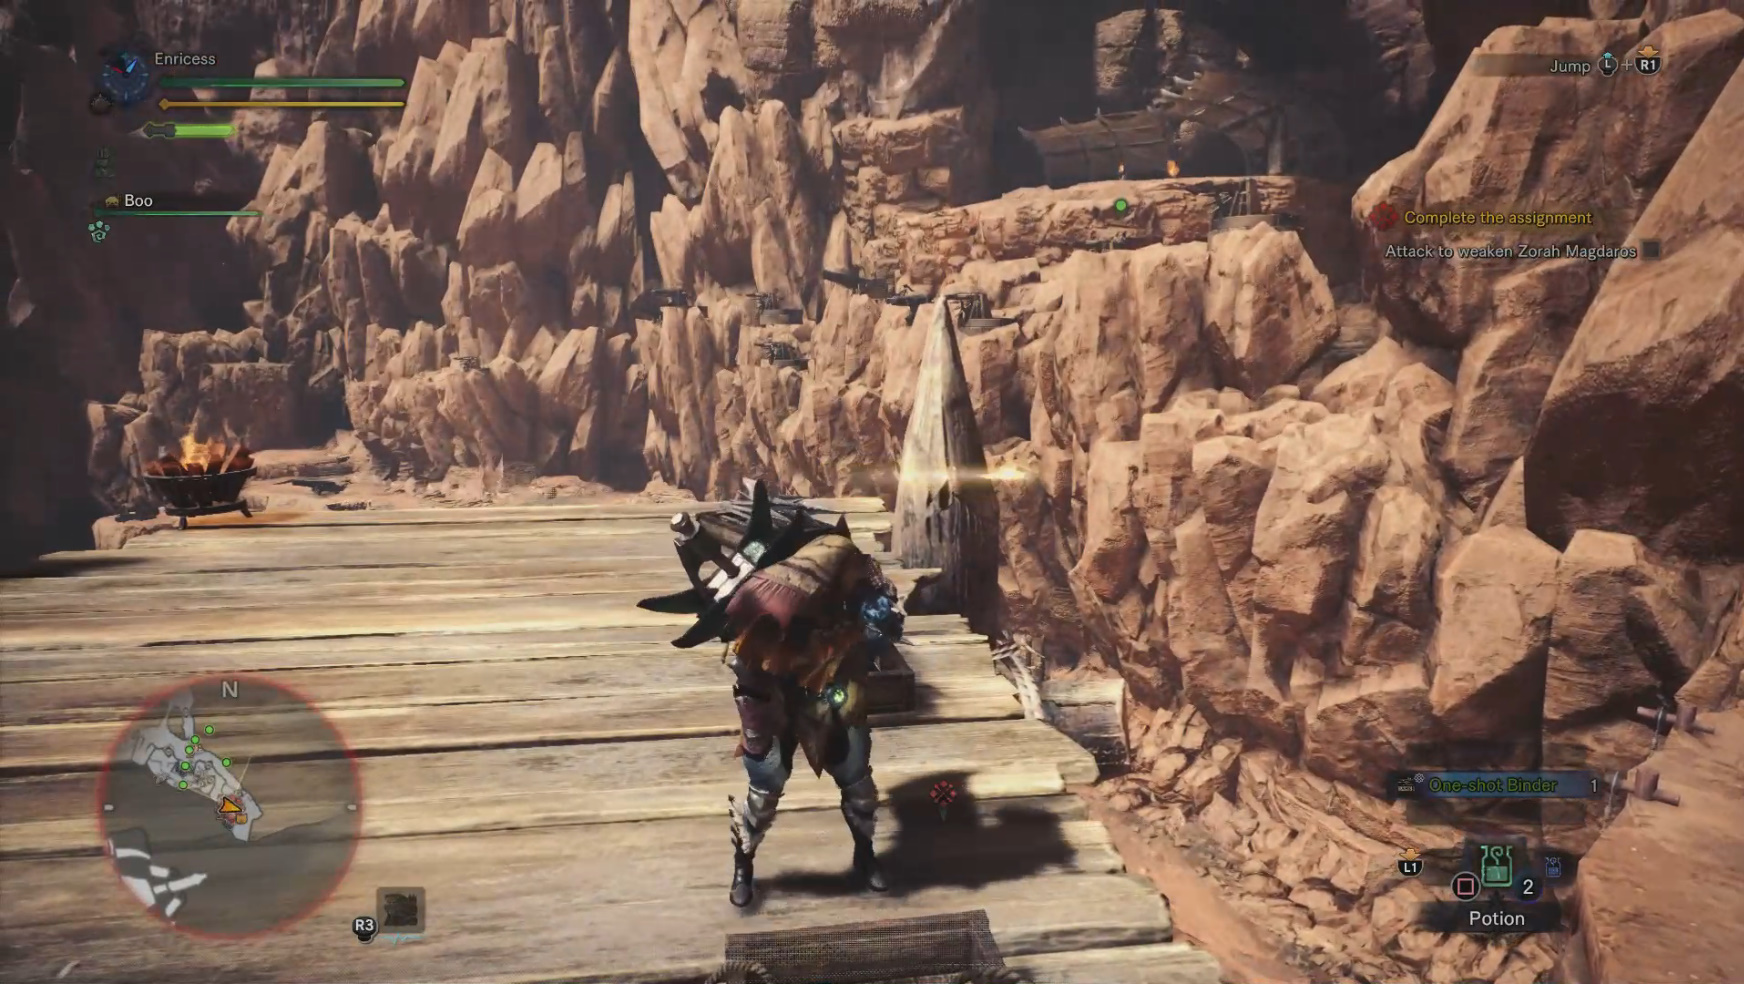
Objective 1: Attack to weaken Zorah Magdaros

We’re gonna need a bigger boat.
The first portion of this quest places you in a defensive position on a high wall. At your disposal are various cannons and balistes scattered along the wall. What you want do here is use whichever defensive measure you want to weaken Zorag Magdaros. To do this, simply load ammo into the defensive measure, fire and repeat. Watch out for Barnos during this phase as they will attack you while using either defensive measure:
Defensive Measures

Shoot her, shoot her.
The Ballistes are loaded with 10 shots per Ballista Ammo reload and can be accurately aimed. They do less damage than the cannon, but can hit crits on exposed areas if you break pieces off of Zorah Magadros.

Thar she blows captain
The Cannons can be loaded with up to 5 cannonballs at a time, which can speed up the damage dealing process. Your Palico will help you load the cannons which makes them a better choice than the balistes.
Regardless of what you choose, simply deal a ton of damage in this phase to move to the next objective. The shift to your next objective will be announced by the Commander and involves firing a binder from the top of the barrier.
Objective 2: Fire Binder from Ballista


Follow the objective markers up the rope ladder and onto the barricade. Grab the One-shot Binder and load it into the Ballista. Shoot it at Zorah Magdaros. Once this is done, return to dealing damage to Zorah Magdaros. Eventually, Zorah will breach the first barricade which moves the quest forward.
Objective 3: Head to a hitching post and Reach Zorah’s Back
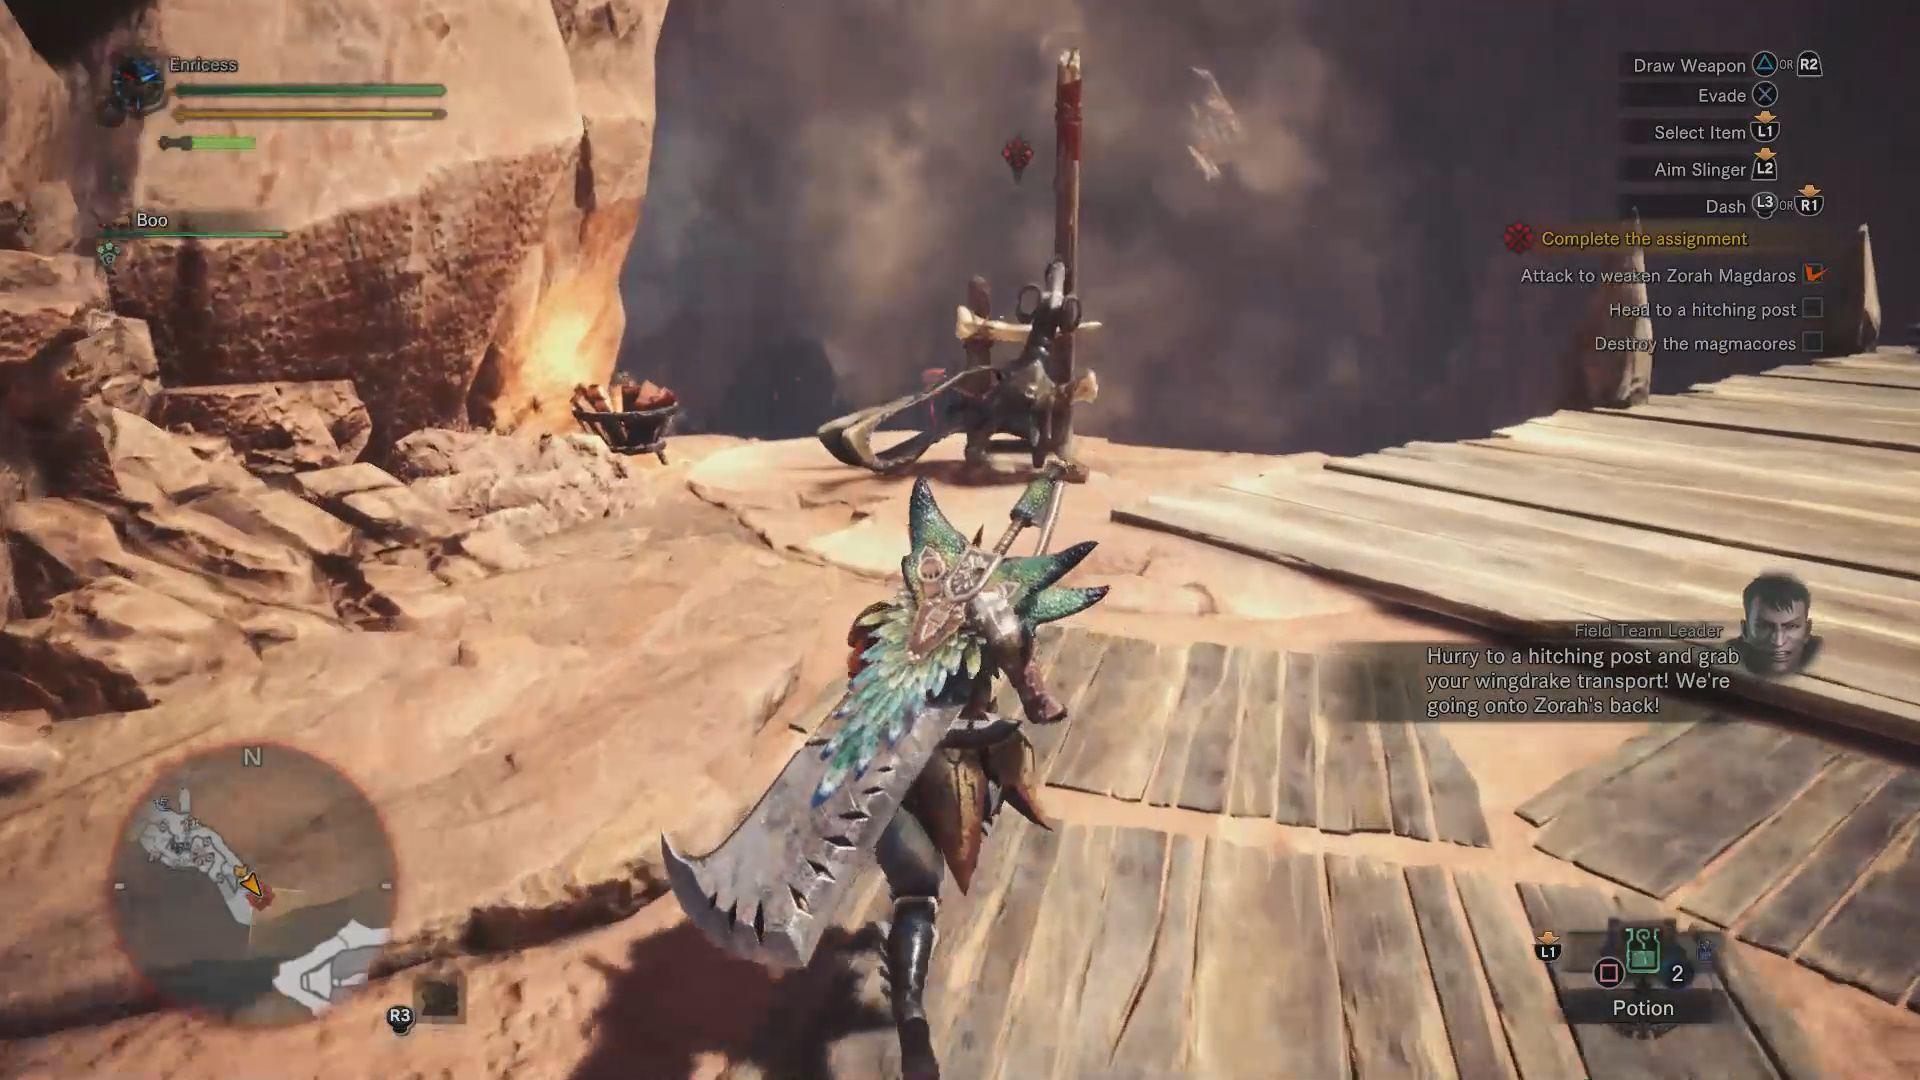
After Zorah breaches the first barricade, you will be prompted to head to a hitching post. There is one located on top of the barricade where you loaded the One-shot Binder, so make your way there. Once there a cutscene will trigger and you will fly onto Zorah’s back.
Objective 4: Mine and Destroy Magmacores
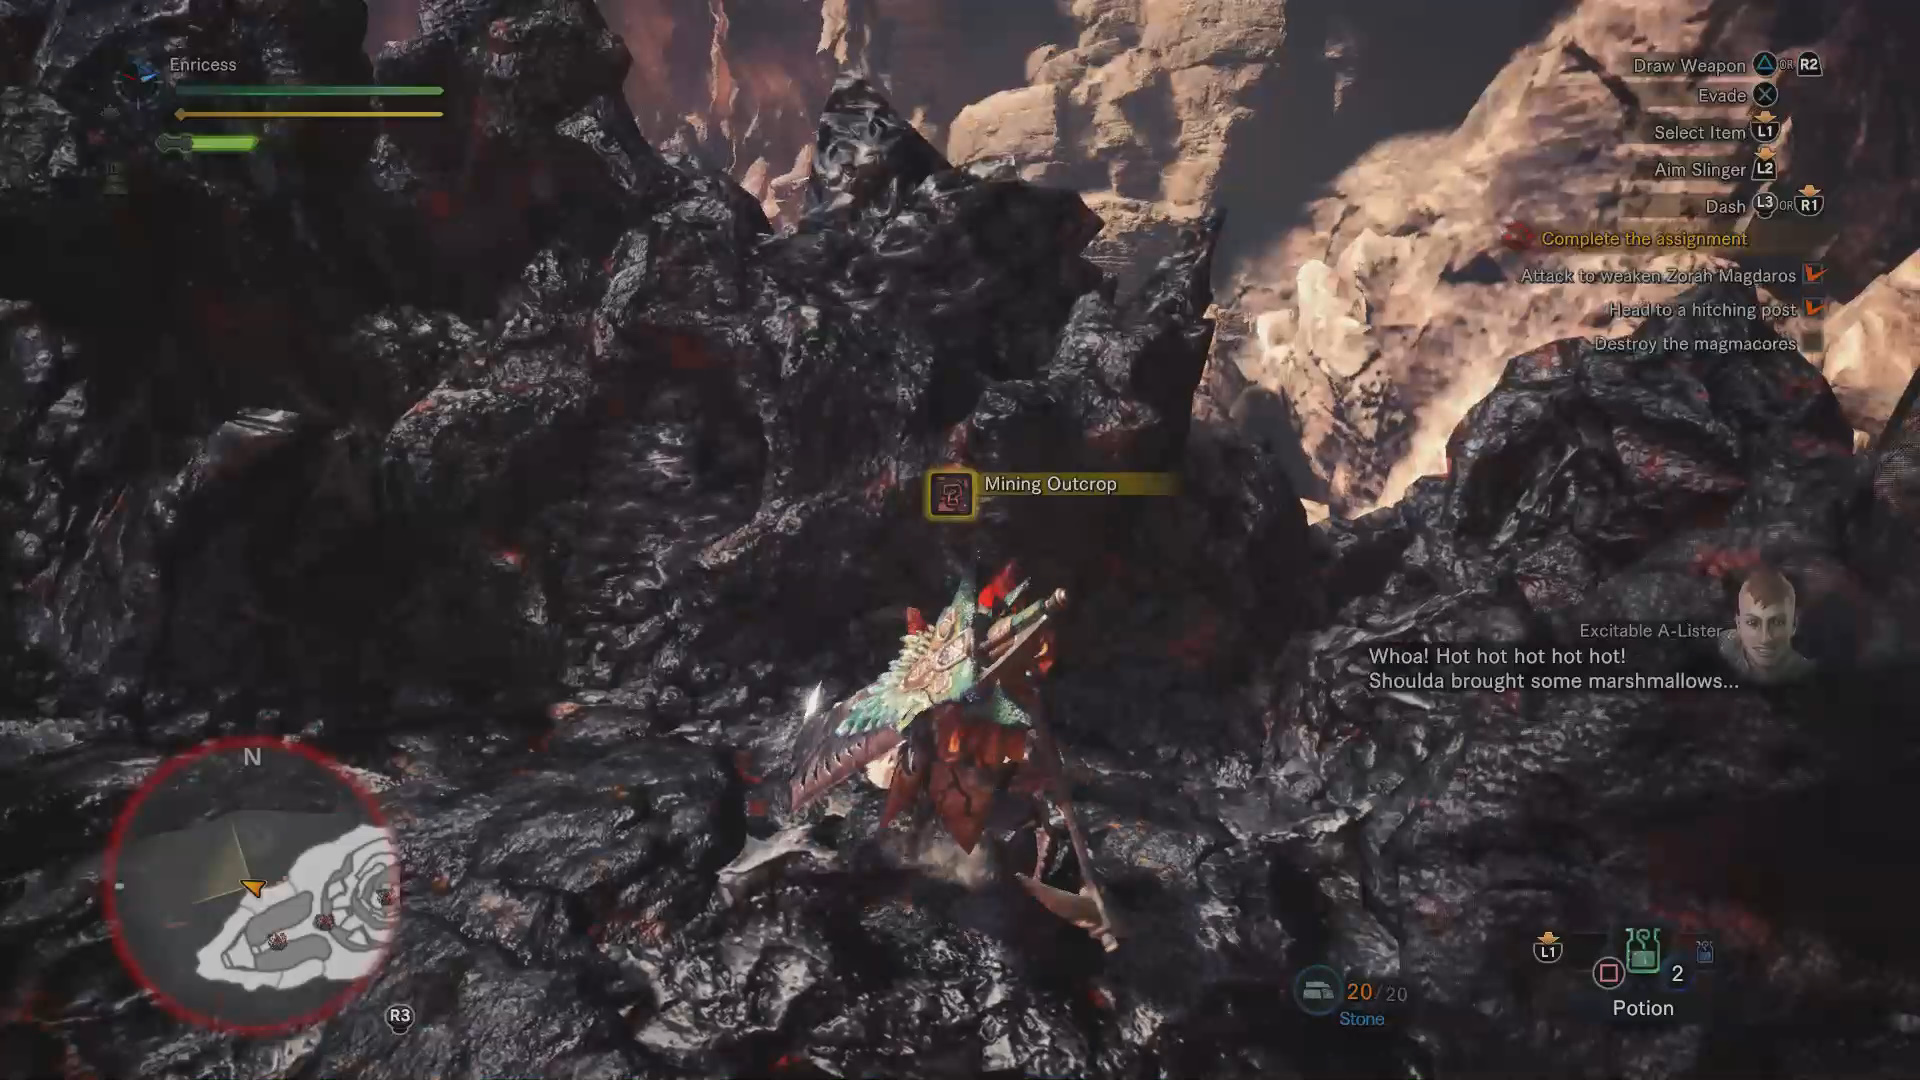
Focus on mining while on Zorah’s back.
Of everything found in this guide, this is the biggest help I can give you. When on Zorah’s back, don’t focus on completing the destroy Magmacores objective. Instead run around to the many Mining Outcrops on Zorah’s back. These outcrops can give you new material which can immediately be used upon quest completion at the Smithy (I found five spots). Once all the Mining Outcrops are mined, focus on destroying the magmacores.
note: this area appears to be time based, as I only destroyed 1/3 and was immediately moved to the next portion of the quest.
Objective 5: Survive Nergigante Until Help Arrives

Survive until help arrives to complete the quest.
After enough time has passed on Zorah’s Back (or you destroy the magmacores), you will hear that a creature is headed your way. The creature is Nergigante and it will attempt to fight you. All you need to do here is wait for help to arrive and the mission to end. Enjoy a crazy good cutscene featuring The Huntsman.