Prey – Break Out Walkthrough
This post highlights the start of our Prey walkthrough. Having completed the game, I feel like I will be adequately prepared to sherpa you through it. For those of you who don’t know, Prey is a survival horror/action game which places you (Morgan) on Talos I with the aim of discovering what exactly is happening. As you learn more, things become more complicated as the often do. Hopefully this guide will help you on your journey deeper into the mystery of Talos I. This page is our Prey Break Out walkthrough.
First Day on the Job
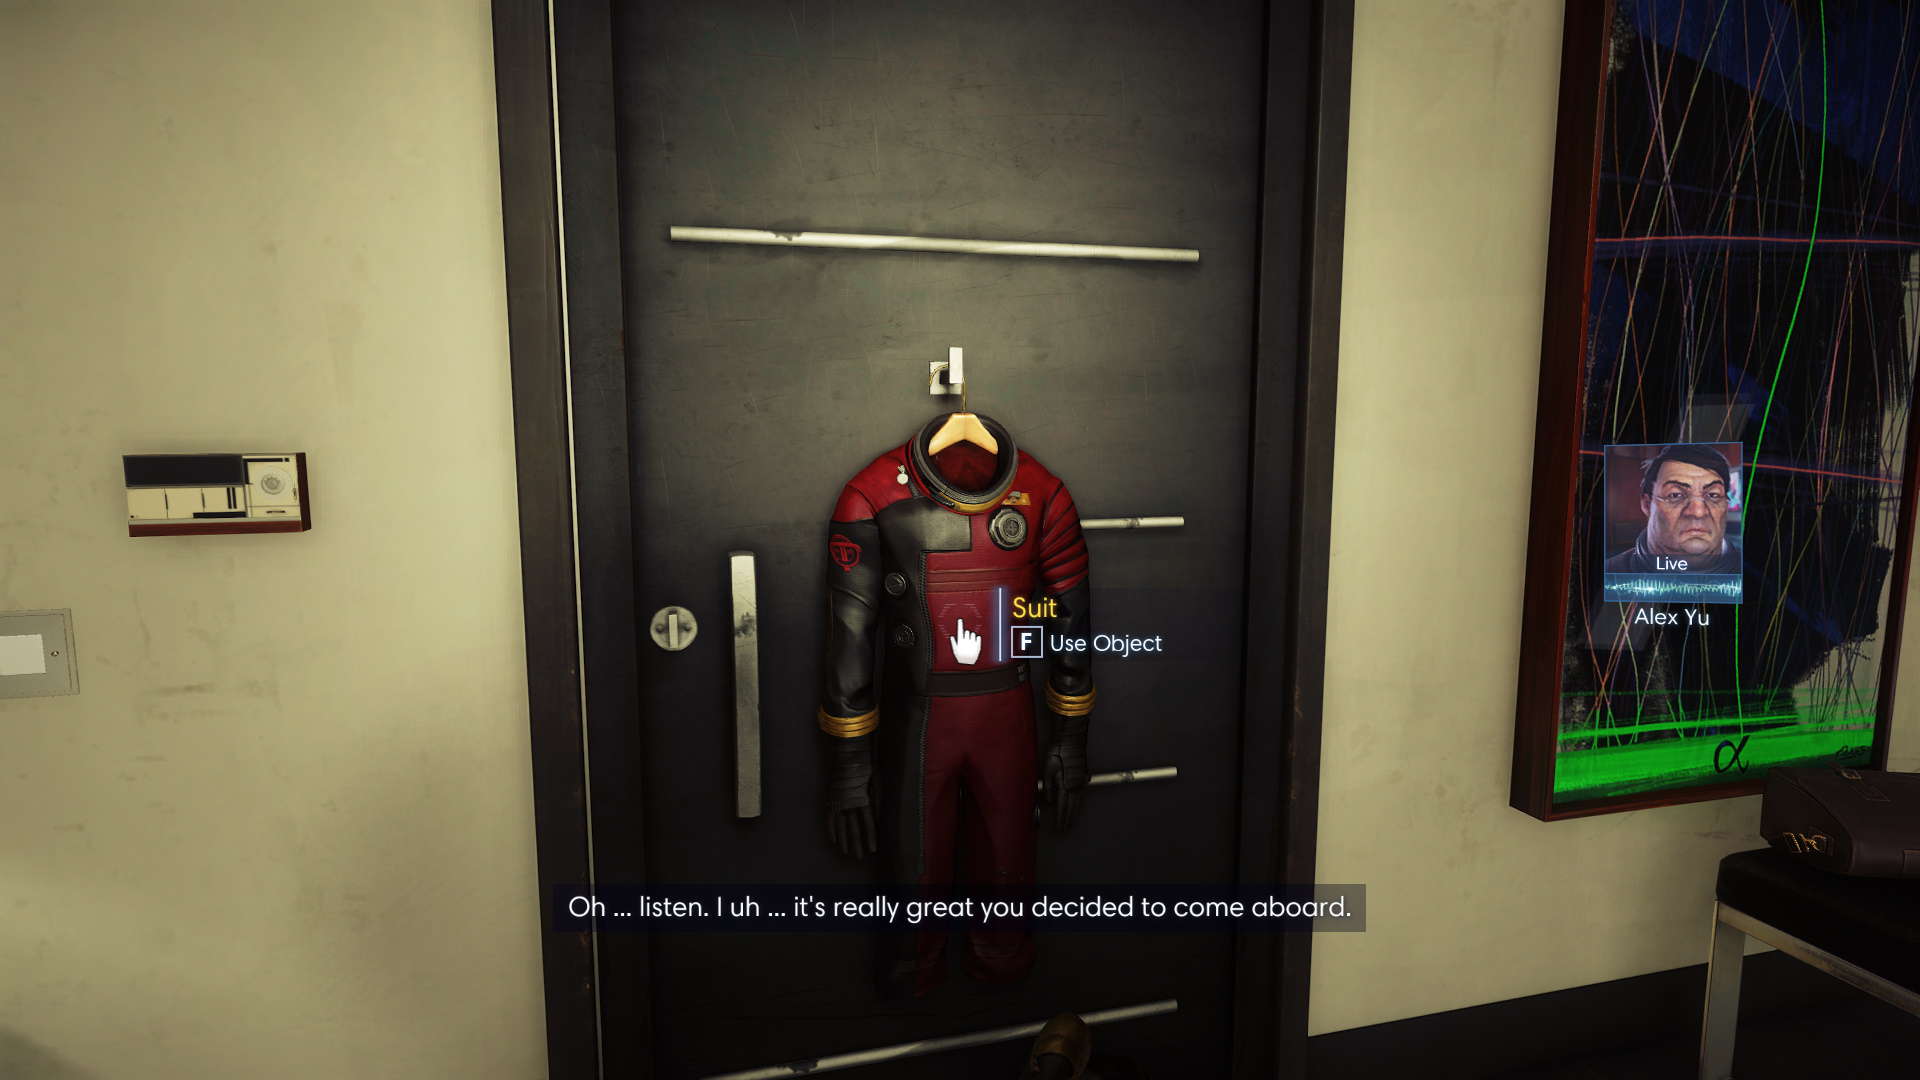

Prey starts out like a typical Monday morning for 95% of humans on earth. You wake up and need to put your suit on. Literally. The first objective requests that put on your suit which is hanging on the door to leave your apartment. There’s not a whole lot else to do in the apartment, but feel free to look around at things like email and books. Once you’re done exploring, head out the door and go left. Talk to Patricia Varma (the maintenance lady) if you feel so inclined, otherwise pass her and enter the elevator.
Get in the Helicopter
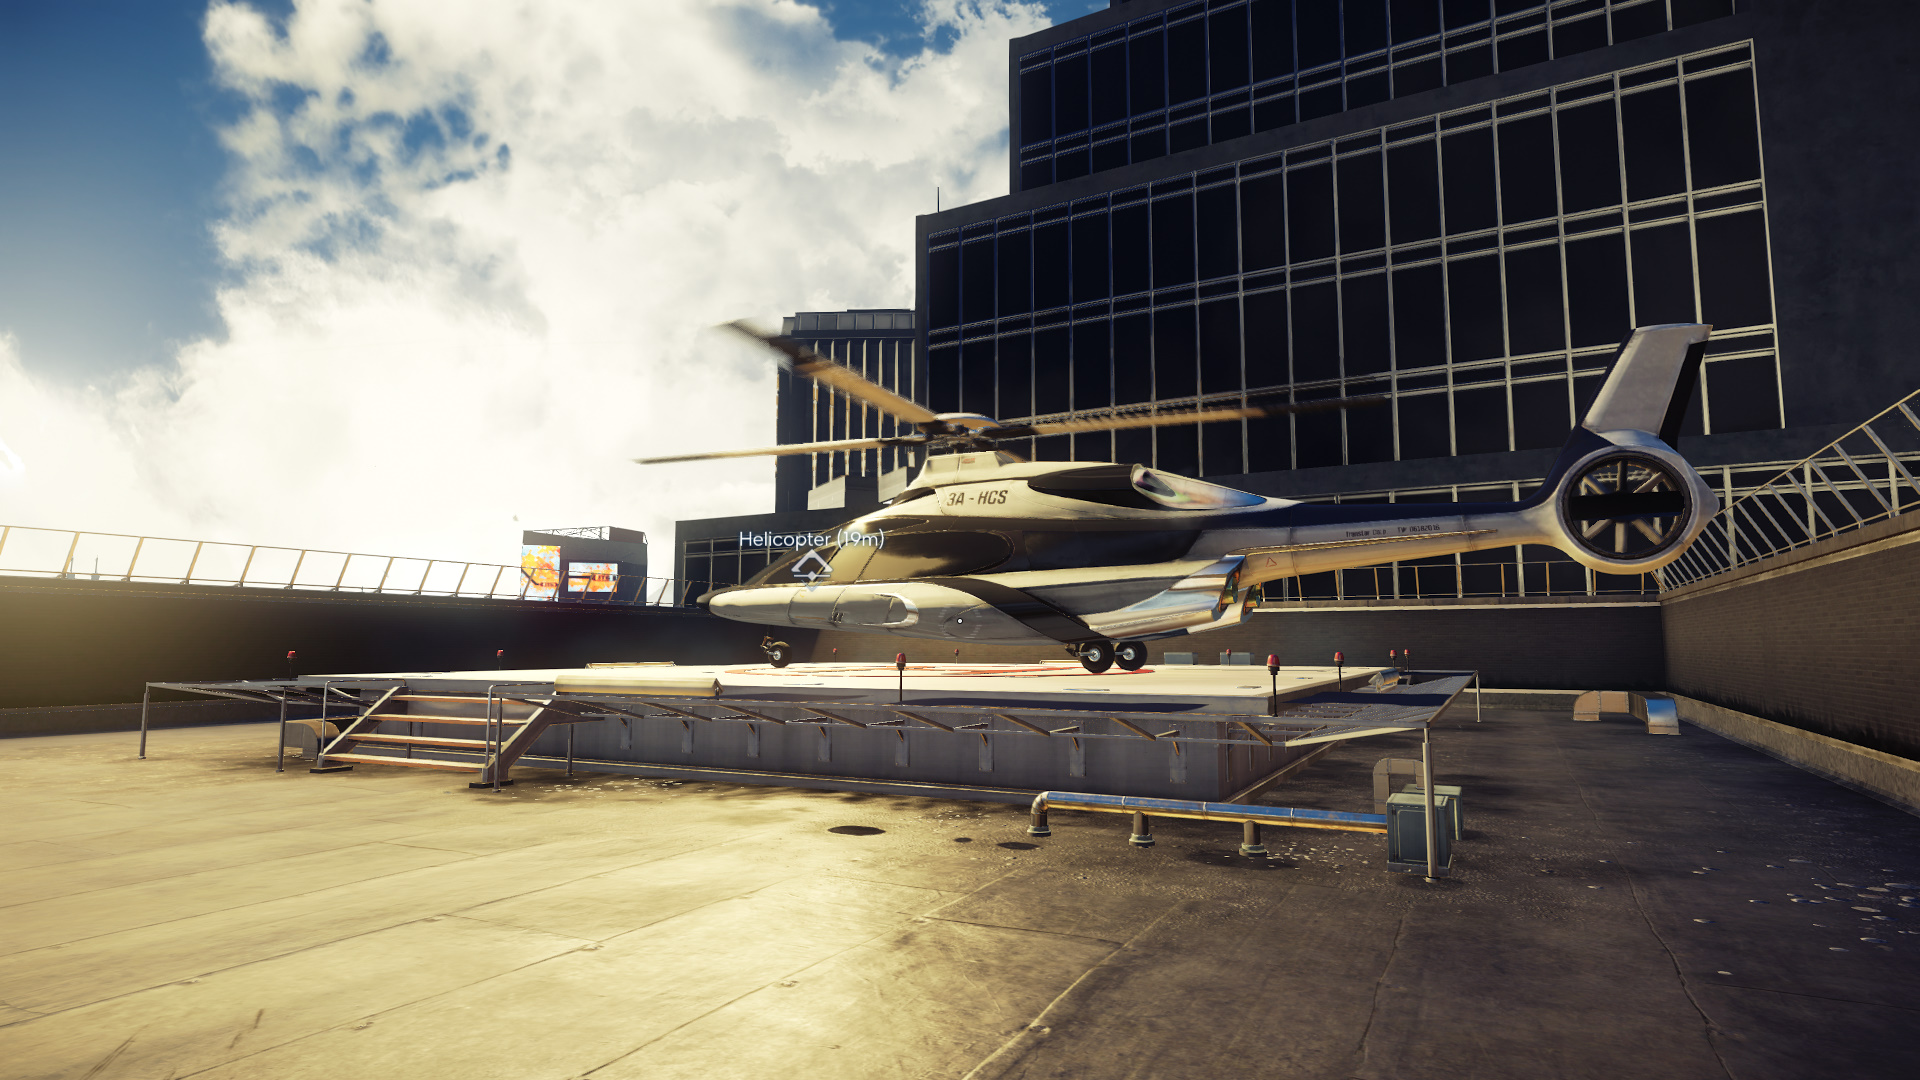


The elevator takes you to the roof and a helicopter located there. Enter the helicopter and trigger Prey’s opening credits. Once the helicopter lands on the Testing Center, head inside. Here you can talk to the Operator to learn a bit of lore. Once the dialogue is exhausted, turn right and get inside the elevator.
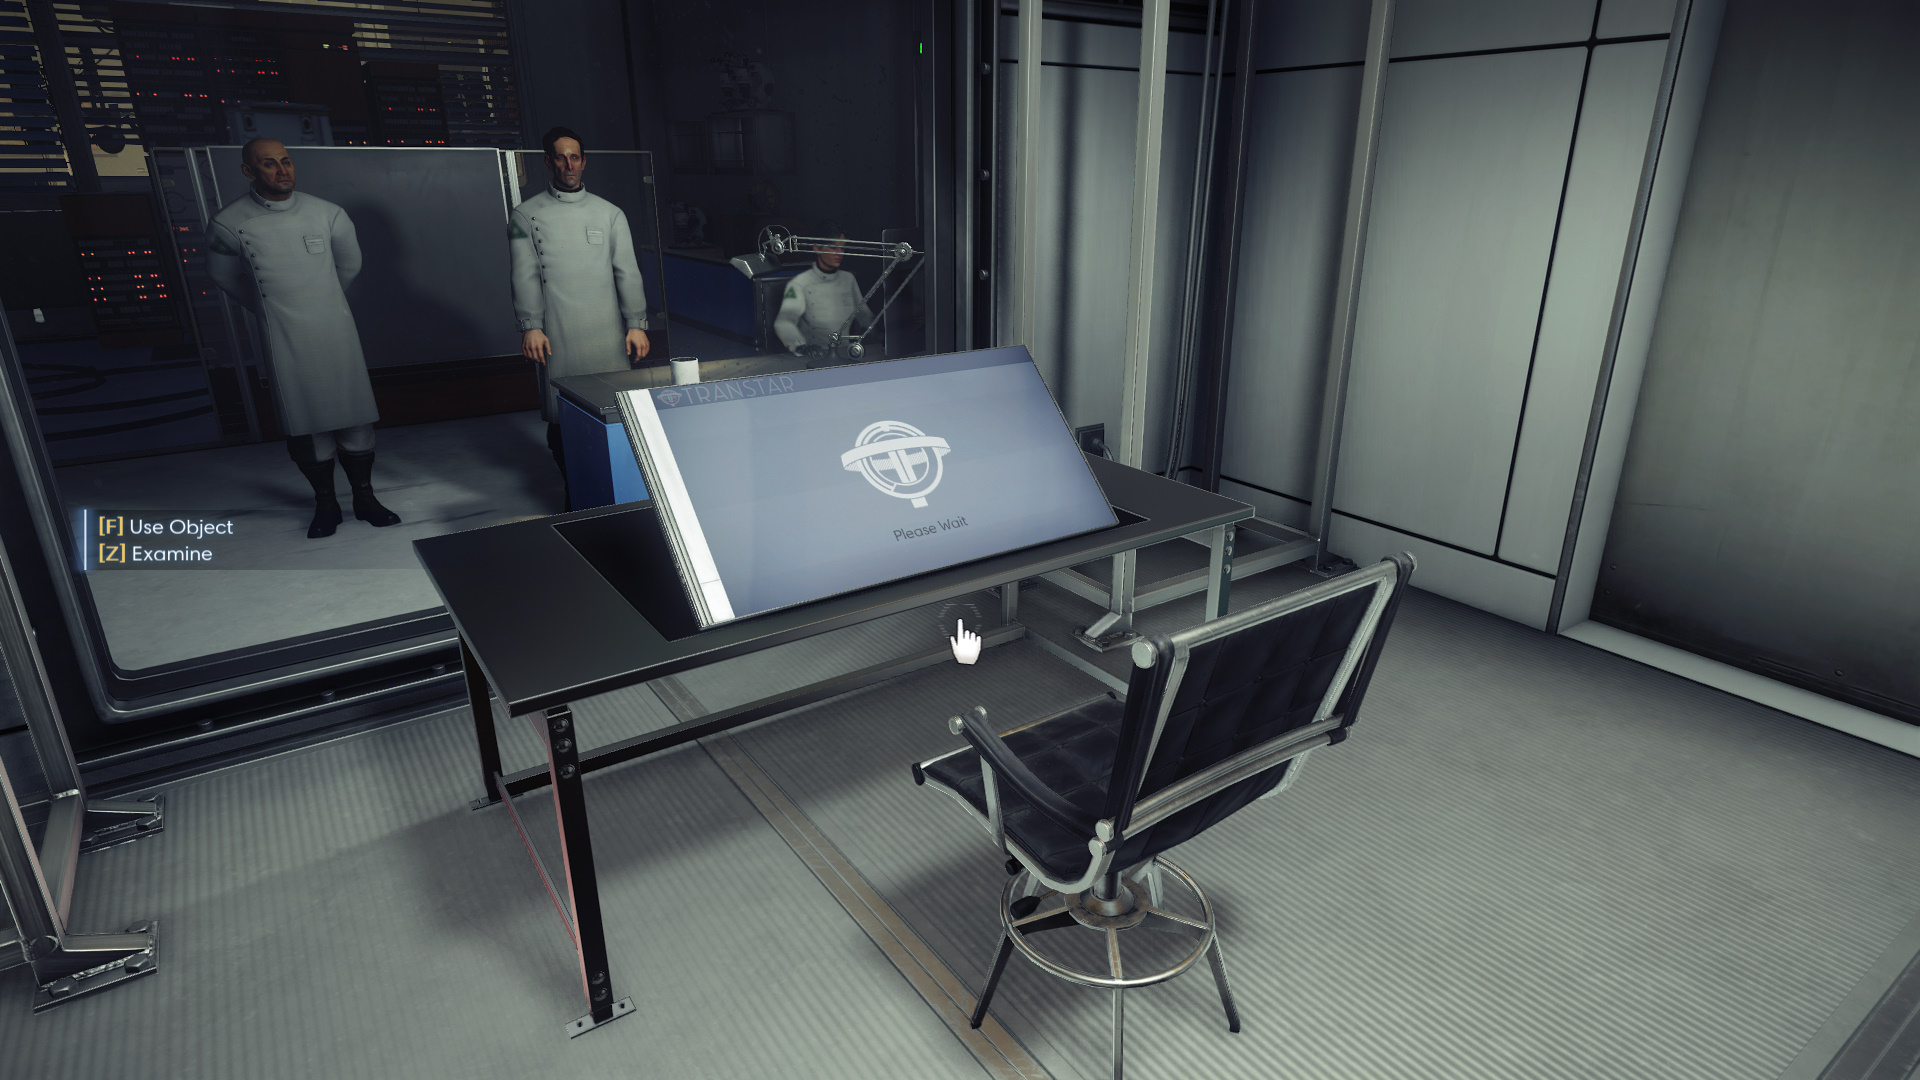
After a short elevator ride, you will enter the Transtar Testing Facility. Here you meet your brother, Alex Yu. Alex tells you a little about the upcoming test and that it is nothing to worry about. He’s not wrong. The test itself is pretty straightforward and acts as the game’s movement tutorial.
Testing Time

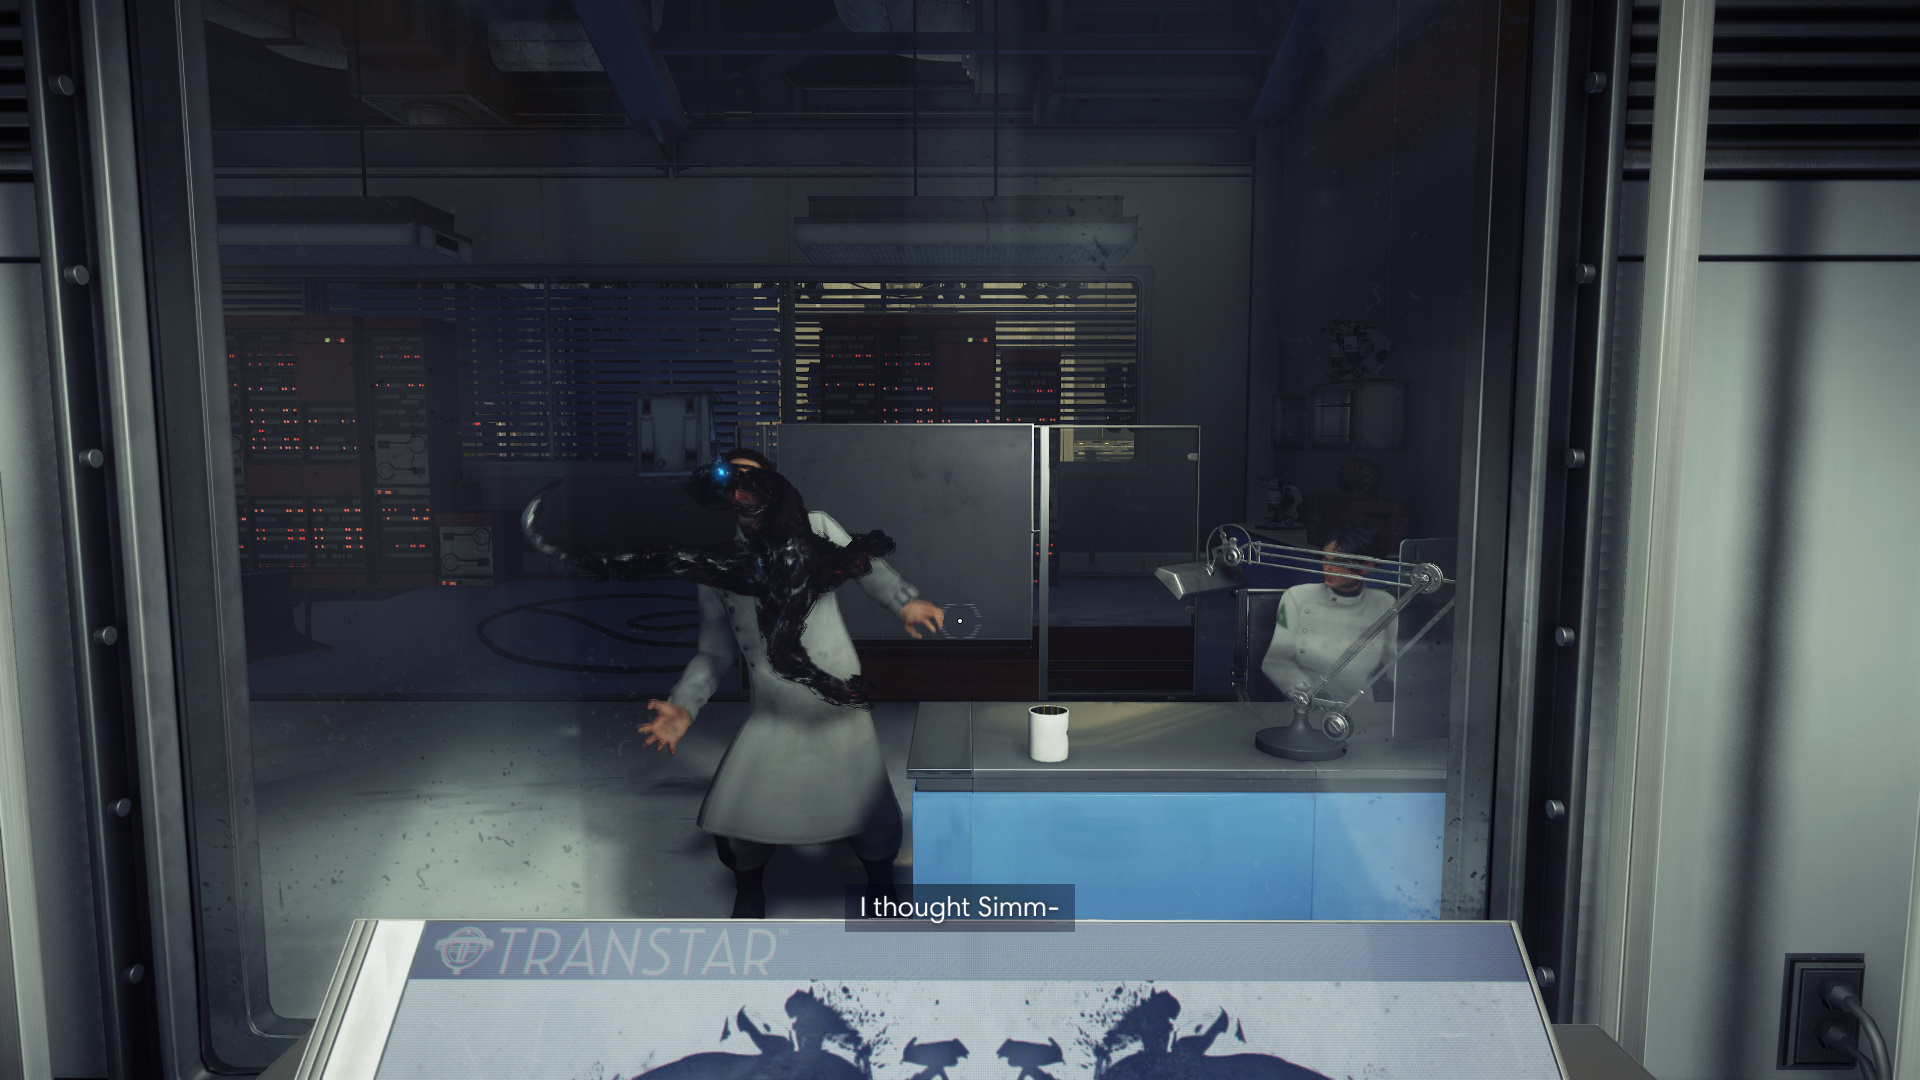
After you finish talking to Alex, you can enter the testing room. Testing takes the form of four rooms with minor activities to complete in each. There is no right or wrong way to do the tests, so have some fun with it. Once you reach the last test, the questionnaire, things take a dark turn. We see a strange creature attack Dr. Bellamy and then gas floods the testing room, knocking Morgan unconscious. This ends the ‘tutorial’ and the game officially starts.
Get to Talos I Lobby
Break Out

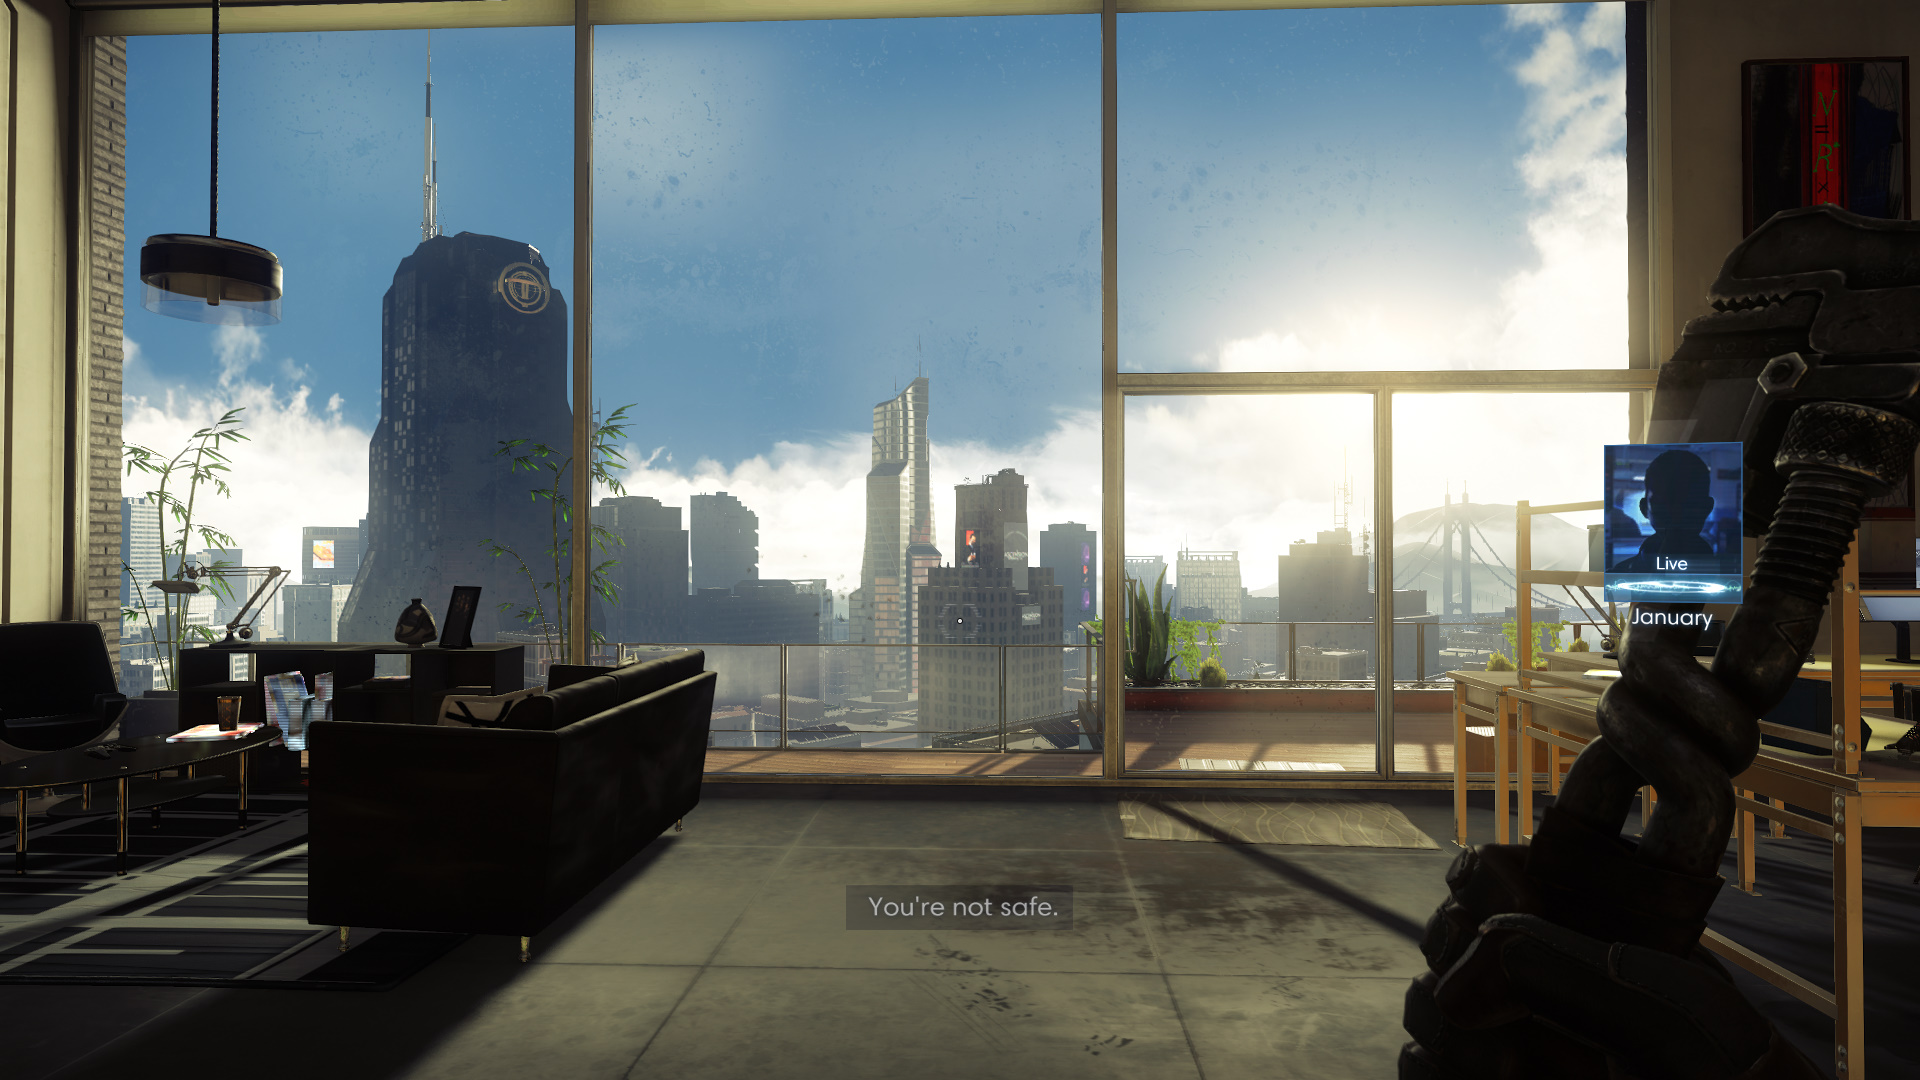
After being knocked unconscious, you wake up once again in your apartment. The day starts eerily similar to the day earlier. You’re required to put on your suit once again and should search your apartment for material as well as read emails. While things appear to be the same, they definitely are not.
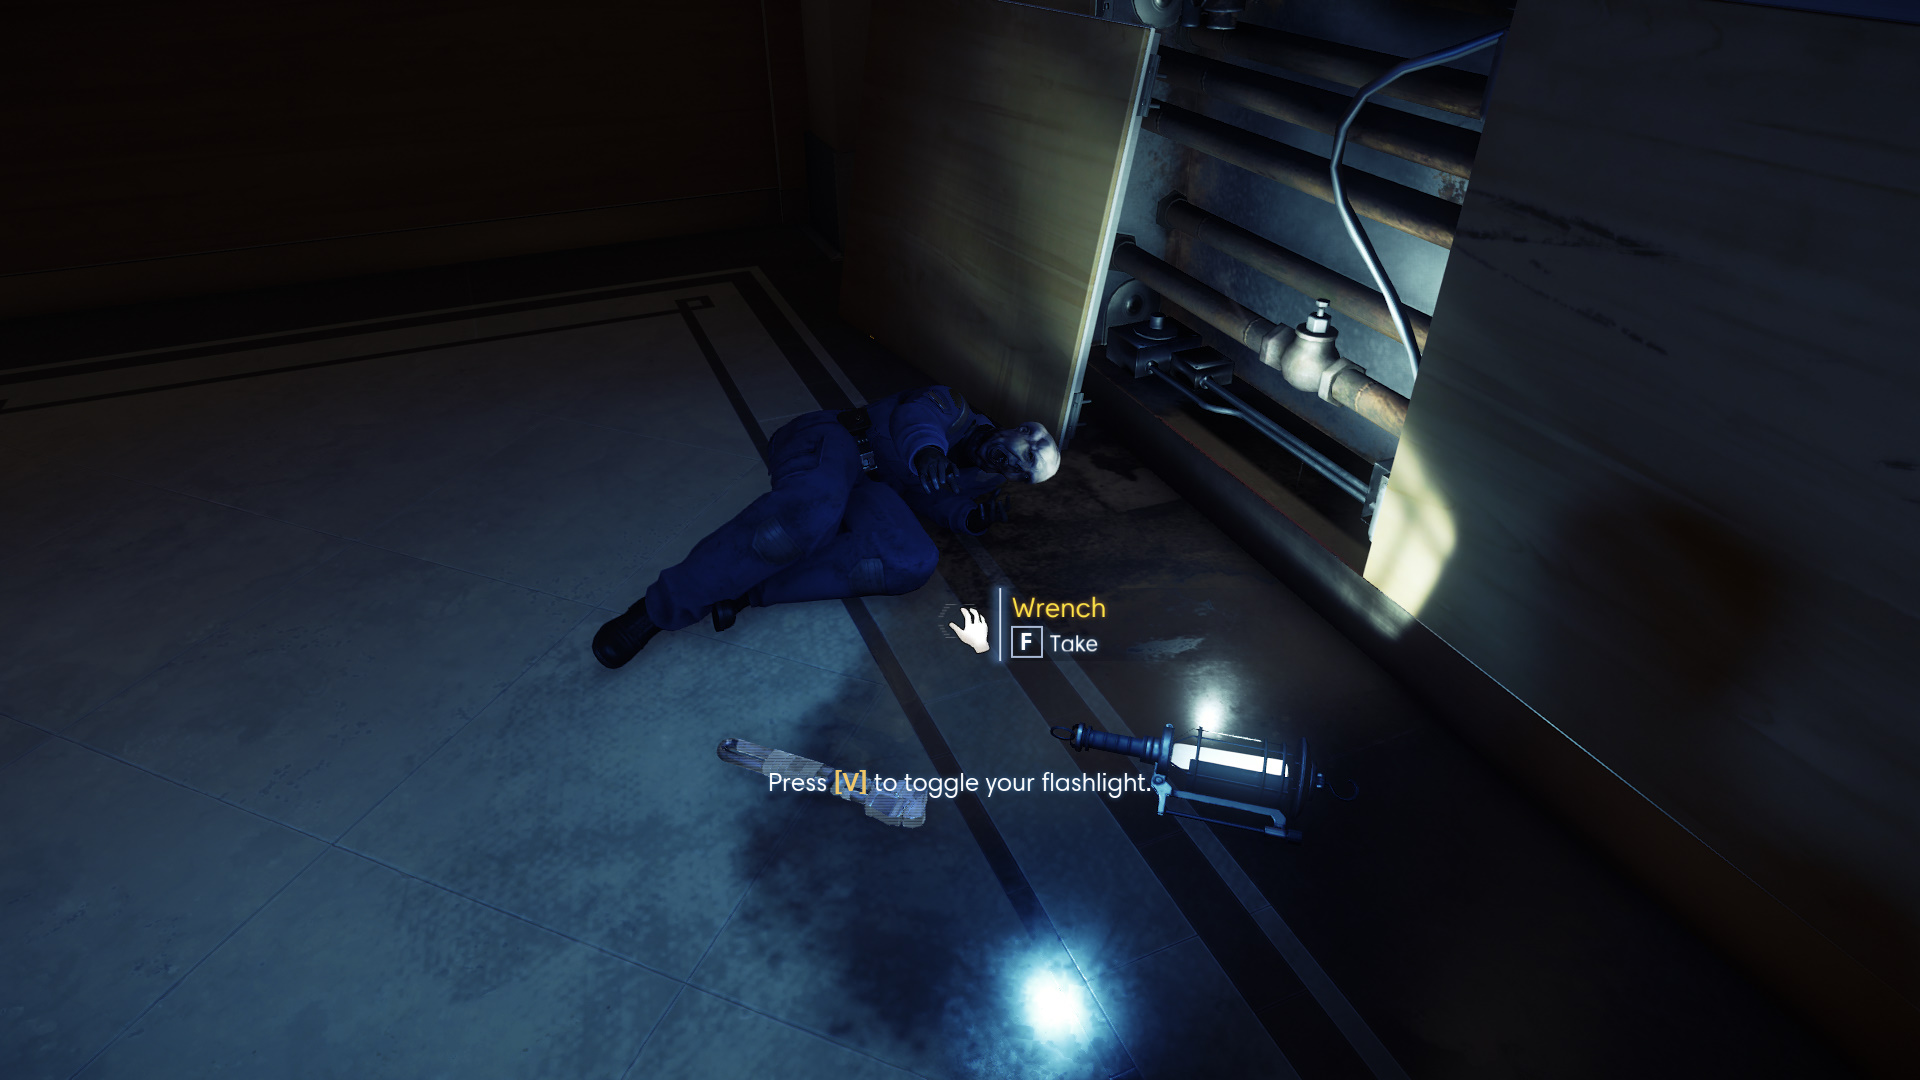
Once you are done with your apartment, head out the front door. The once lively-ish hallway is now shrouded in darkness and Patricia Varma is looking like a raisin. Varma’s death, although sad, is beneficial for us. Loot the Wrench from beside her corpse. The Wrench is an important weapon in Prey as it doesn’t require ammo to use. It can also smash things.
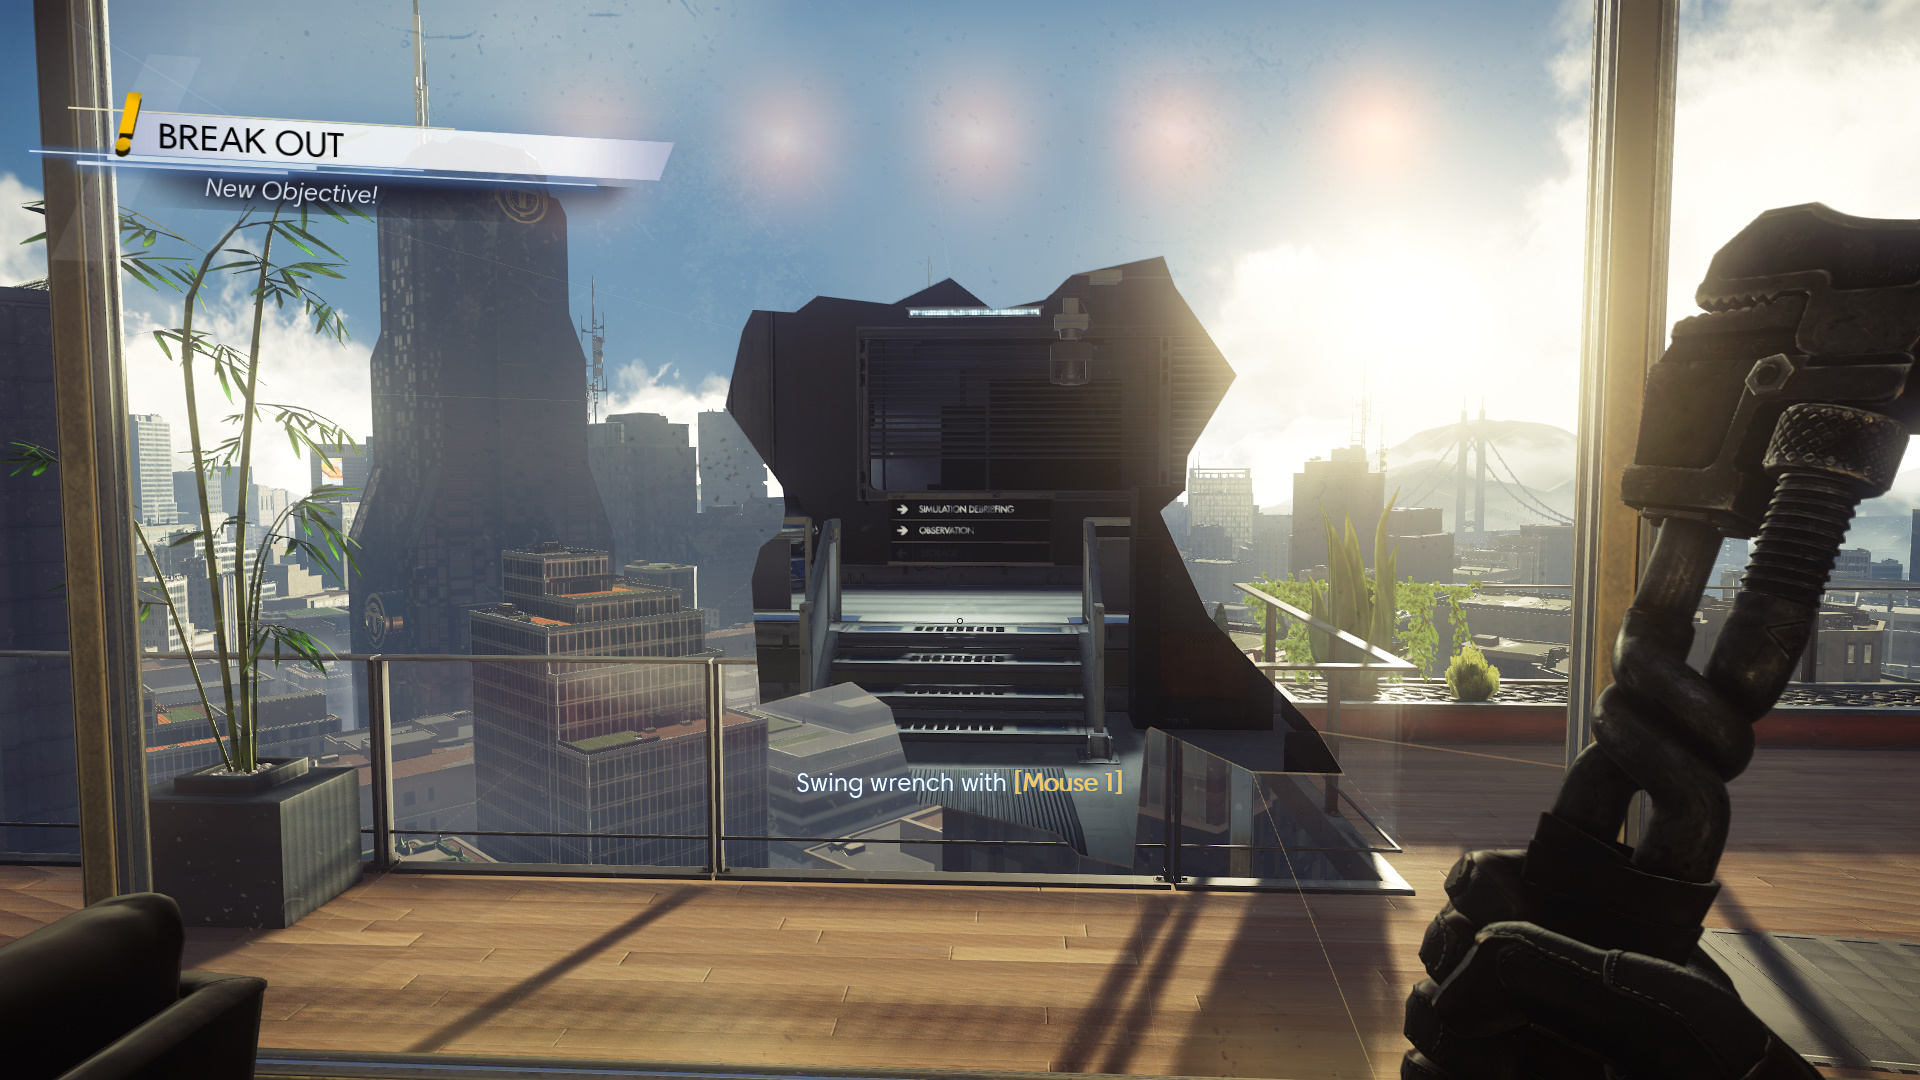
You may have noticed that the hallway is now a dead end. Go back into your apartment and smash the huge window. Turns out things were not as they seemed (a common theme in Prey). This will complete the Break Out objective.
Simulation Debriefing Room + Helicopter Room


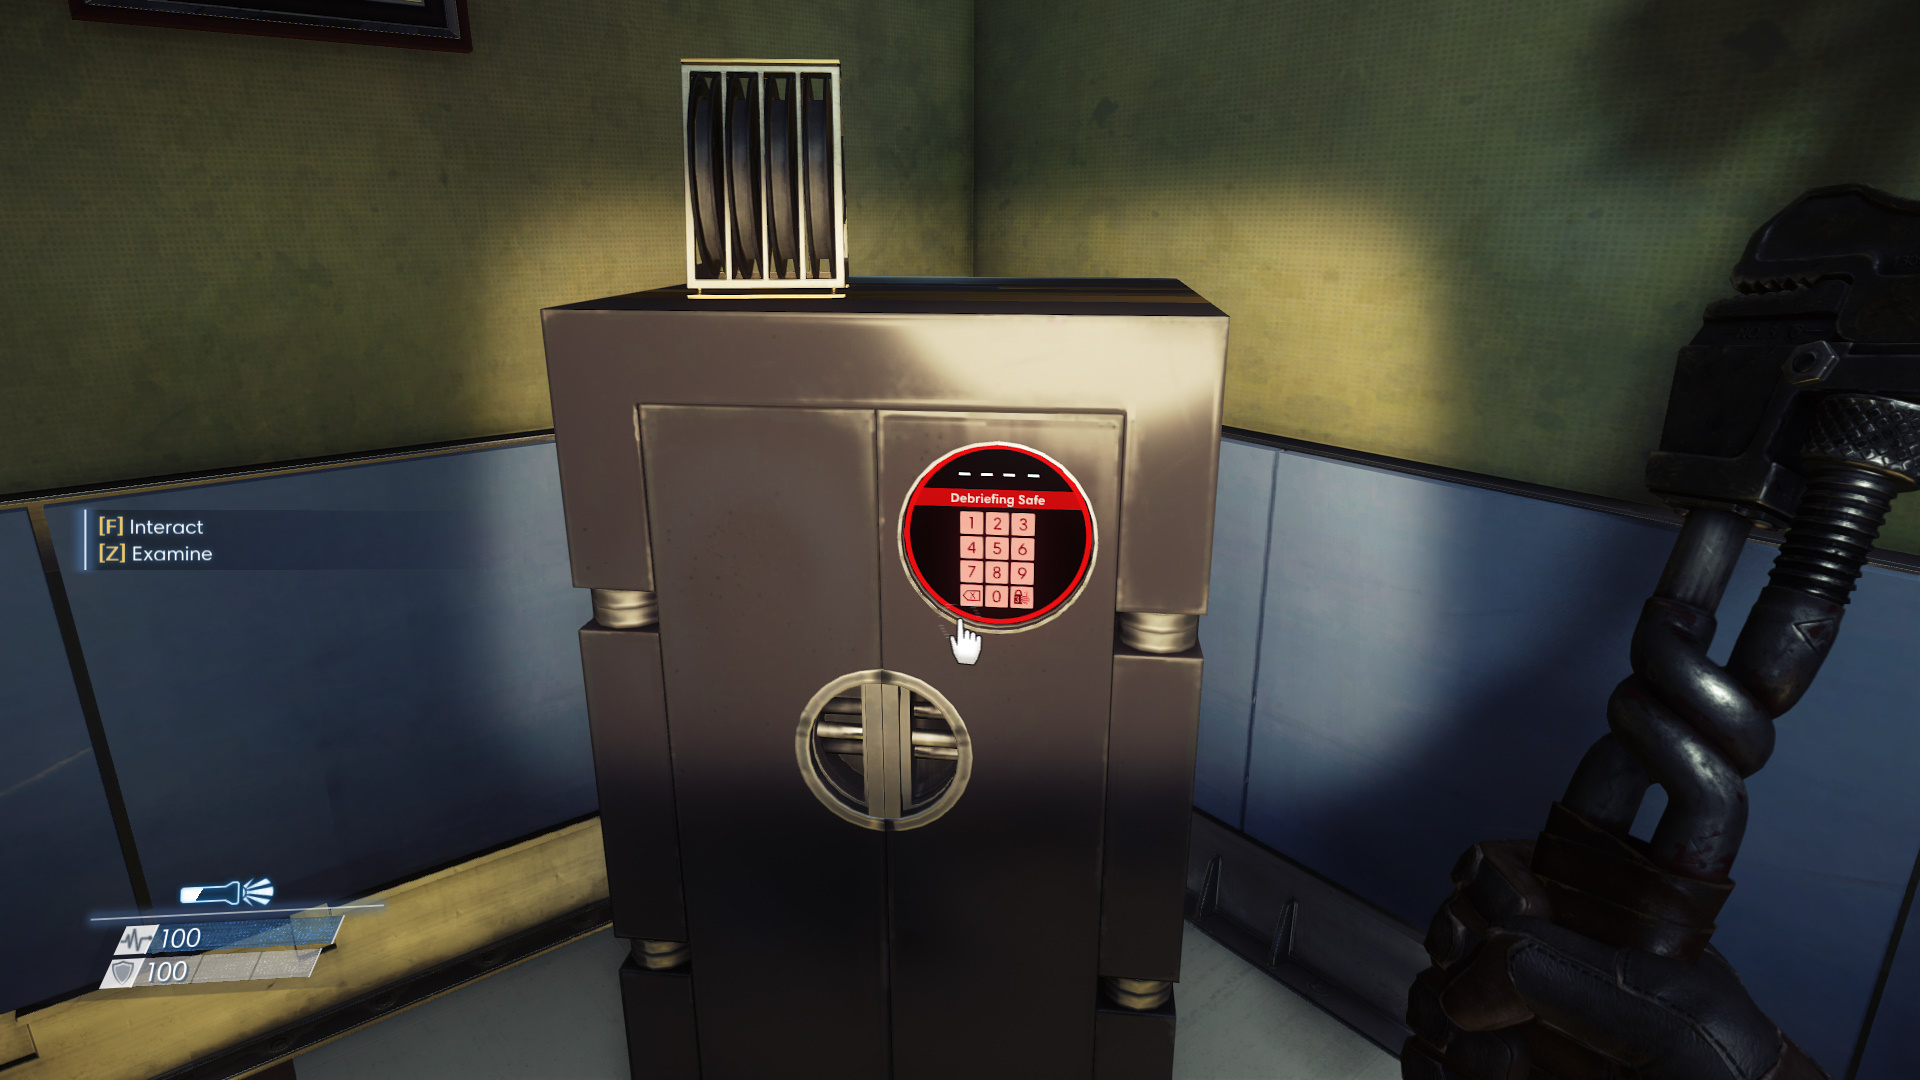

Once you are out of the Apartment, you can start to explore more. Going left will take you through a sort of storage area with a few items you can collect. Going right will take you past the Simulation Debriefing Room. Both directions will take you to the Helicopter Room. I won’t bother highlighting the storage room direction as there’s not much to highlight, but I will talk about the Simulation Debriefing Room.
The Simulation Debriefing Room features a chair, a computer, a whiteboard, and a safe. Both the safe and computer are what interests us. Now normally you would have to wait to open the safe until you got the code later in the game, but I have the code and will share it with you. To open the safe, input code 5150. Enjoy the contents! After you are done with the Simulation Debriefing Room, continue right into the Helicopter Room. Pass through the Helicopter Room into the door on the left.
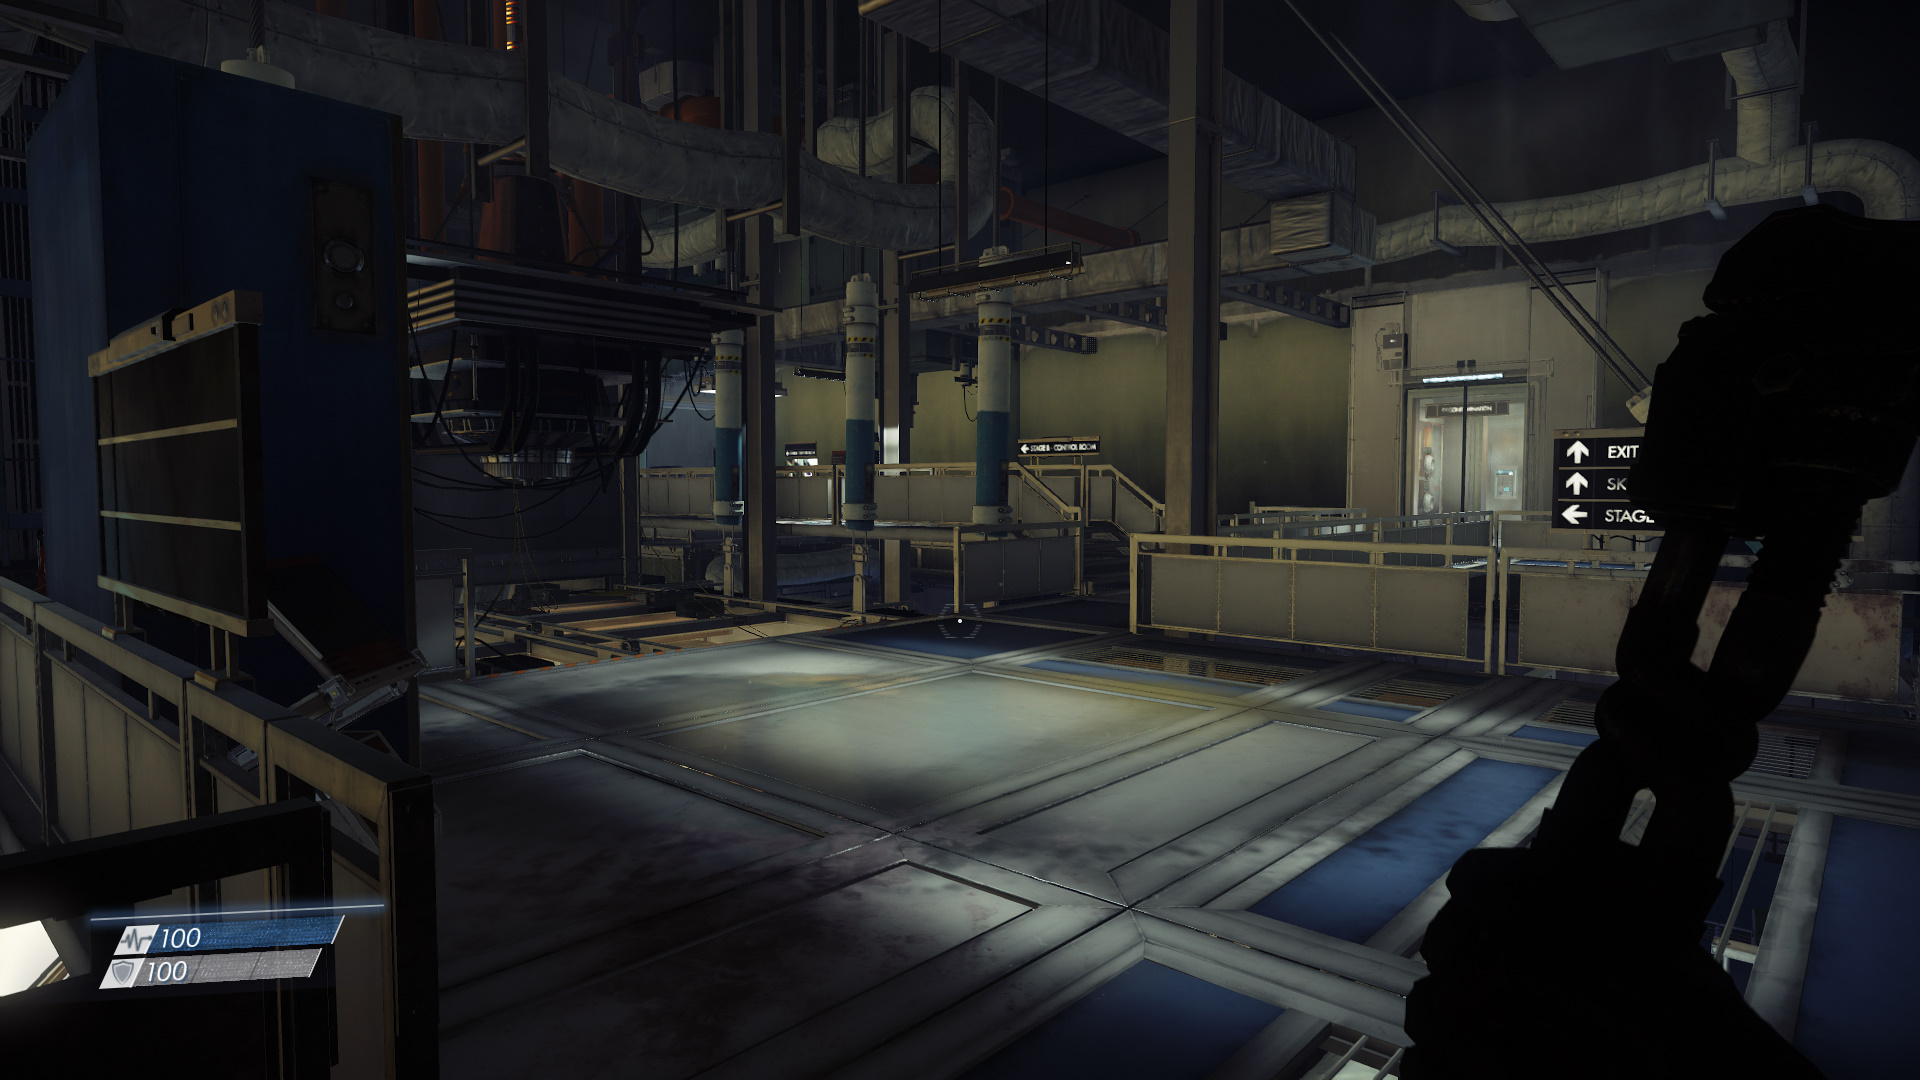
Testing Area + Simulation Control + Offices

Once you pass through the Helicopter Room, you will arrive in the Testing Room entrance you met Alex in. There’s not a ton of interesting stuff in this room, but you should grab the Medkit from the wall. You can also use the computer here to reset the simulation as well. Head into the next section of the testing area (where Dr. Bellamy was).

Here you will face your first enemy, the Mimic. Mimics are the weakest enemy in Prey, but also the most annoying. Like the name suggests, the creatures mimic items in their surroundings. This means they can be chairs, cups, guns, etc. Mimics will more than likely give you multiple jump scares throughout your playthrough. With that aside, the first Mimic you come up against is located inside one of the testing rooms. You don’t have to fight it, but can if you break the glass. Note that Mimics are now out in the wild and can be any item you come upon.
Left or Straight
Once you are done in the Testing Area, head through the door and up the stairs. Here you can go either left or straight. Go left into the Simulation Control (three mimics in area) area if you want to grab some material, otherwise go straight.

Poor Guy
Going straight takes you into a decontamination area and cues a sequence where a mimic attacks some poor soul. After killing the man, the Mimic then multiplies into four. This is a visual cue that the next area has four Mimics in it. After the Mimic leaves and the door opens, continue straight into the Offices.
-

- Use the computer in this cubicle to trigger sidequest

-

- Read email
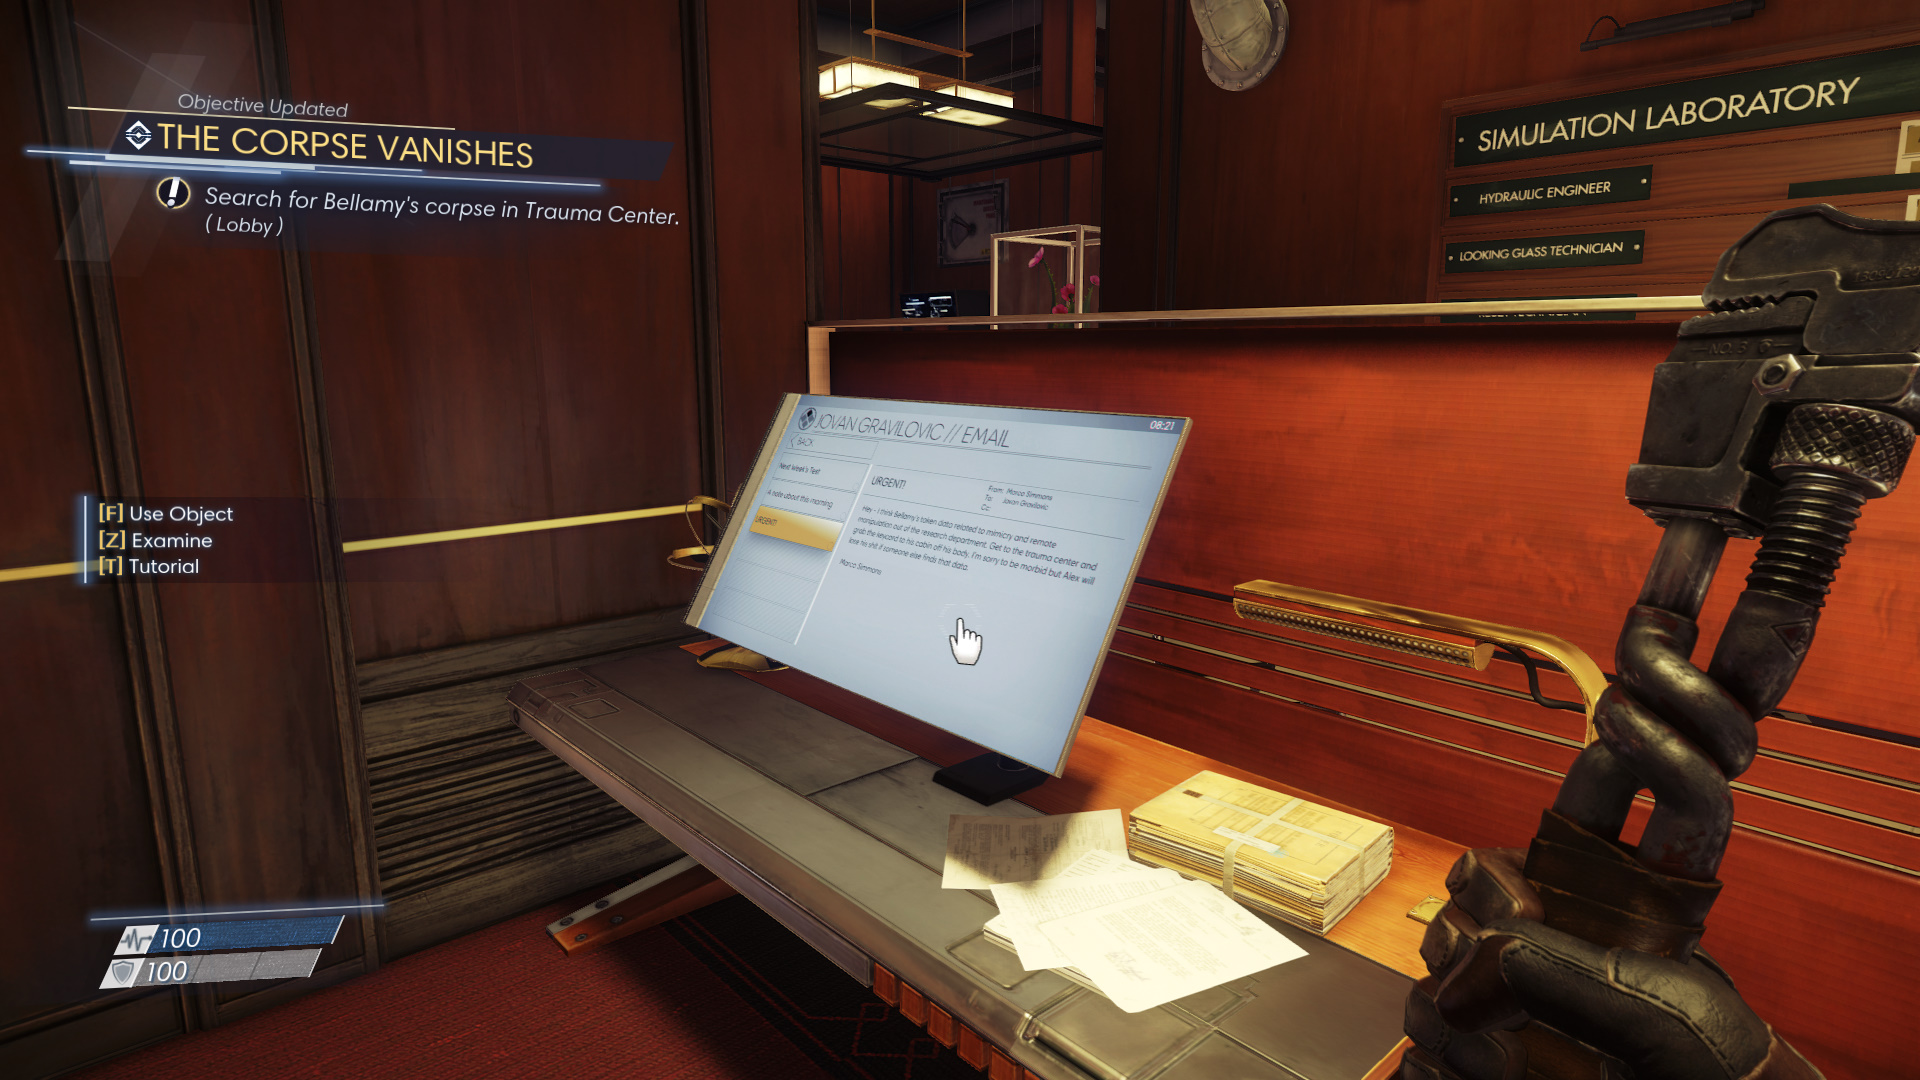


Inside the Offices, a tutorial pops up about how you can play the game your way. In this case you can sneak, or grab the keycard. I opted to grab the keycard. The Offices feature a few items to grab as well as a side quest you can trigger called “The Corpse Vanishes”. This sidequest is triggered by reading an email in the above pictured cubicle.
To get the keycard, look for the only ‘Office’ in the room. Inside the Office beside the computer on the desk is the keycard. You will more than likely get attacked by mimics here, so keep your wits about you. Once you have the keycard, you can open the door to the last area before the Lobby.
Gloo Gun + Conference Room + Restroom + Lobby Entrance

Phantom
As soon as you open the door, you will see a new enemy type inside an enclosed room in front of you. These enemies are called Phantoms. Luckily for us, the Phantom will disappear, so we don’t have to fight it just yet. From the window, turn left and follow the hallway until you see a corpse, a mimic and a lot of glue.
-

- Gloo Gun

-

- Mimic Hell
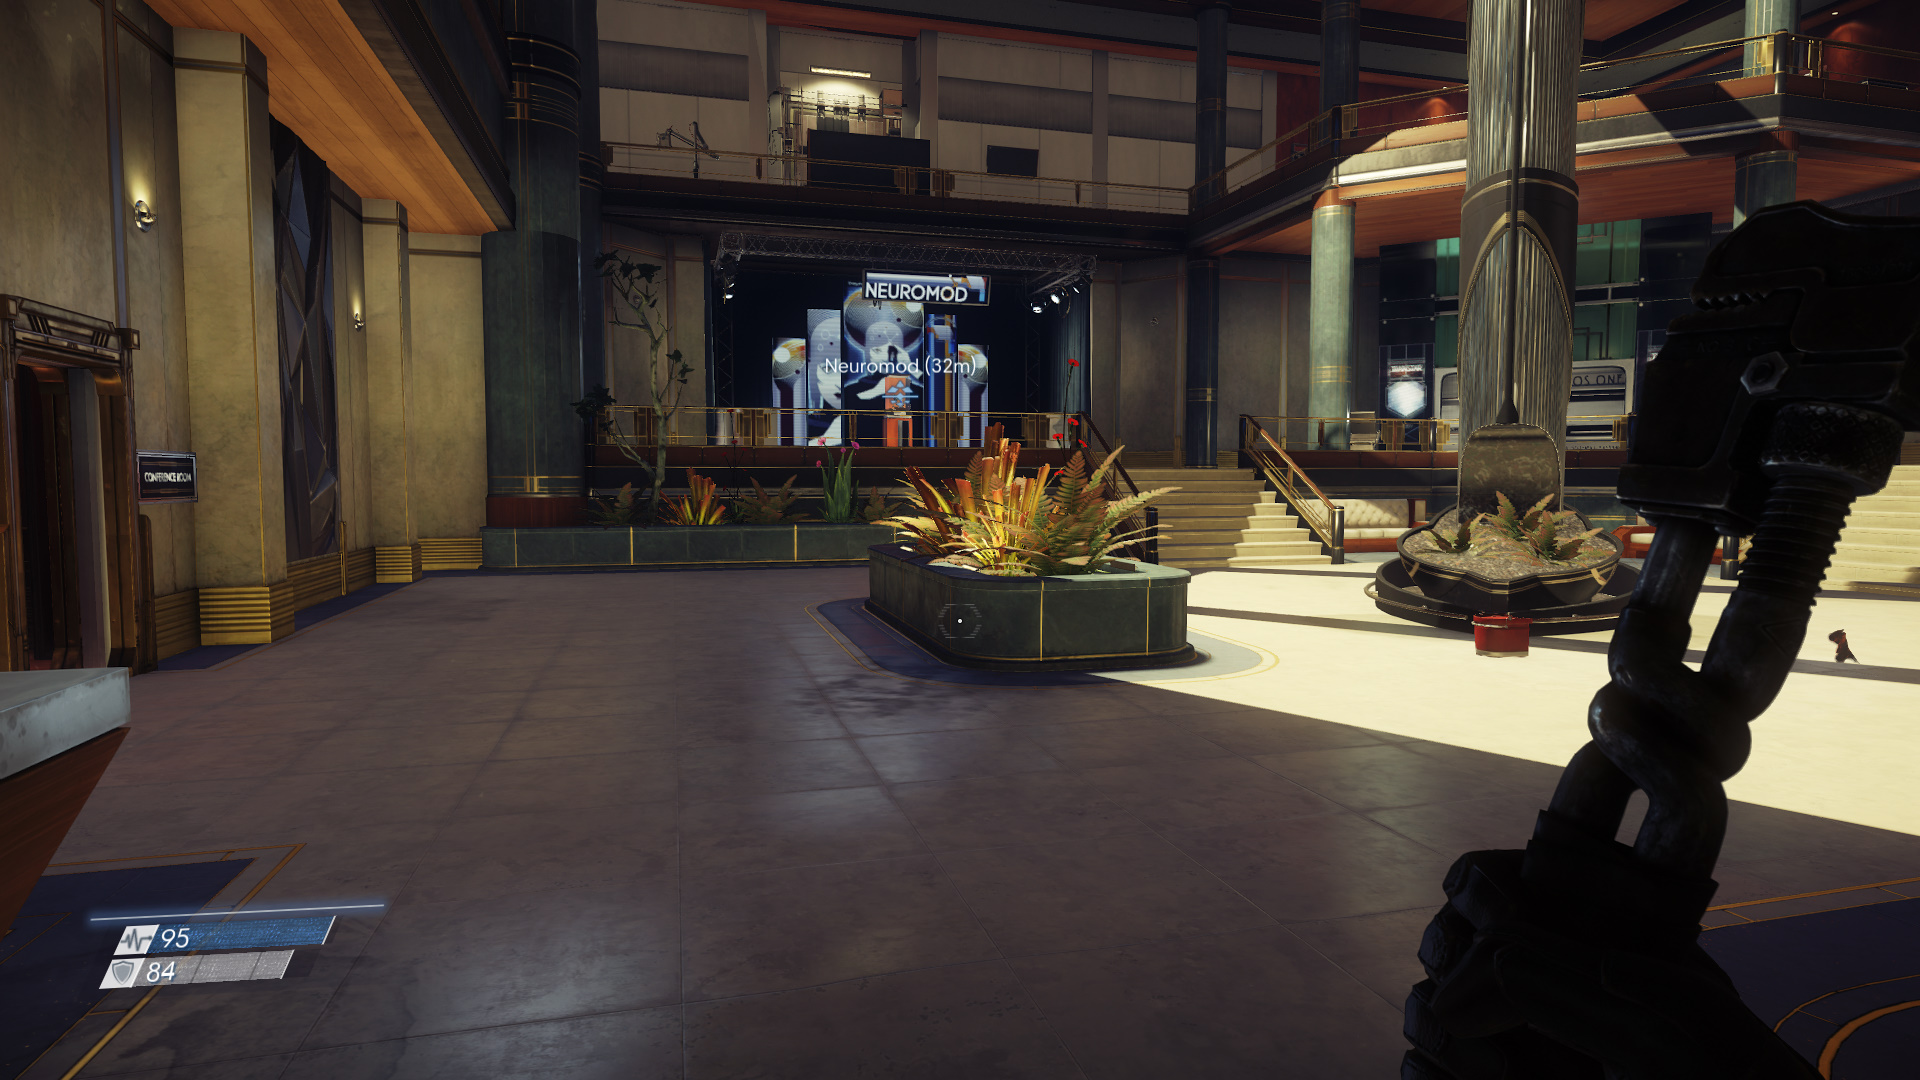
Kill the Mimic and pick up the Gloo Gun. The Gloo Gun is pretty self explanatory, but basically it shoots glue which immobilizes enemies. Combining the glue with the Wrench can be pretty deadly, so use it strategically. With the Gloo Gun in hand, continue forward, past the Security Booth and prepare to fight a million Mimics. Clear out all the Mimics using the Wrench and Gloo Gun. Once clear, grab the Neuromod on display.
-

- Neuromod Display

-

- Lobby Entrance

Neuromods work as Prey’s leveling system. These items are scattered around the world and can be applied towards character skills and abilities. While I won’t tell you where to allot the point, I will be putting mine towards a more combat focused build. After you have the Neuromod installed you can check out both the Conferencing Room as well as the Restroom for some materials. After you’ve cleared those rooms, make your way to the Lobby Entrance (right of the Neuromod display). This will start the An Office with A View objective.