Prey – Deep Storage Guide
Once you finally get to Deep Storage, you will immediately be locked in by Alex. This means that for the next little bit, you are stuck in Deep Storage until you complete a few story missions and escape. Had I known this beforehand, I wouldn’t have gone to Deep Storage with no supplied in my first playthrough. Oh well. Anyways, I hope you followed my previous guide regarding Getting to Deep Storage and the suggestion I made about stocking up on supplies. Regardless, here is a my Deep Storage guide to help you navigate this portion of Prey.
1. Central Repository


Our first goal inside Deep Storage is to access the Security booth which will allow us to enter the Central Repository. Before we do anything, make sure you grab the Door Code on Zachary West’s desk. This code allows us to access the second floor of Deep Storage. Also note that there are a ton of enemies in Deep Storage and even if you think you’ve cleared the area, they will spawn in whenever you complete an objective. Your best bet is to stealth through the area, but if you have the supplies, killing is a really good option.

Getting inside the Central Repository requires accessing the Security Booth on Floor 1. This can be done a few ways. First you can use the vent to the right of the Central Repository door. This air vent will take you right to the inside of the Security Booth. Simply stack a few boxes to get inside.
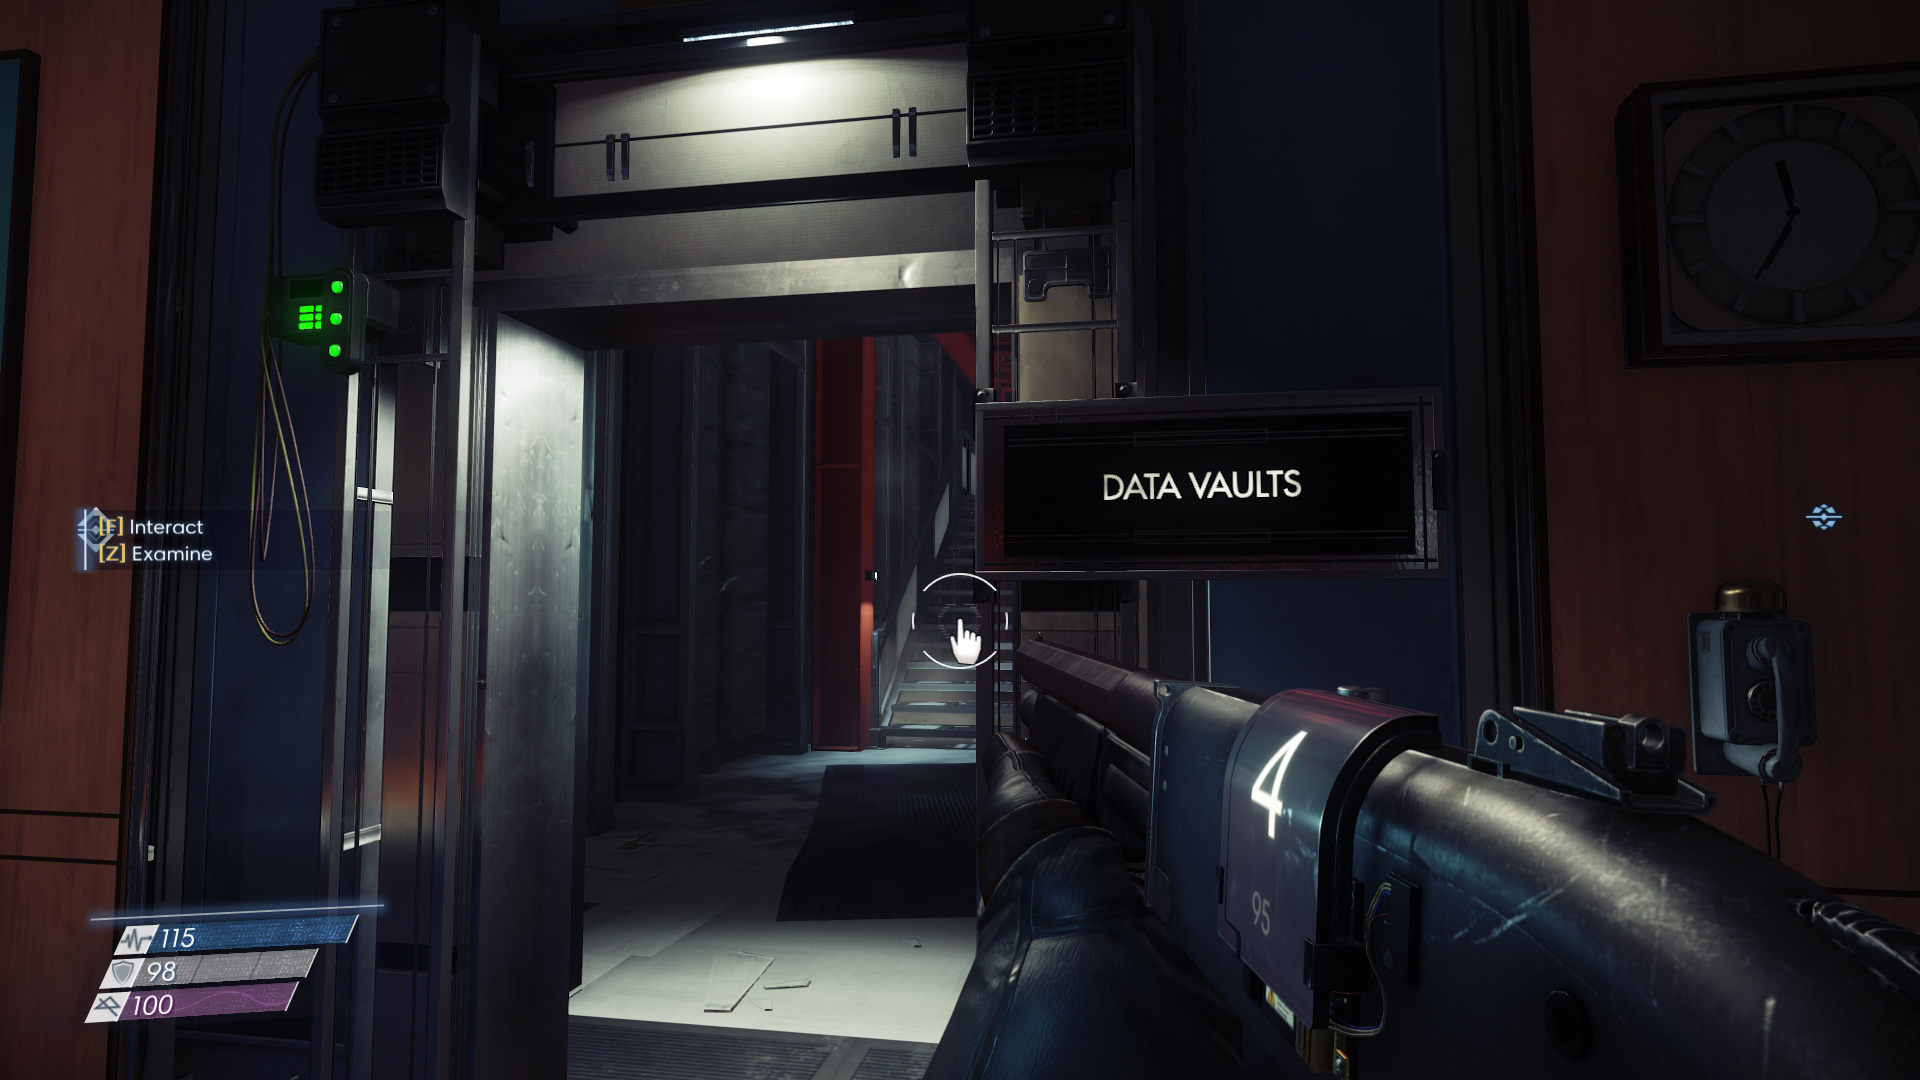


The second approach involves collecting the Door Code from Zachary’s desk (first desk on the right as you enter DS). Then use the stairwell access to go to the second floor. On the Second Floor you will make your way to Danielle Sho’s Office (note there are Mimics and a Flaming Phantom inside). On the desk in Sho’s Office is a Key Card to unlock the Security Booth.


Regardless of which option you chose, head into the Security Booth and access the computer inside. Use the computer to open the door to the Central Repository. Leave the Security Booth and make your way into the Central Repository.
2. Mount the Drive


The reason we need to access the Central Repository is to mount a Drive there. This can be done at the computer. Before we can mount the drive, we need to collect it. This may seem simple, but the enemies inside the Central Repository are pretty annoying. My approach is to use my Pistol from a distance, then hug the right wall all the way down until I need to crossover to grab the drive. How you do this part is up to you, but grab the drive and return it to the computer. Once the drive has been mounted, return to Deep Storage.
3. Access the Data

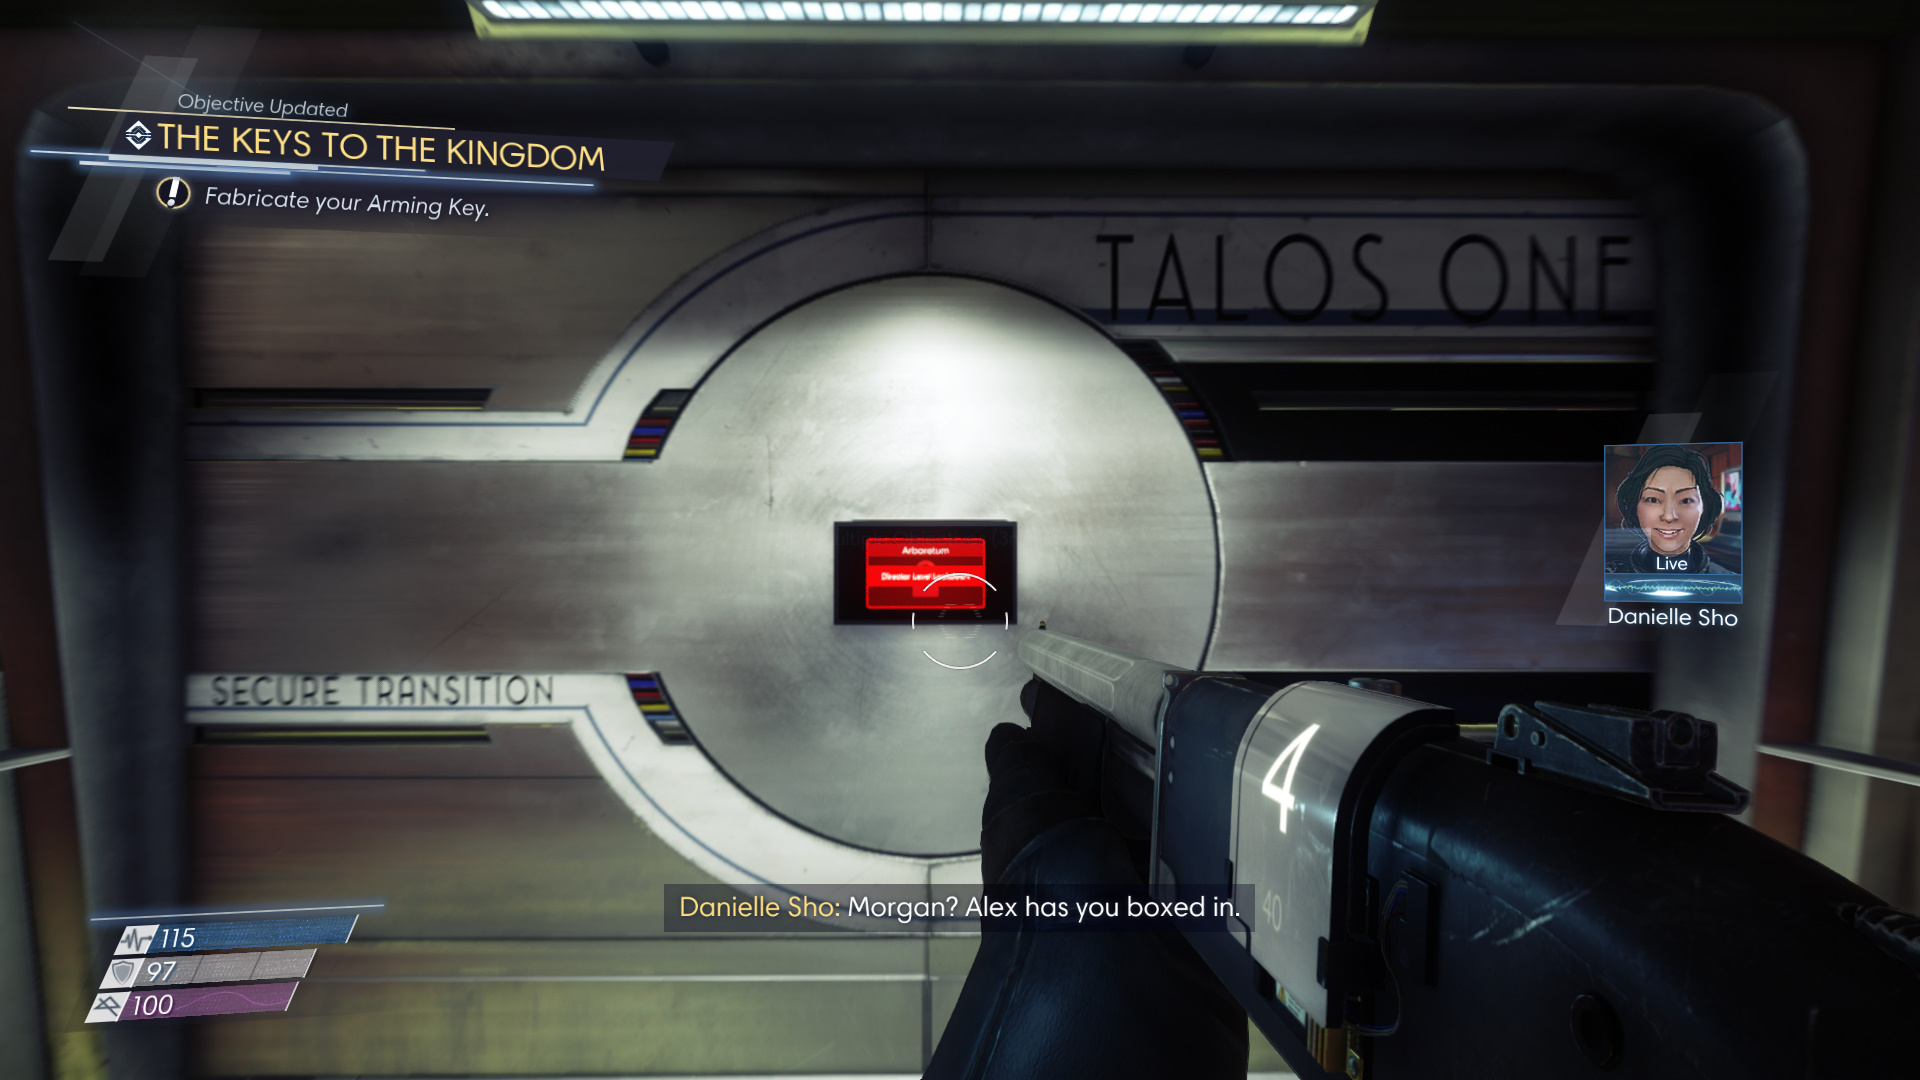
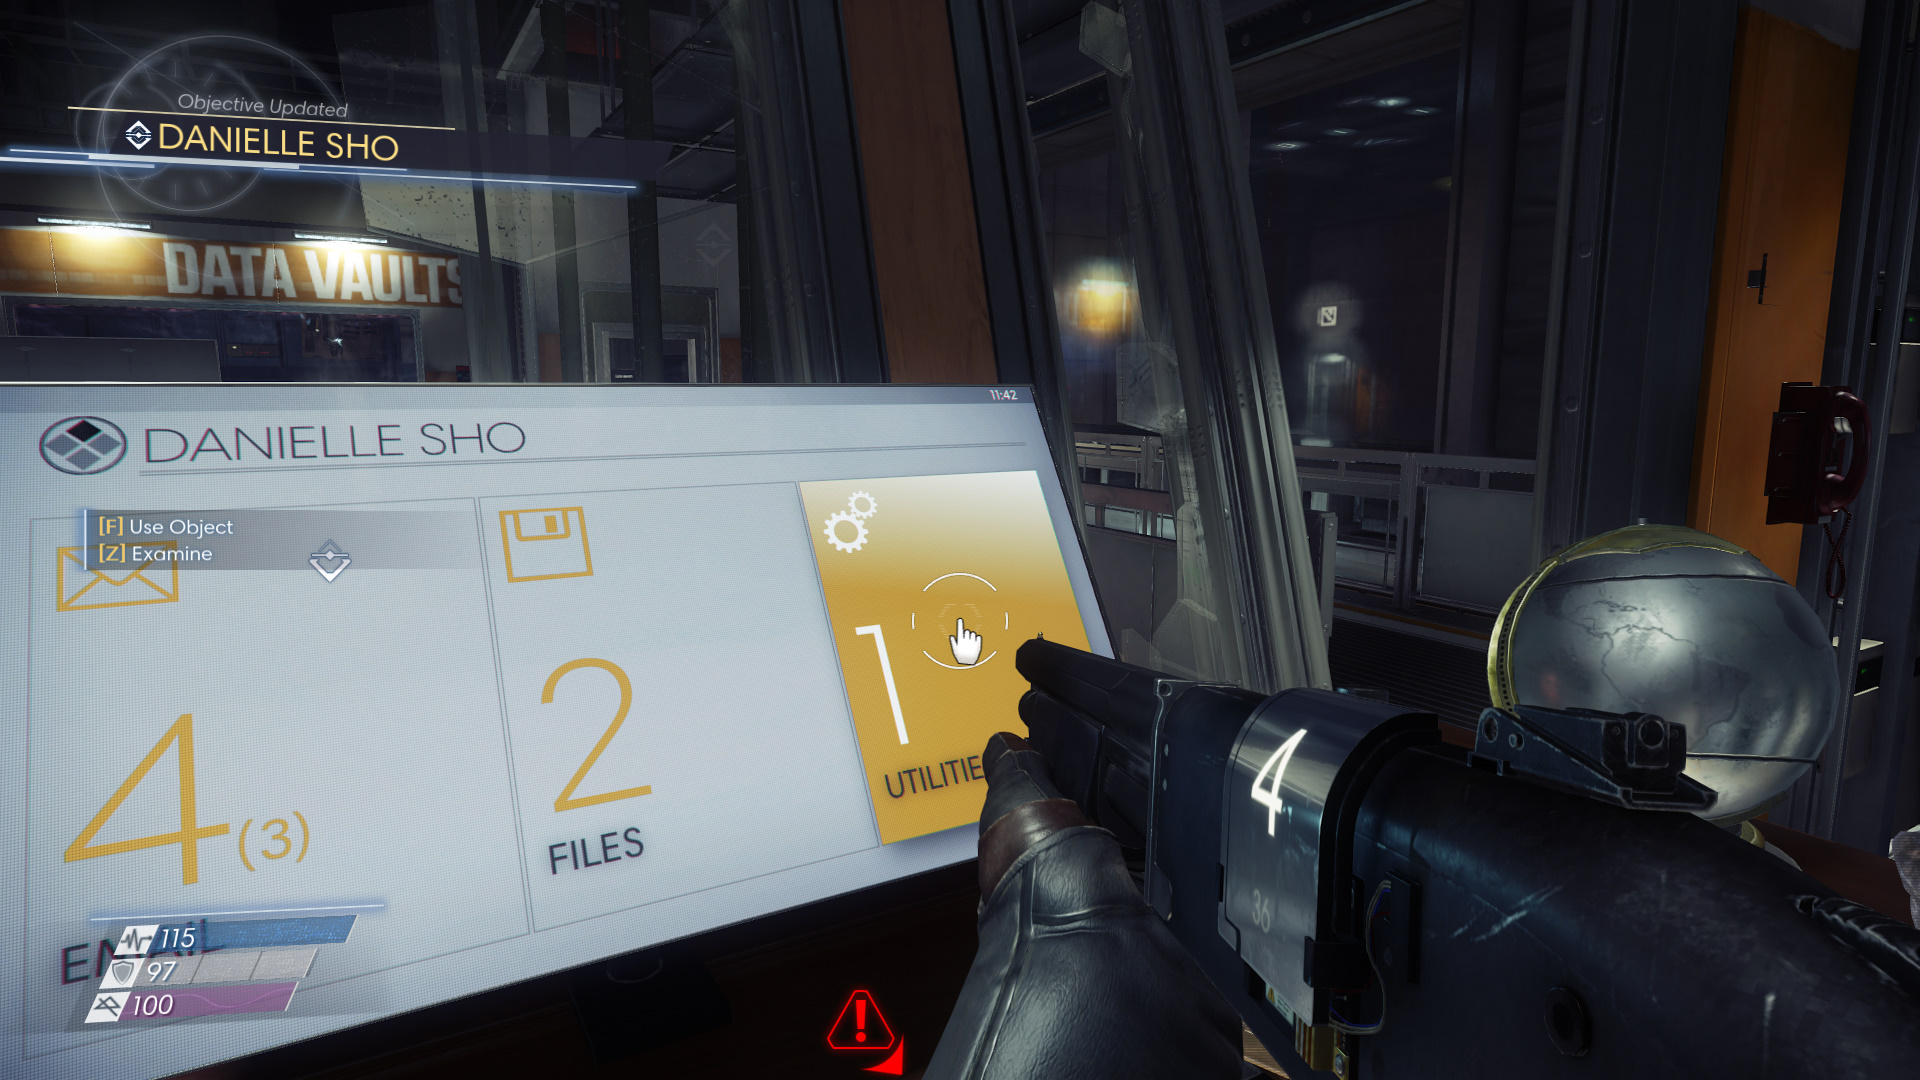
Now that the Drive has been mounted, we need to access the Data on it. To do this, we will head upstairs to Danielle Cho’s office. On the computer pictured, you can download the Schematics for your arming (the whole reason we came to Deep Storage). Note that there will more then likely be a bunch of new enemies spawned, so be careful making your way to the office.
Once you have the arming key, head down to the entrance. Turns out you are still locked in. Lucky for us, Danielle Cho has a suggestion. Cho tells us to jettison a Data Vault. To do this, we need to head back to her office. Access the computer again and jettison the Vault. Now we just need to get to it…
4. Escape Deep Storage
On my first playthrough of Prey, I entered Deep Storage with no supplies. This meant I had no ammo. Without ammo, the area was a nightmare. I also couldn’t figure out how to actually escape Deep Storage. Luckily after a few hours, I finally figured it out. I am going to save you a ton of time here. There are two ways to access the Data Vault:


1. Move or Recycle the cabinets blocking the doorway.


2. Climb up the Grey piping in the Stairway.


Looking back now, both options appear super obvious, but at the time they alluded me. Anyways, use one of the methods to make your way to the Data Vault. Access the maintenance panel to jettison the Vault. We have now escaped!
5. Cargo Bay
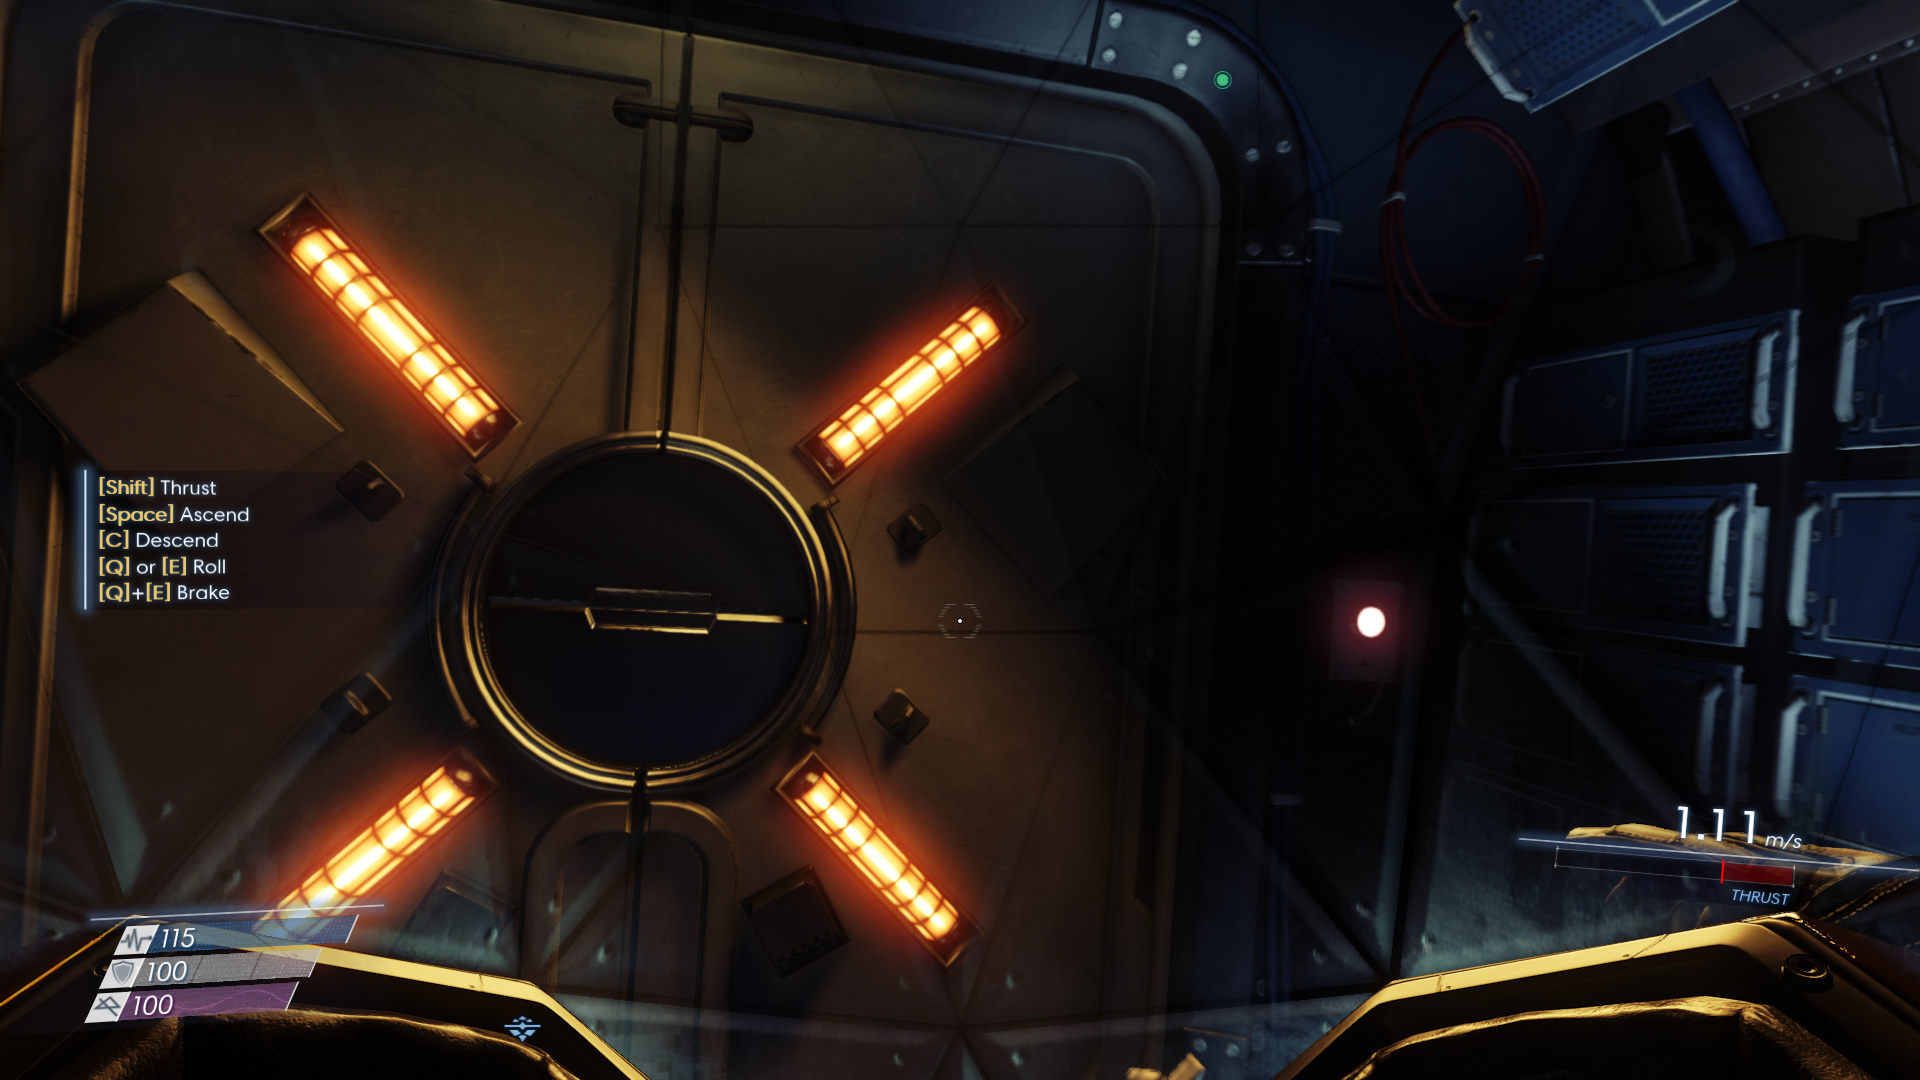

Now that we are in Talos I Exterior, we need to make our way back inside the station. Leave the Vault (press the little button beside the door) and begin your space walk. As you float back to Talos I, your voice coms will kick in and the character will suggest that you enter via the Cargo Bay.
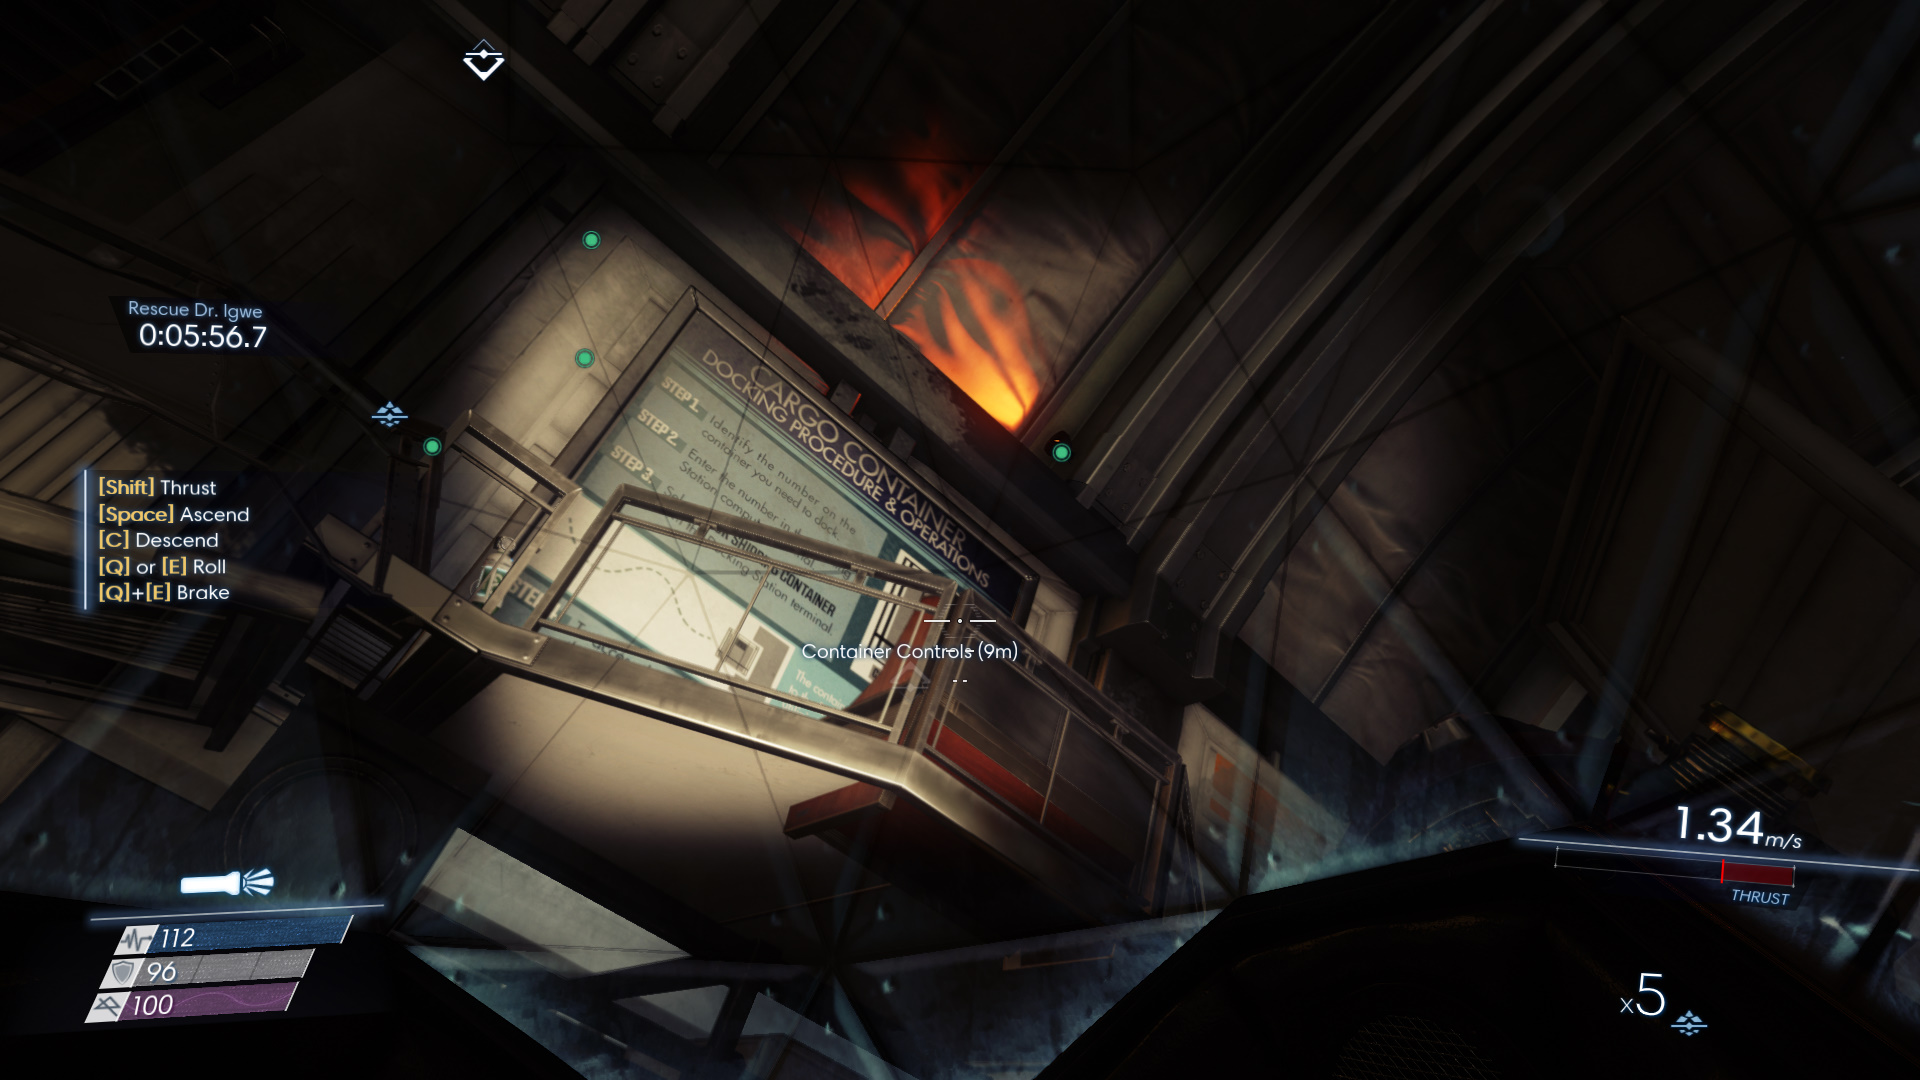
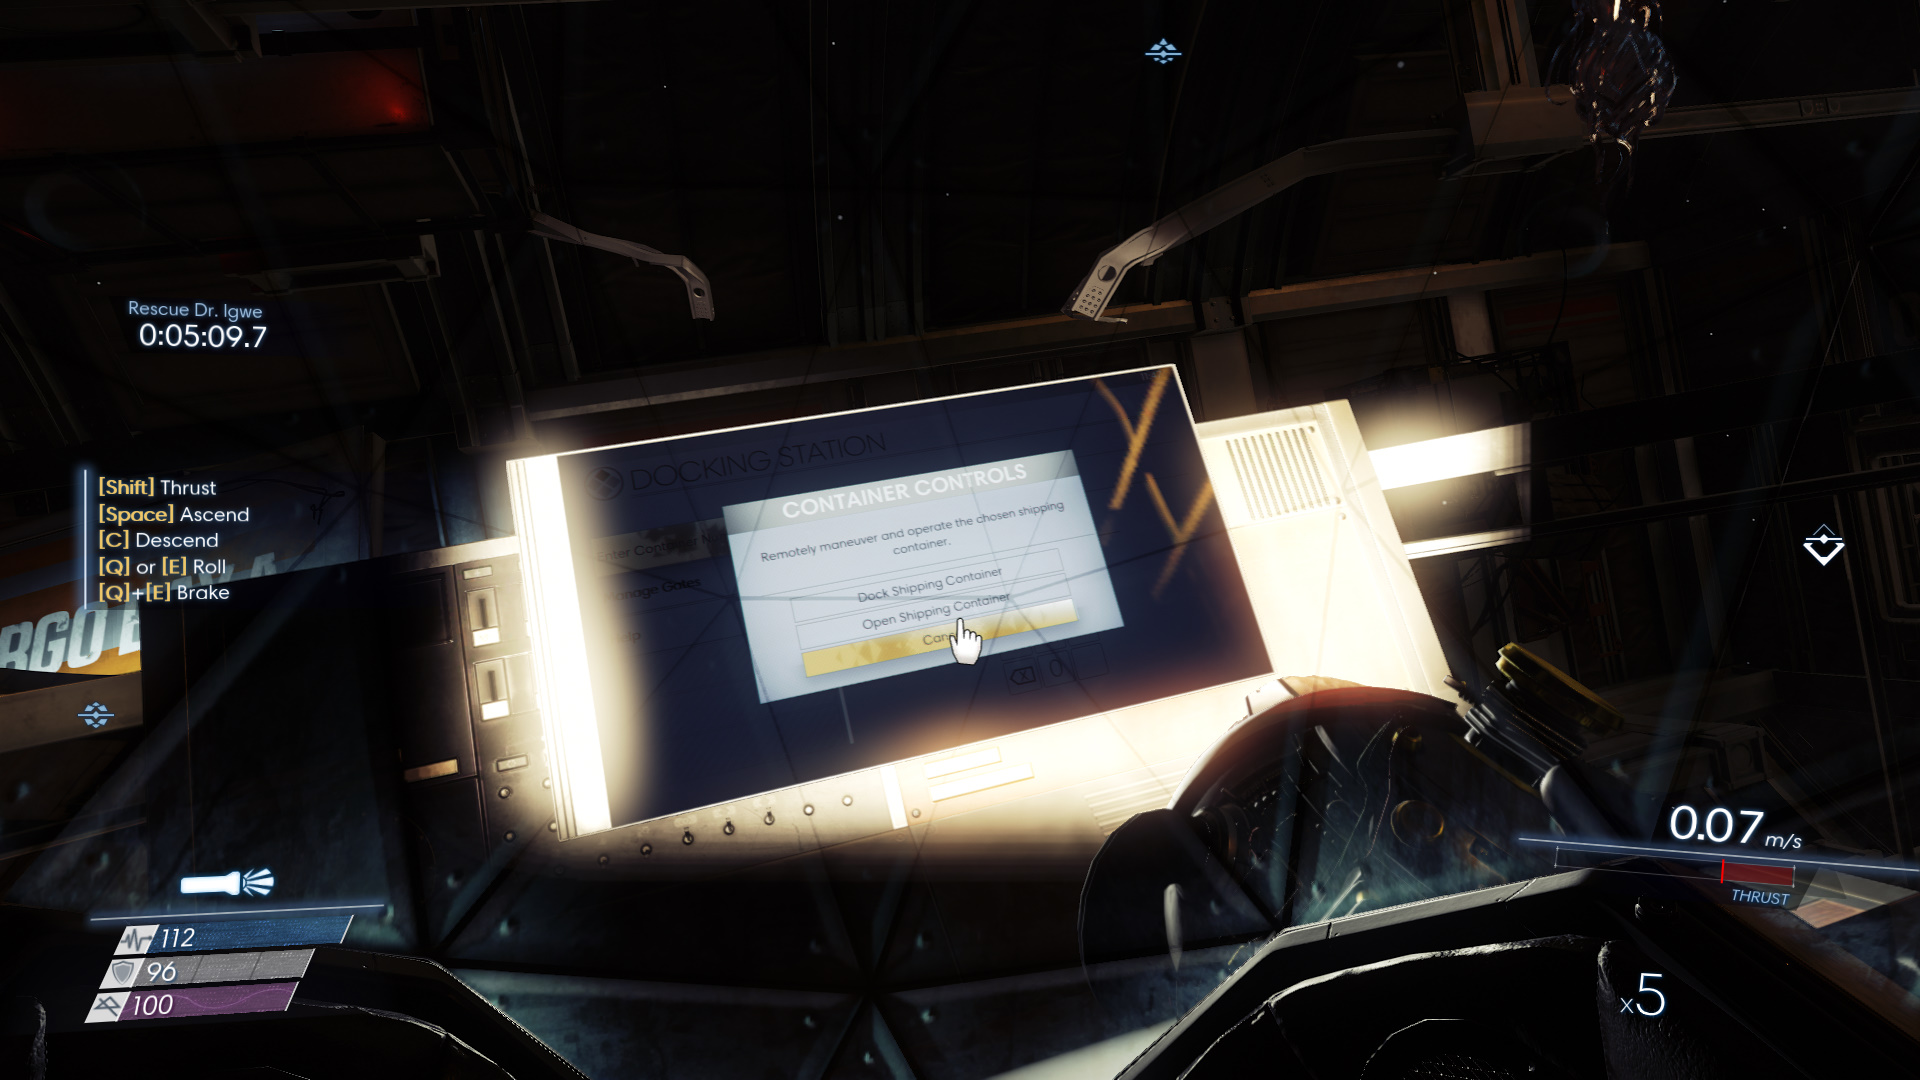
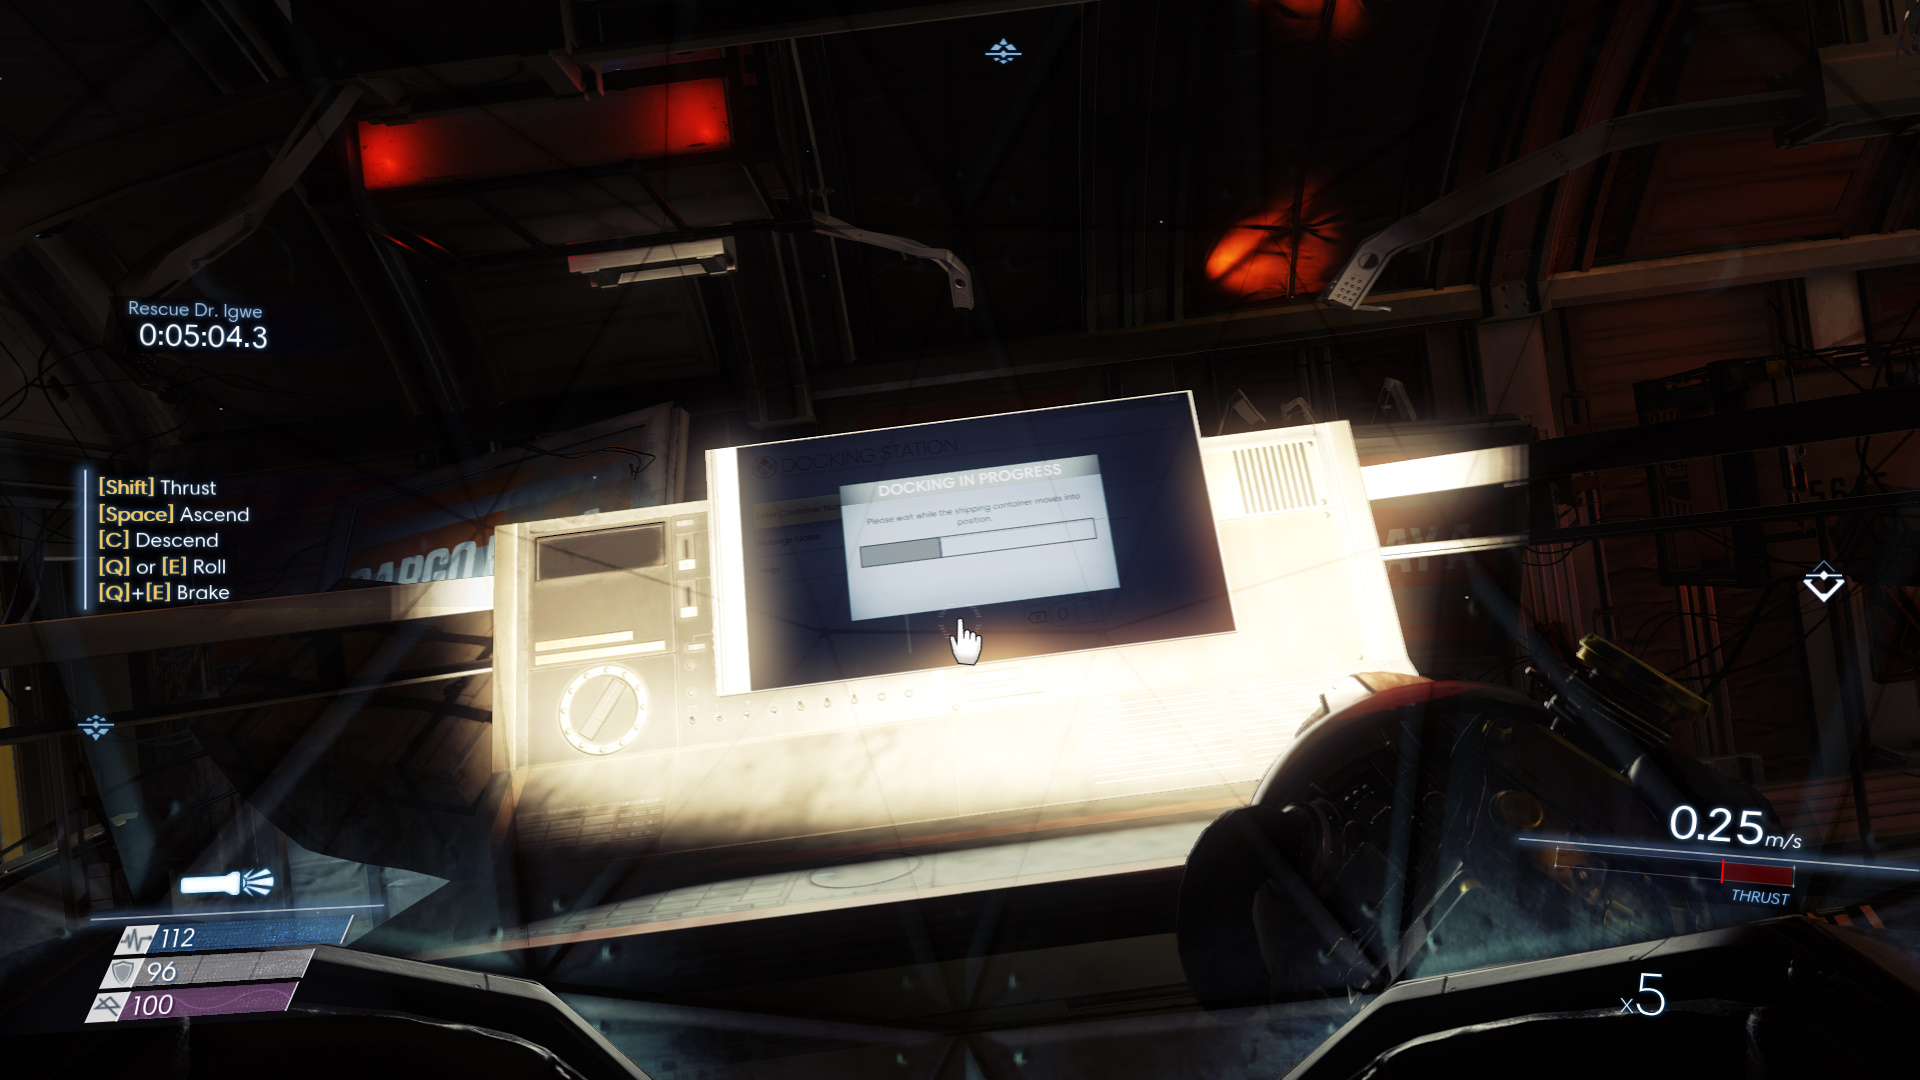
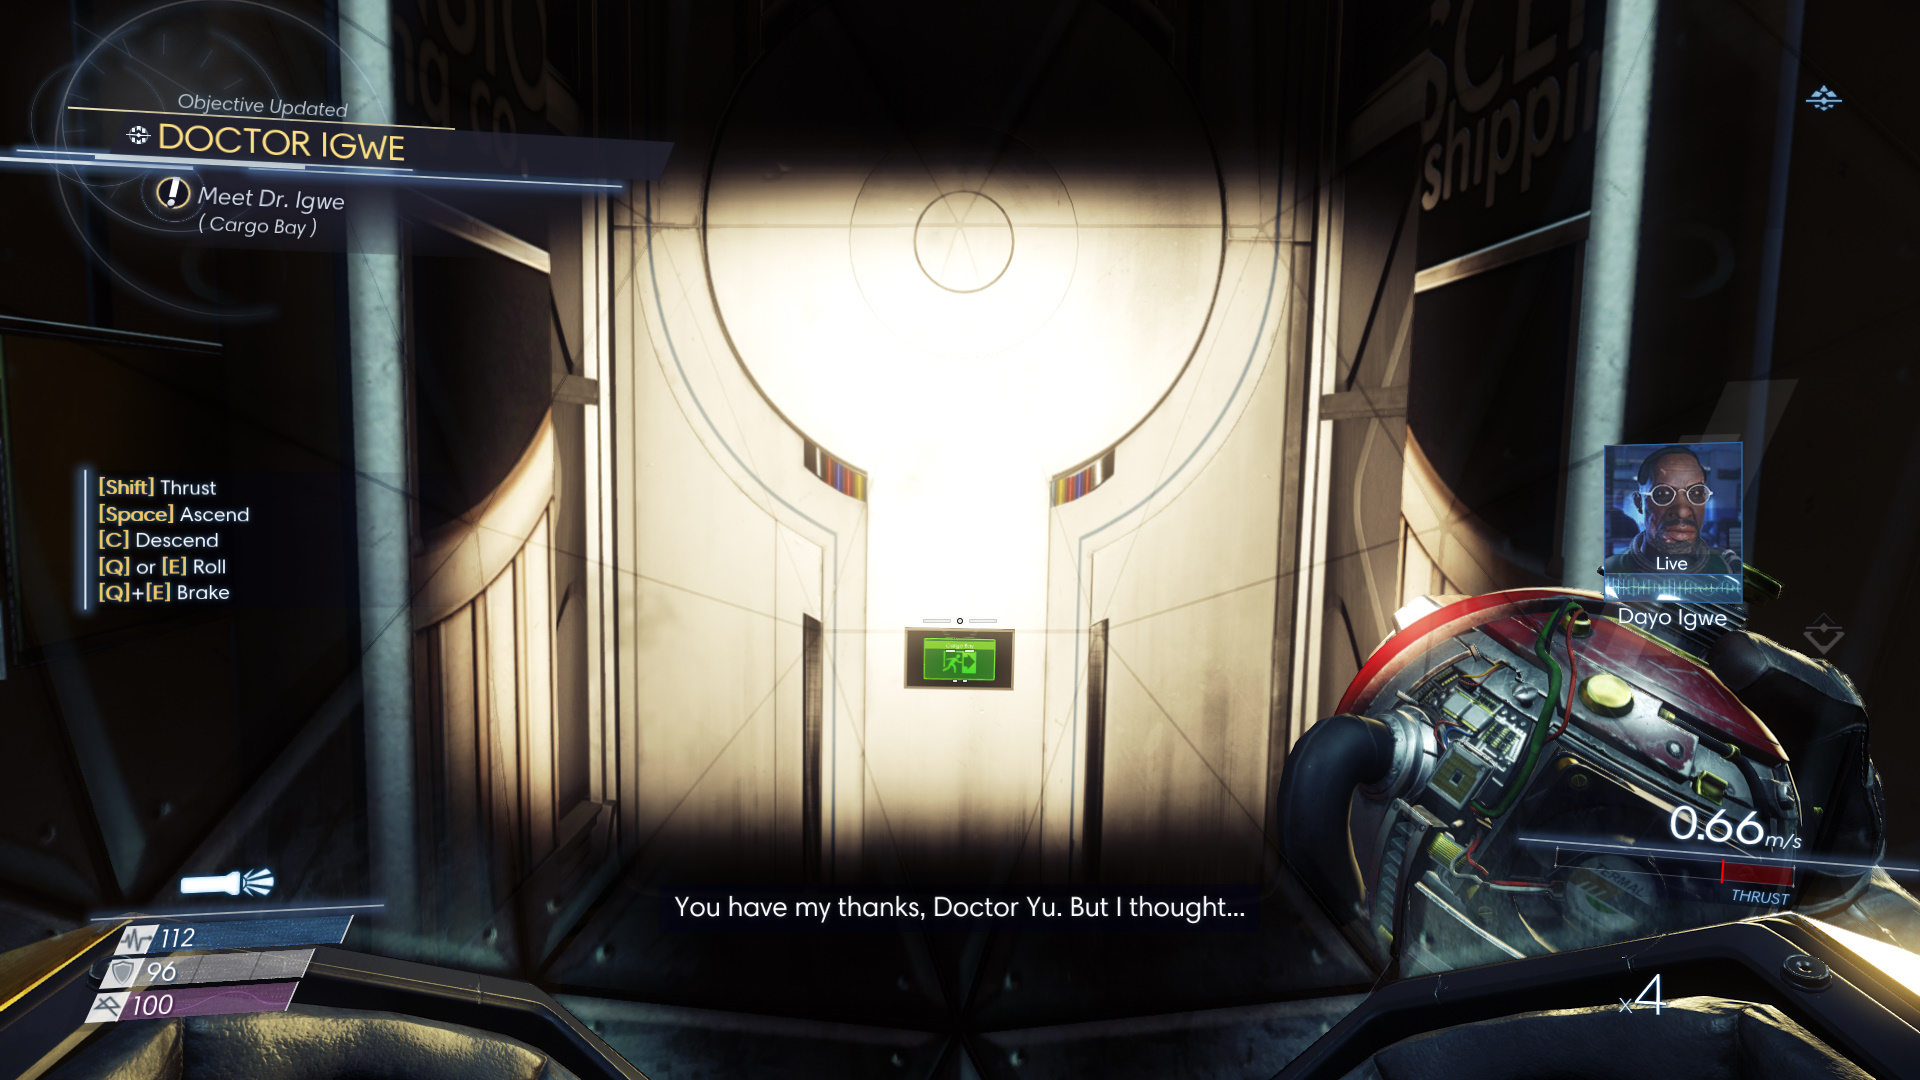
As you get closer to the Cargo Bay, you will trigger a secondary quest involving Dr. Igwa. Basically Dr. Igwa is trapped inside a Shipping Container and needs your help getting back inside the station. Doing this quest is pretty much required as it is how you access the Cargo Bay, however, whether or not Igwa lives is up to you. To bring the container back inside the Cargo Bay, you need the container number. Float out to it and you will see the number. Input the number into the Container Controls Computer and you will be able to open and move the container. Once the container is docked you can access the Cargo Bay through it!
do you know the deep storage safe code? Thanks!
The safe codes in Deep Storage are not static. The safe combination is located on a sticky note on the back of Cho’s computer (room upstairs).
Thanks this was really helpful saved me a few hours and headaches on trying to puzzle it out
Thanks for reading. Glad it helped you!