The End is Nigh Guide

Welcome to the Arid flats. This is the second world in The End is Nigh and it introduces new mechanics such as moving enemies, springs, as well as more puzzles. Going from The End to The Arid Flats is a bit of a skill jump, so be prepared to die (a lot)
The Arid Flats 1

Strategy: All you need to do here is run to the right. Avoid the one enemy and you’re good.
The Arid Flats 2

Strategy: All you need to do here is run to the right. Avoid the enemies and you’re good.
The Arid Flats 3
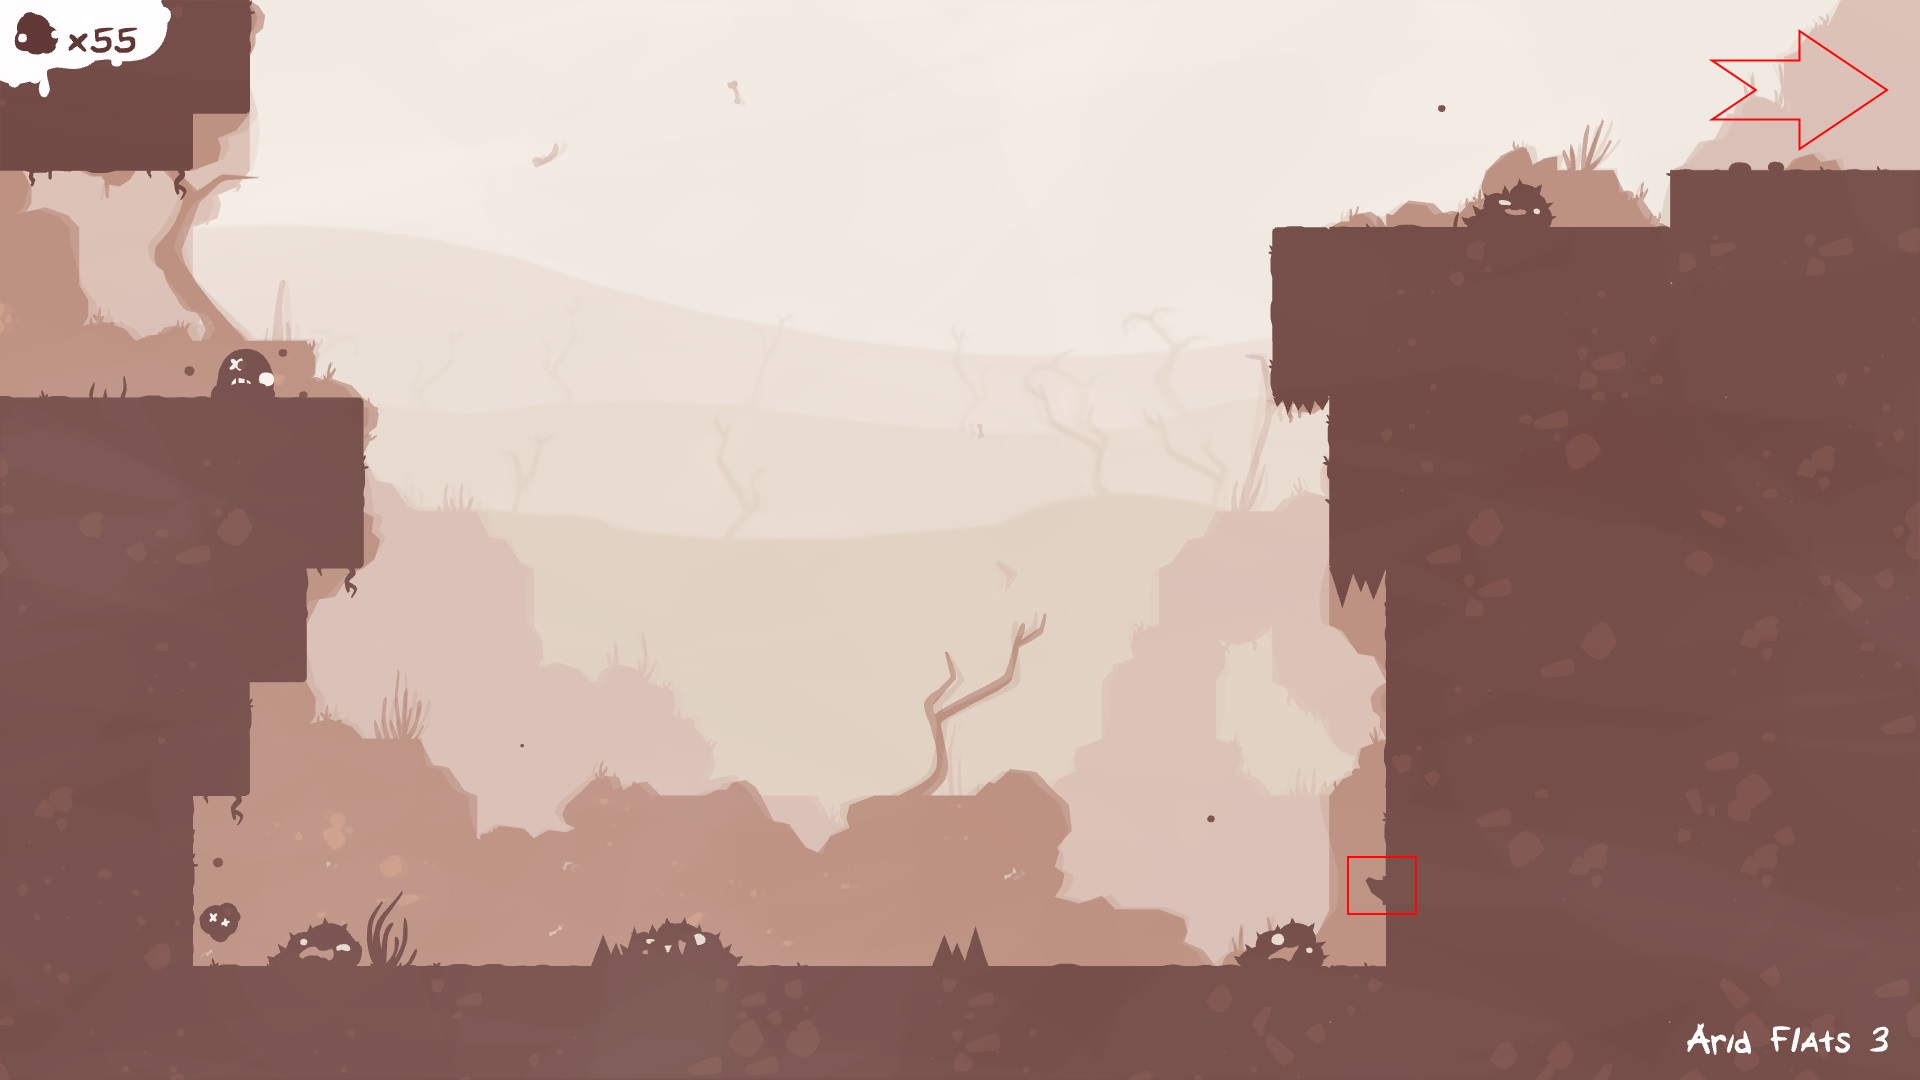
Strategy: This level is not quite as simple as just running right. Drop into the pit and make your way over to the hook. Pull the hook and portions of the right side will fall allowing you to access higher up (the biggest thing to watch out for is the enemies).
The Arid Flats 4
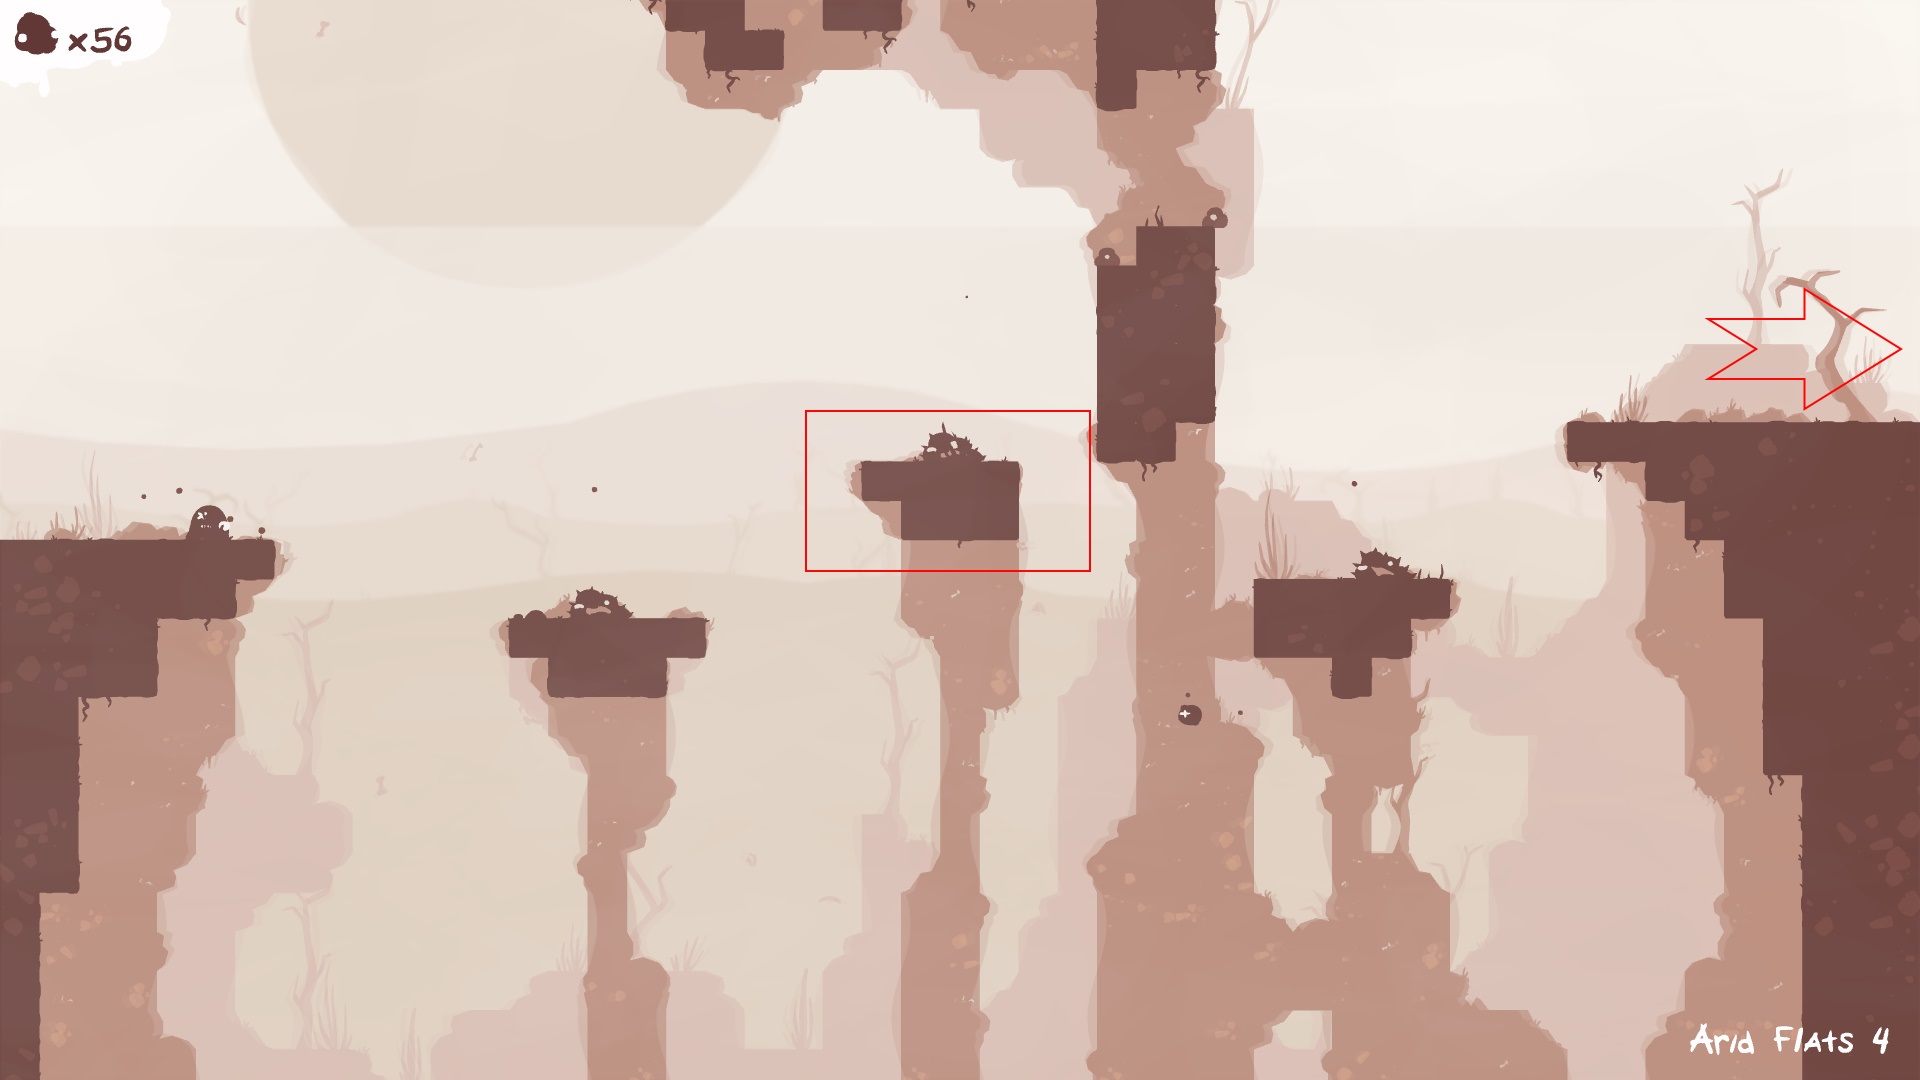
Strategy: The platform in the middle moves up and down. Make your way to the middle platform and jump to the far right platform (do it when lower). From there you can jump to the exit.
The Arid Flats 5

Strategy: The first platform you see moves horizontally, while the second platform moves vertically. You want to ride the vertical platform up to the exit. To do this either jump onto the horizontal moving platform and jump the spikes, or drop down, avoid the enemies and board the vertical platform.
The Arid Flats 6

Strategy: The two platforms move horizontally. Ride the platform on the left over to the spikes; jump the spikes and land on the right platform. Ride the right platform over to the exit.
The Arid Flats 7

Strategy: The Arid Flats 7 introduces us to crouching which will come in handy. In this level, there is a giant floating block that moves clockwise. Board the clock and ride it all the way around until you are near the hooks. Jump to the hooks and use them to exit the level.
The Arid Flats 8

Strategy: If you’ve played Mario before, you’ll immediately recognize jump pads. When on the jump pad, if you jump near the bottom you will spring upwards. Use the springs to traverse spikes and exit the level.
The Arid Flats 9

Strategy: Inside this level is a spring moving horizontally. Use the spring to cross the spikes by bouncing up and down on it while it moves.
The Arid Flats 10
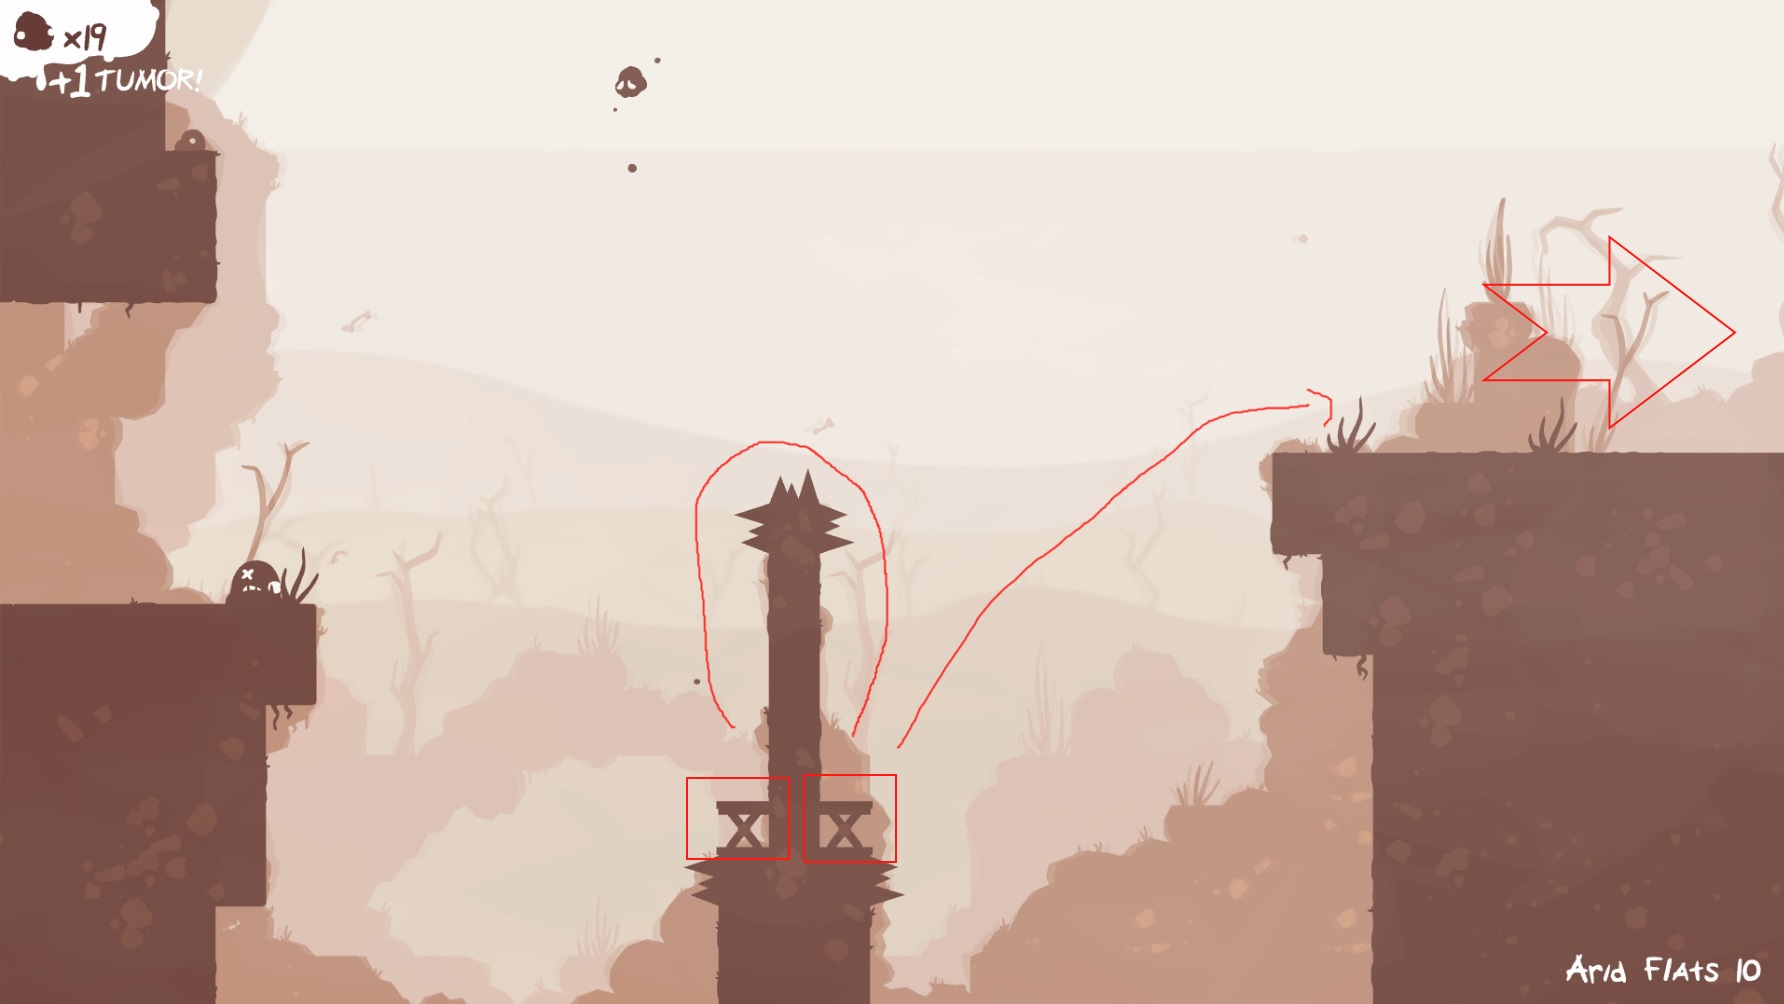
Strategy: More springs!! From the starting platform, jump to the first spring and use that spring to launch over to the spring on the right side. Use the spring on the right to launch to the exit.
The Arid Flats 11

Strategy: Use the spring to jump across the large gap. Then jump across the smaller gap and make your way to the exit.
The Arid Flats 12

Strategy: In level 12 there are 2 squares moving in a counterclockwise direction. Once a box makes it near the starting platform, jump on it and ride until you reach the exit. As you ride, the spiked balls float around. You need to dodge the balls.
The Arid Flats 13

Strategy: Head to the exit on the right by dodging the spiked balls.
The Arid Flats 14

Strategy: Lure the skeleton enemy over by the door and then jump on its head to reach the small square in the door. Inside the square, the door will then lower giving you access to the exit.
The Arid Flats 15

Strategy: Like we did in the previous level, we want to lure and an enemy near the right ledge. This will probably take a few tries as there are 3 of them, but once you have one near, bounce of its head and grab the ledge.
The Arid Flats 16
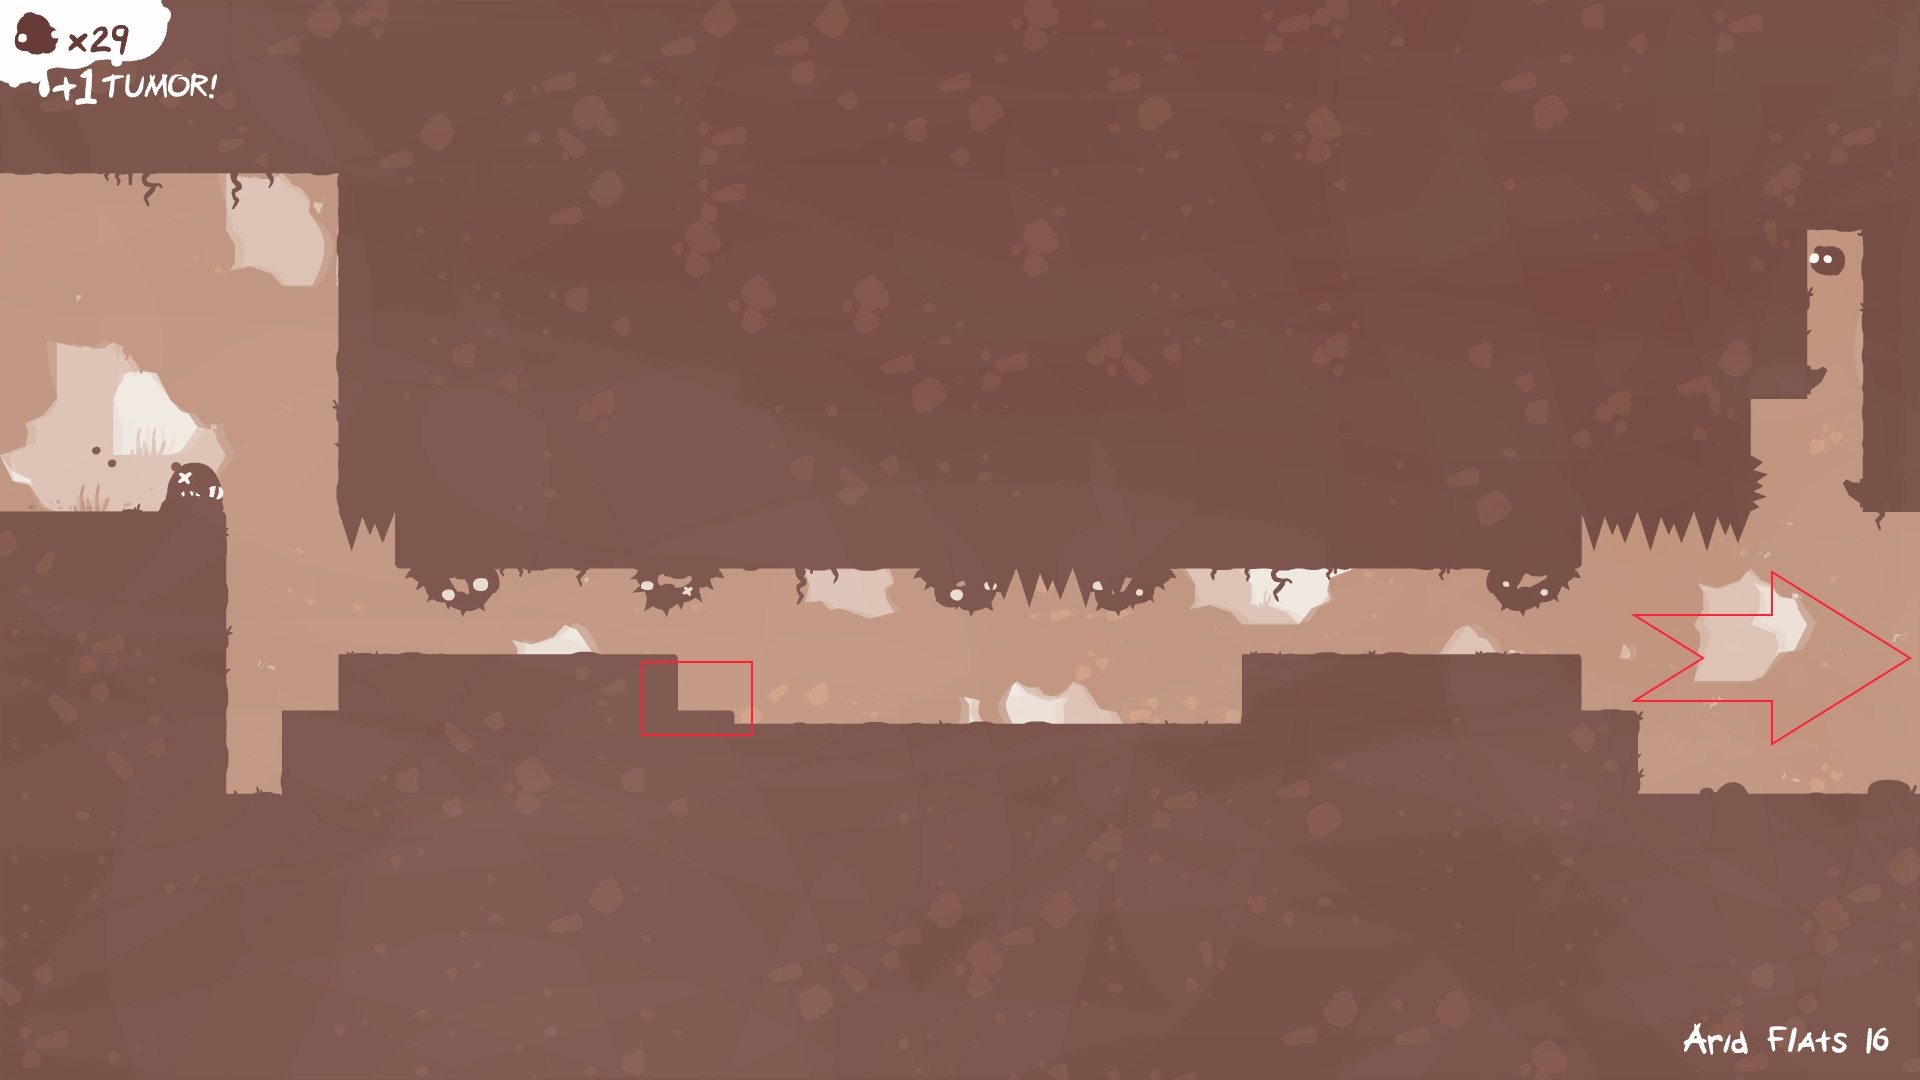
Strategy: This is a relatively simple room. All you really need to watch out for this middle section that raises up. If need be, you can stop in the red square to wait and then proceed right.
The Arid Flats 17
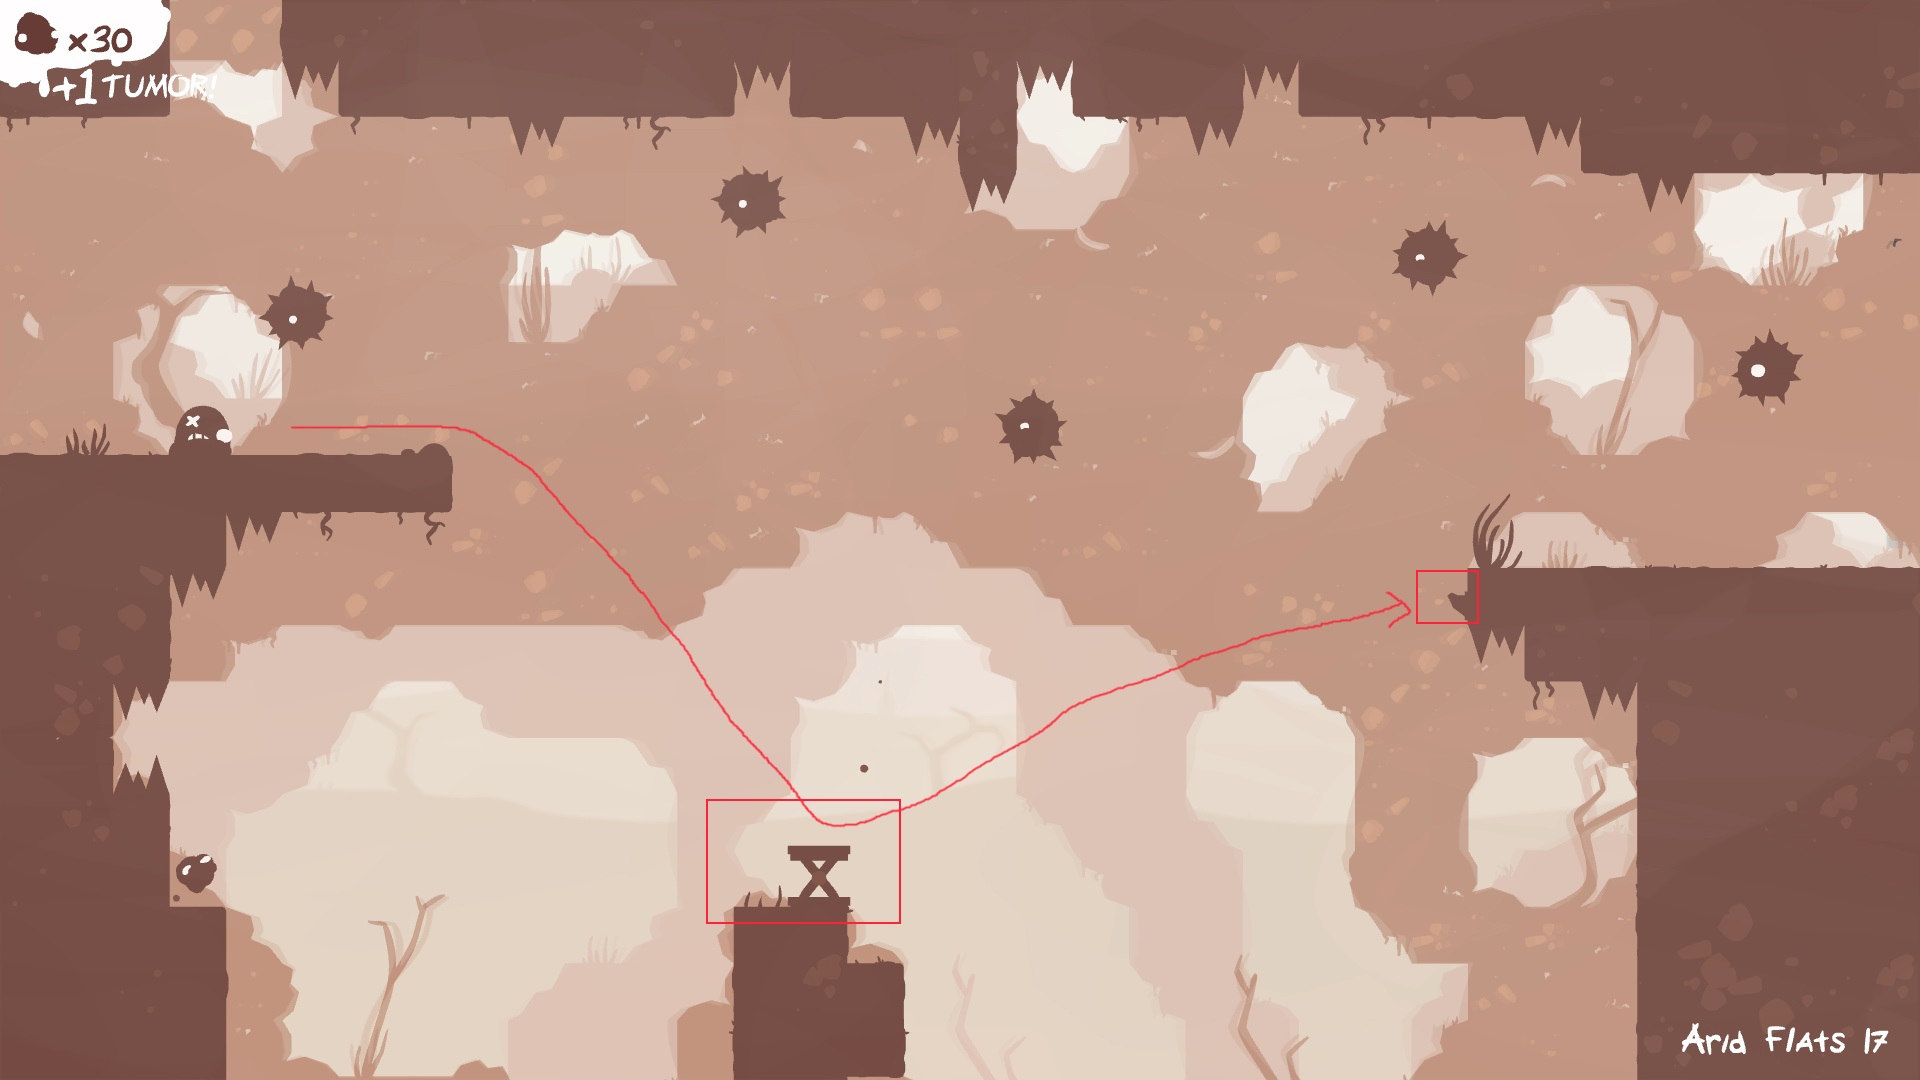
Strategy: Use the spring in the middle of the room to access the hook on the right ledge. Use the hook to get to the exit.
The Arid Flats 18

Strategy: Use the spiked log in the center of the room to ride across the room. While riding the log, you need to dodge the spiked balls that are constantly coming from the right side of the screen. Short jumps seem to do the trick here.
The Arid Flats 19

Strategy: This room is a bit more complicated then what we’ve faced up to this point. First off there is a giant square moving counterclockwise throughout the room. This square can kill you. Second there are a few enemies to pay attention to. What we need to do here is head to beneath the second square. Lure an enemy over and jump off its head. Wait for the square to come around. Jump on top and ride the square up. This gives you access to the exit.
The Arid Flats 20

Strategy: After Level 19, we get a bit of reprieve in Level 20. What we need to do here is simply use the conveniently placed hooks to make our way across the room. You’ll need to jump over the spikes twice and dodge the spiked balls, but the rest is pretty easy.
The Arid Flats – World Run Through Video
If My text guide failed you, take a look at this World Run through video I put together. This may help you visualize a bit more what my strategies were for completing each level in The Arid Flats world.