The End is Nigh All Tumors and Mega Tumors Guide
Wall of Sorrow
Tumors: 15
Mega Tumors: 5
Wall of Sorrow 1: 1 Tumor

Strategy: Make your way up the blocks and jump off to grab the floating tumor. Land back on the platform with the portal on it.
Wall of Sorrow 2: 1 Tumor + 1 Mega Tumor
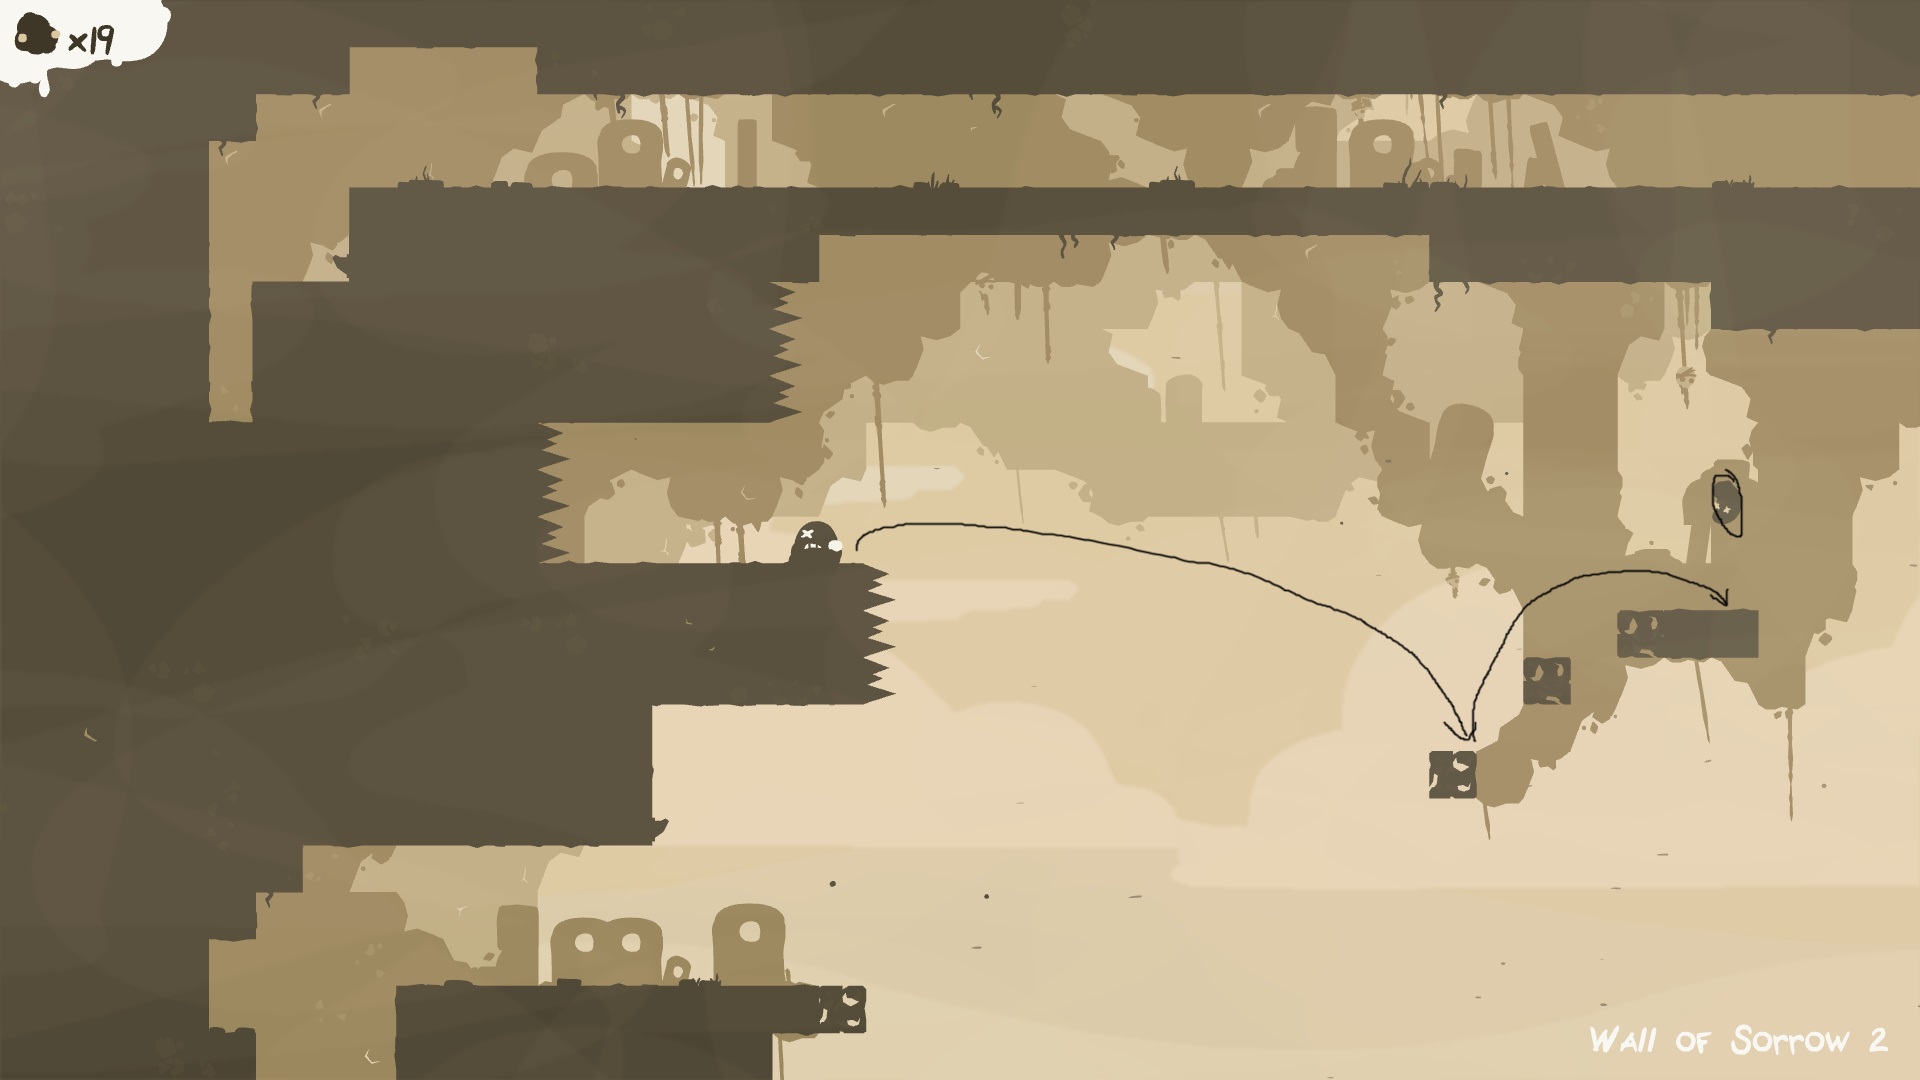
Strategy: Jump from the first spike columns and land on the first breakable block. Jump from the breakable block to the platform. Grab the tumor and use the remaining two blocks to jump to the platform on the bottom left.
Mega Tumor: To access the Mega Tumor, drop between the top spike and the wall when a space appears. Head left and you will enter a room with moving spike. Use these moving pieces to reach the Mega Tumor.
Wall of Sorrow 3: 1 Tumor + 1 Mega Tumor
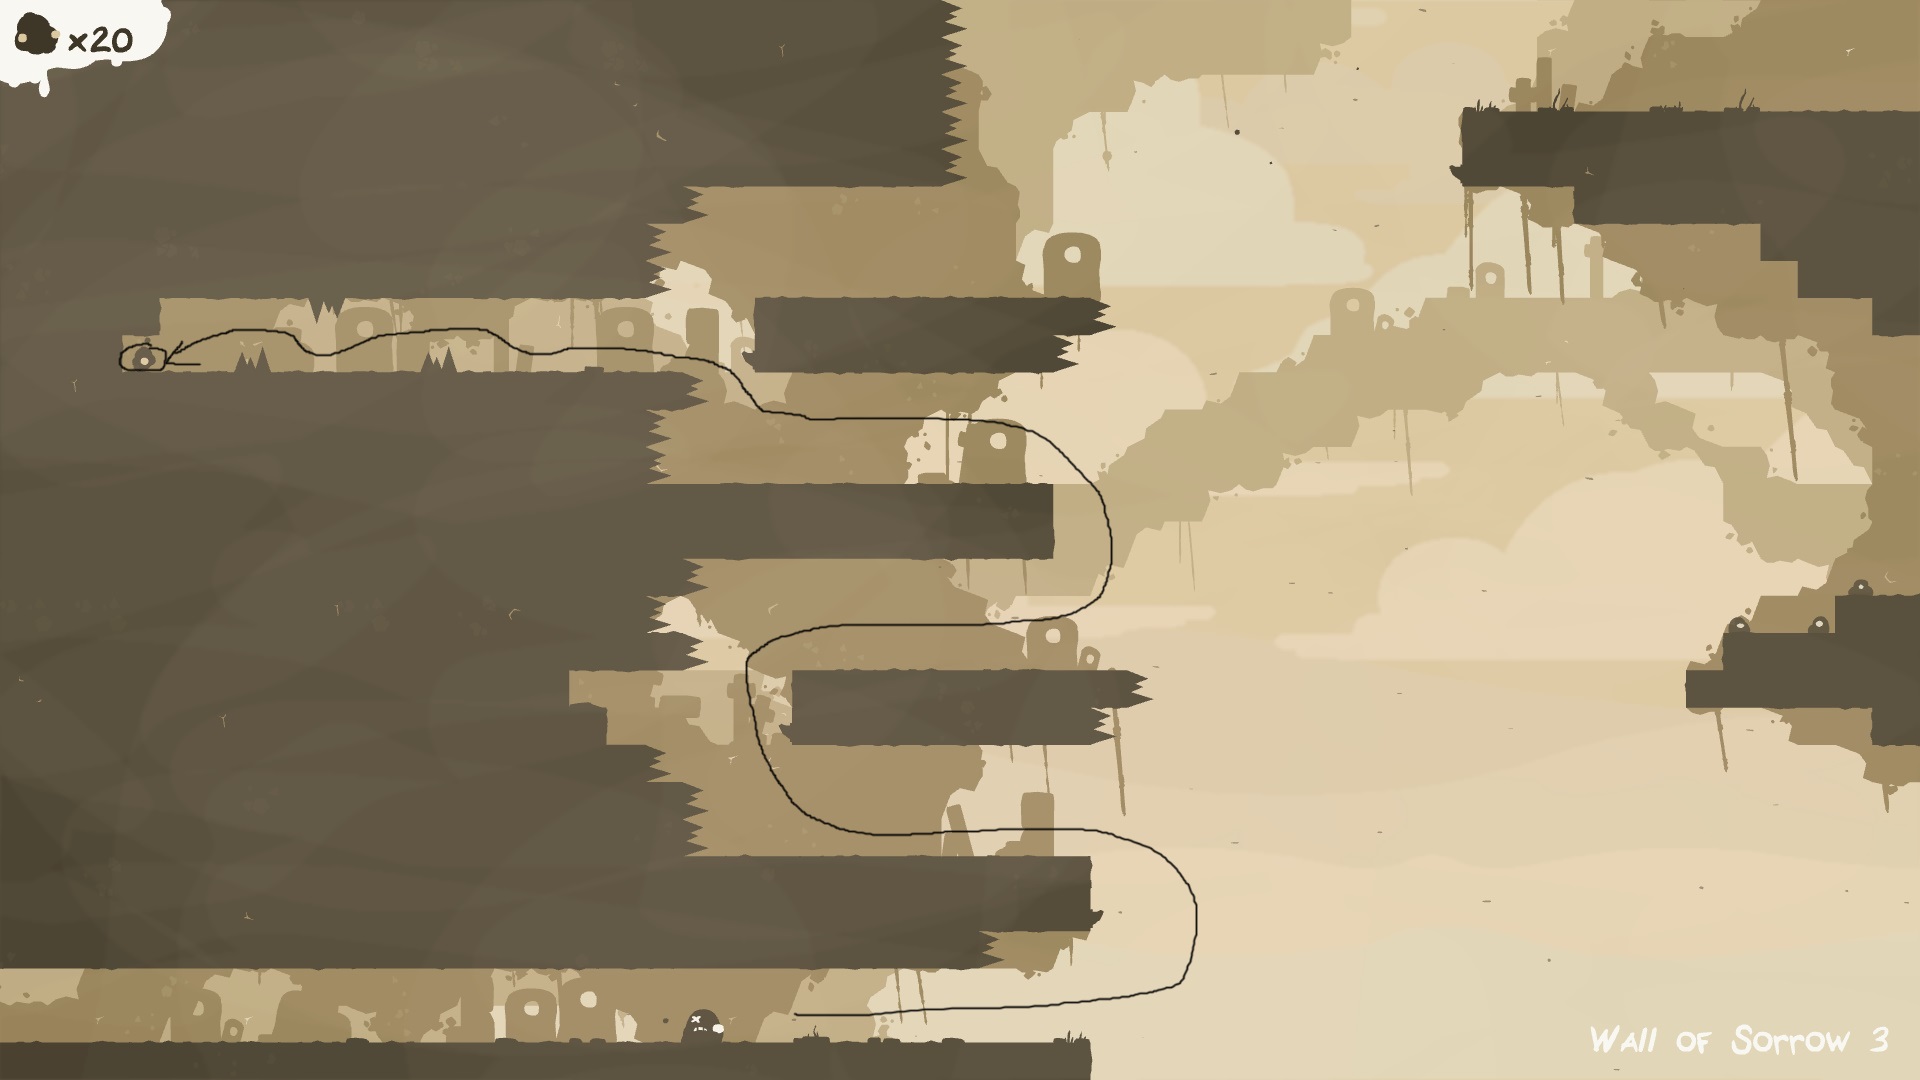
Strategy: This one is all about waiting. Wait for the spikes to clear a path for you to make it up to the tumor.
Mega Tumor: This is the easiest Mega Tumor to collect. Drop down to the area below the exit platform and head right. Jump the gap and grab the Mega Tumor.
Wall of Sorrow 4: 1 Tumor

Strategy: Ride the first cloud down to the bottom of the screen. Wait for the ghost to come by and grab the tumor.
Wall of Sorrow 5: 1 Tumor
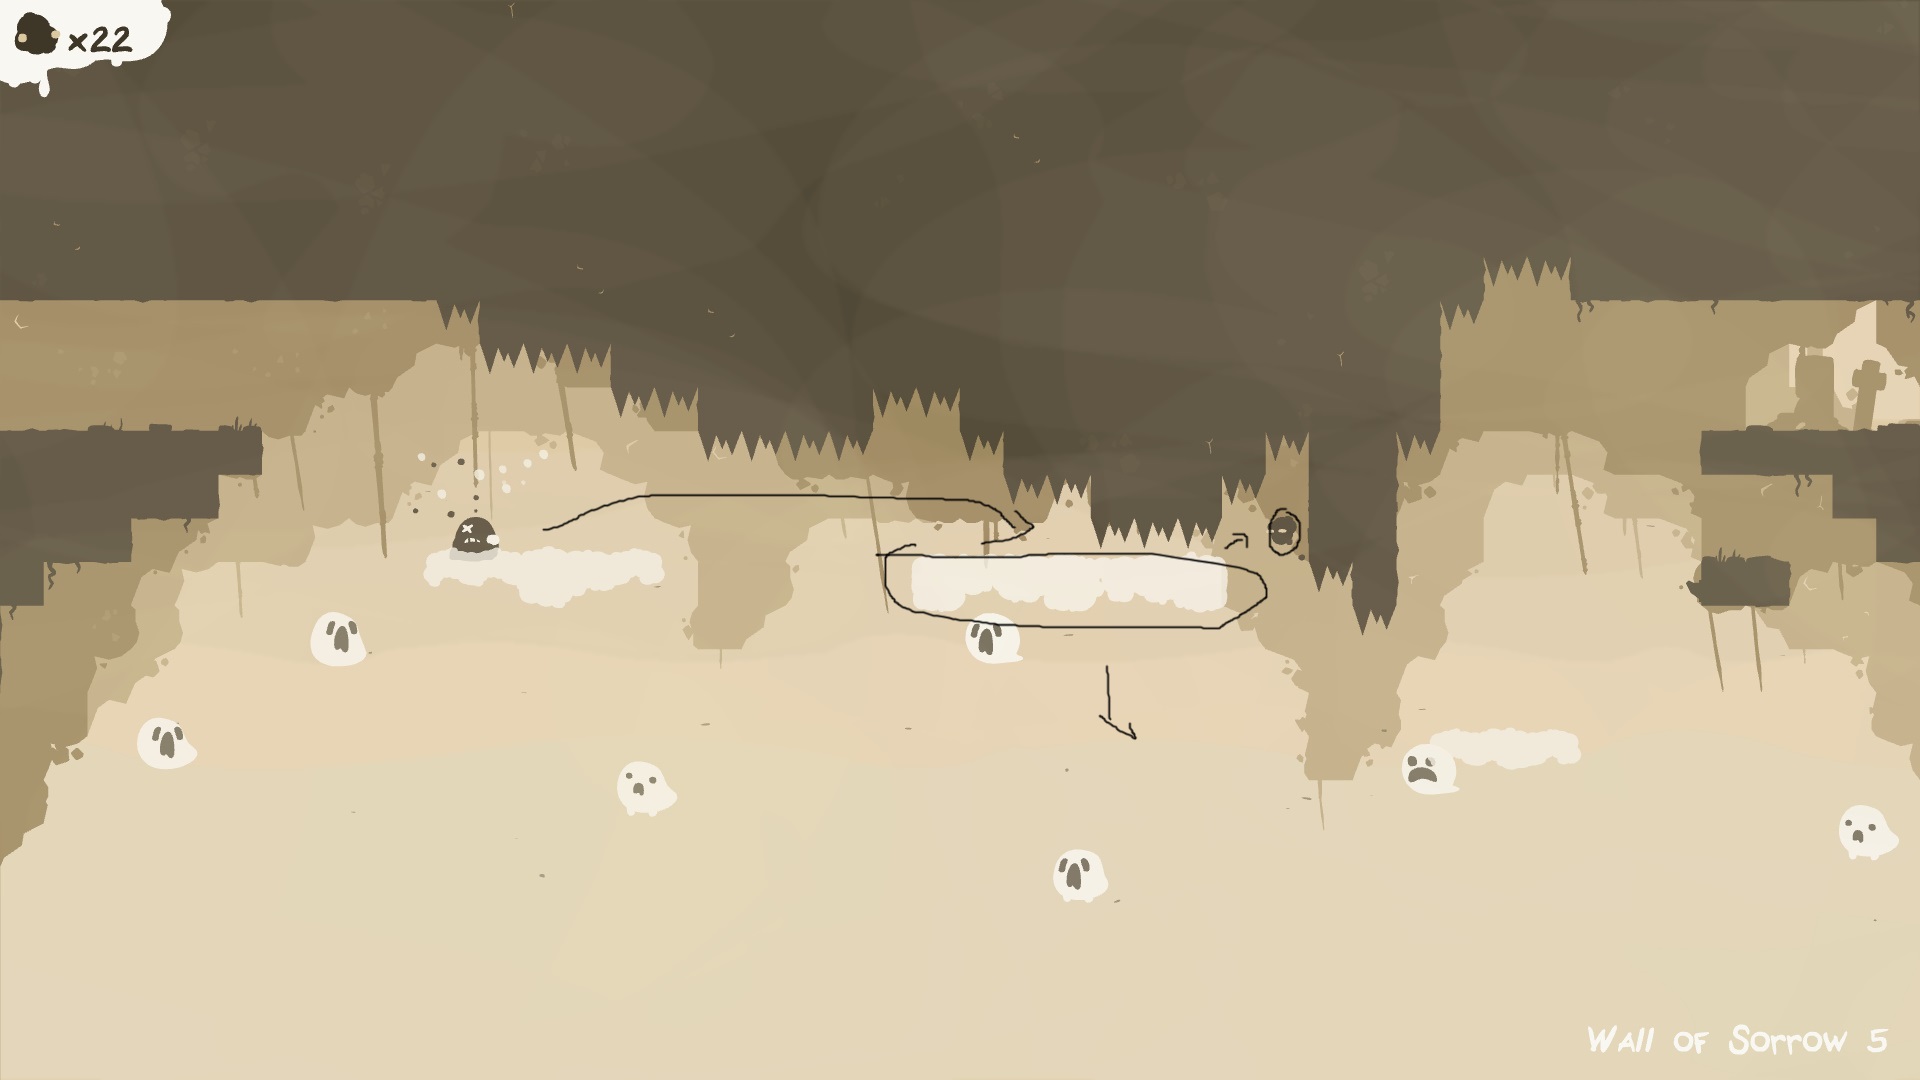
Strategy: Ride the clown down a ways and then jump to collect the tumor.
Wall of Sorrow 6: 1 Tumor
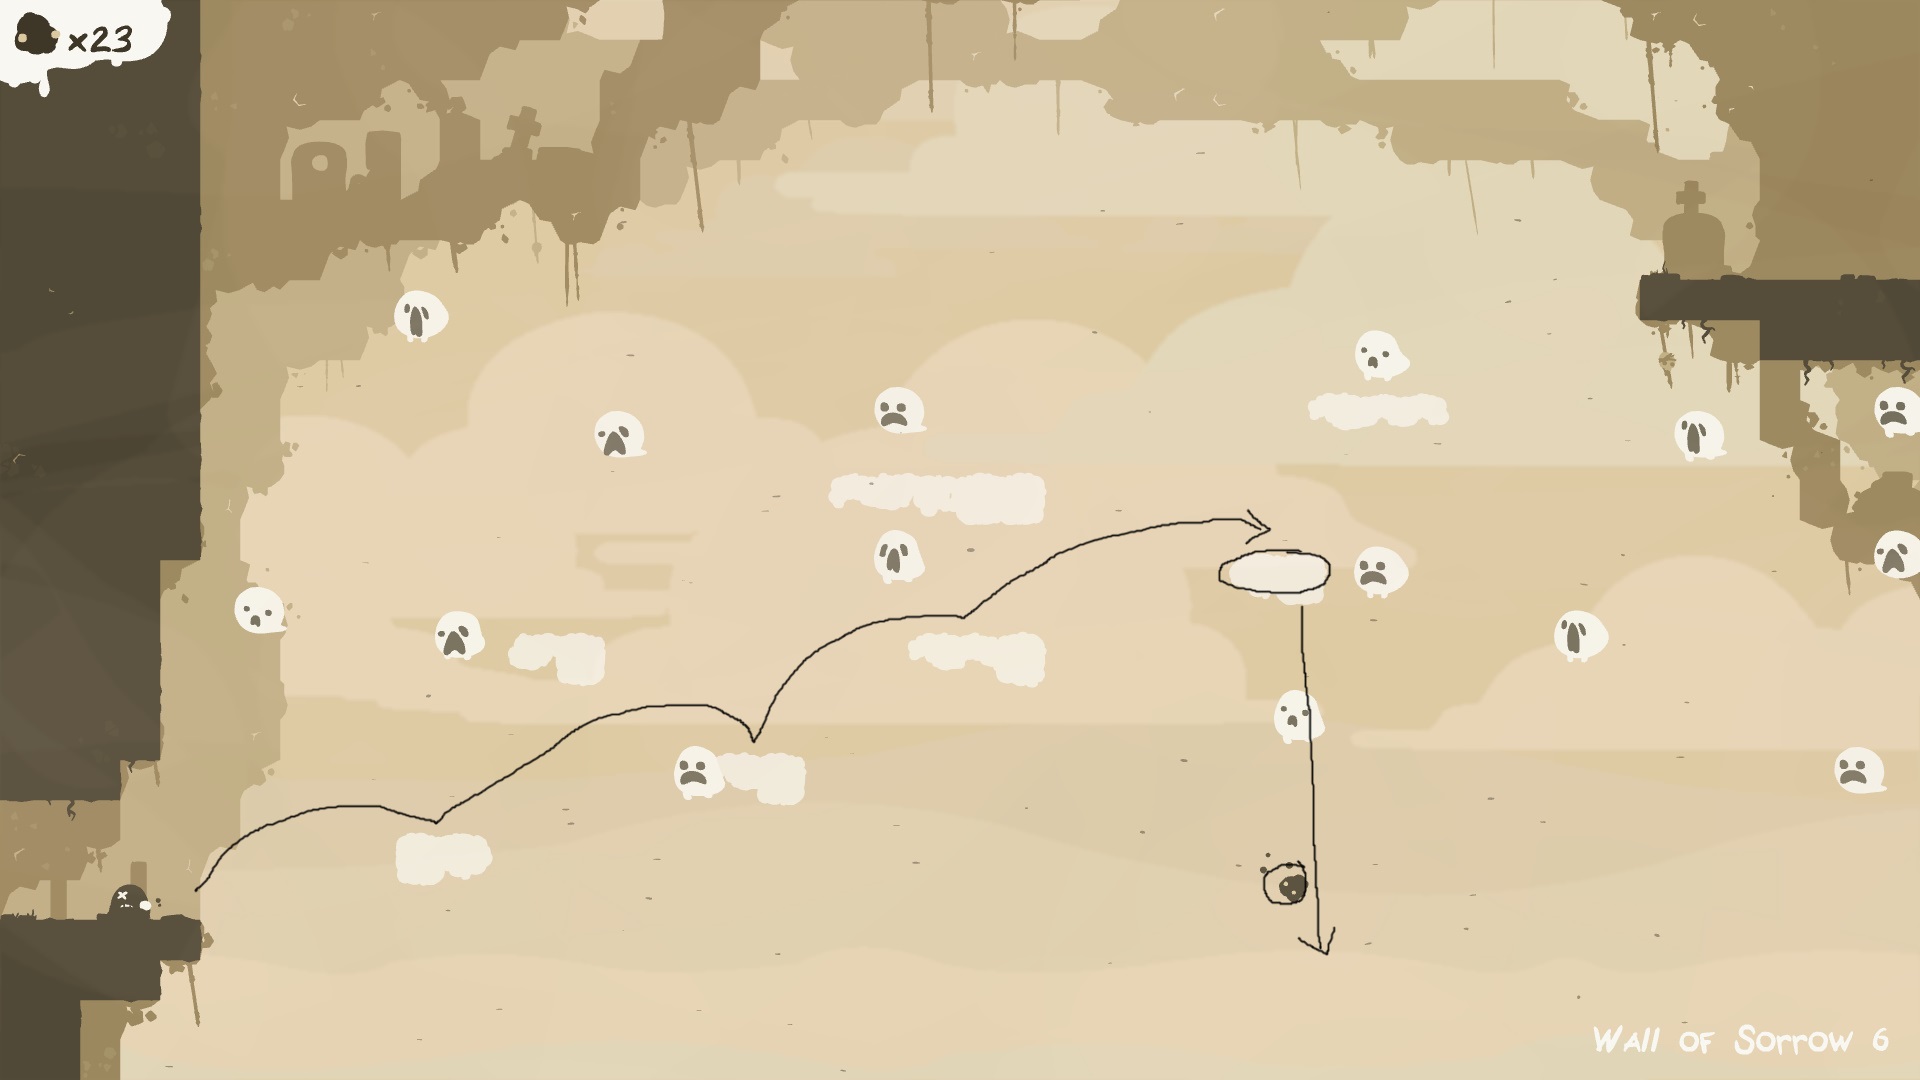
Strategy: Ride the highlighted cloud down to collect this tumor.
Wall of Sorrow 7: 1 Tumor + 1 Mega Tumor

Strategy: Use the cloud to reach the tumor ledge.
Mega Tumor: This Mega Tumor is locked behind a door. You need a key to access it. Once you unlock the door, you will have to face two rooms. The first room requires flipping three switches and the second room requires dropping down to a platform surrounded by spikes.
Wall of Sorrow 8: 1 Tumor
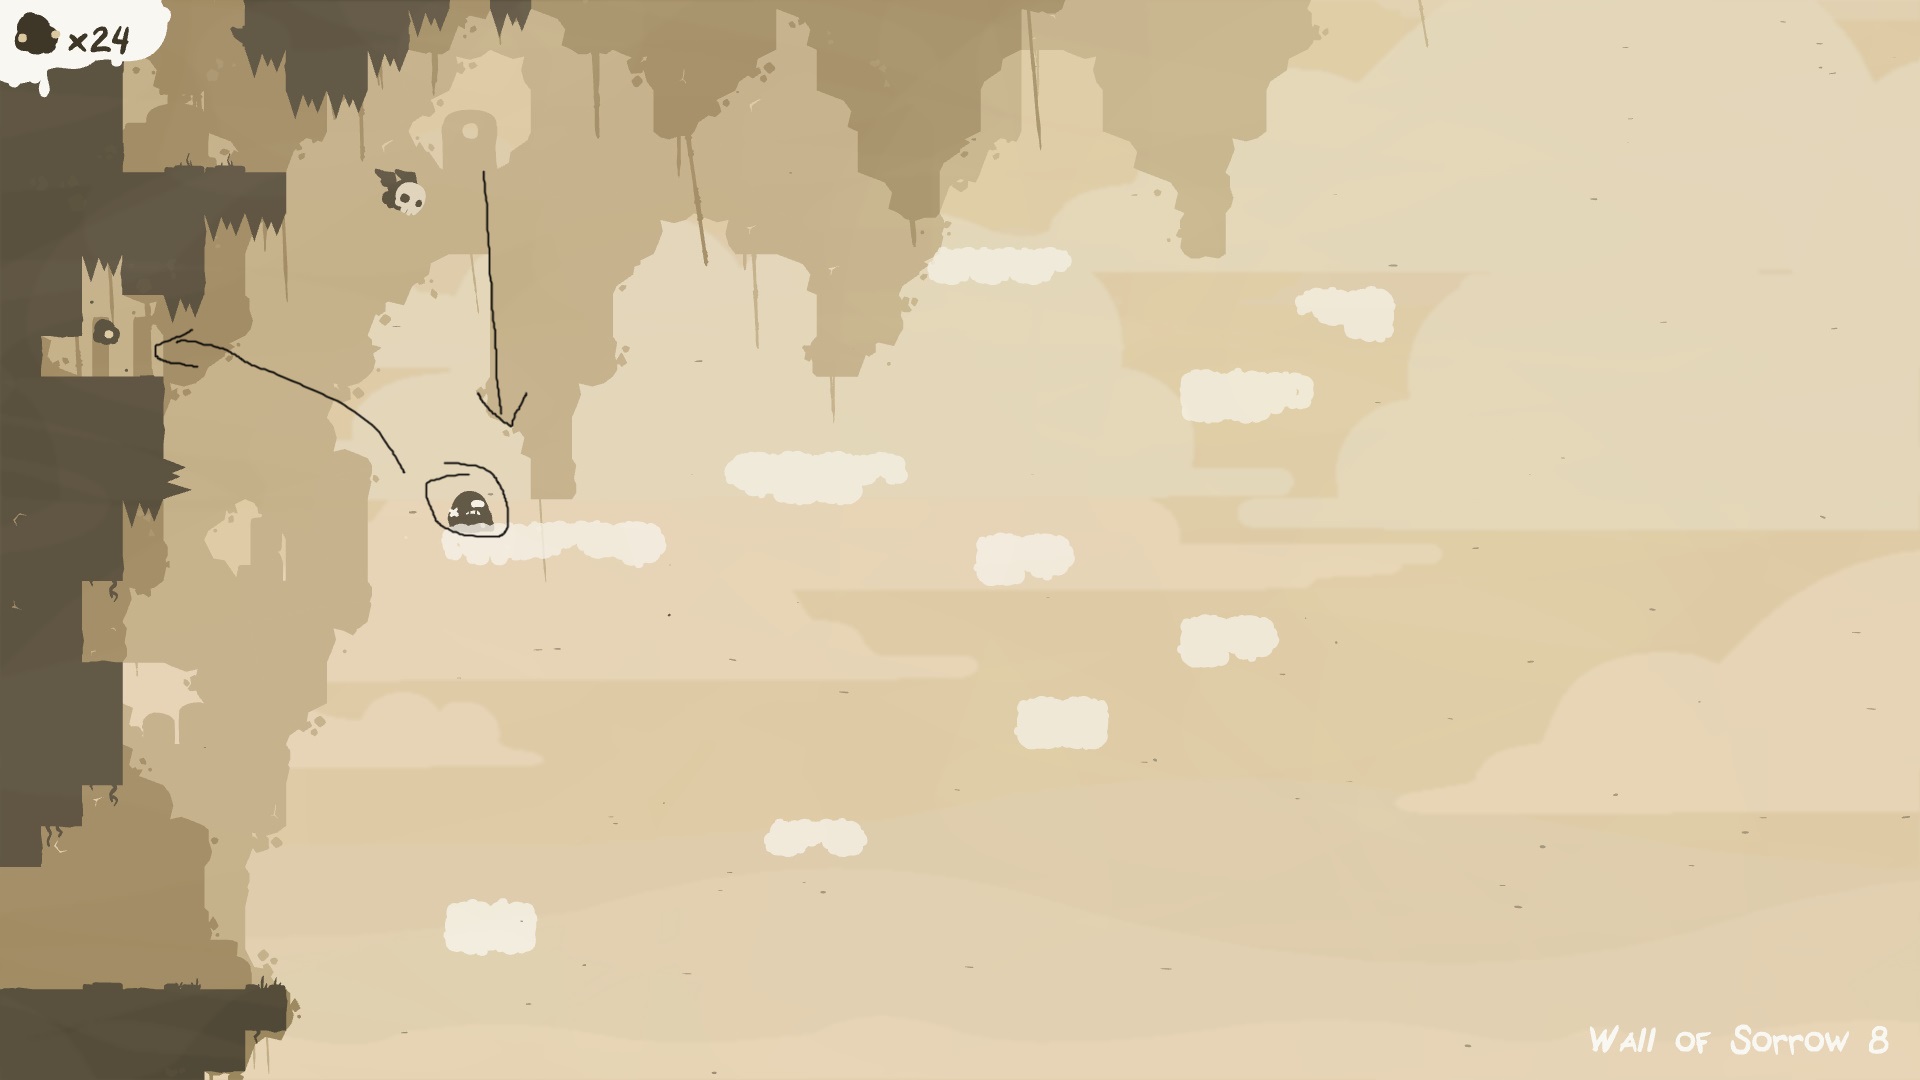
Strategy: Ride the highest cloud down then jump to the area with the tumor.
Wall of Sorrow 9: 1 Tumor + 1 Mega Tumor
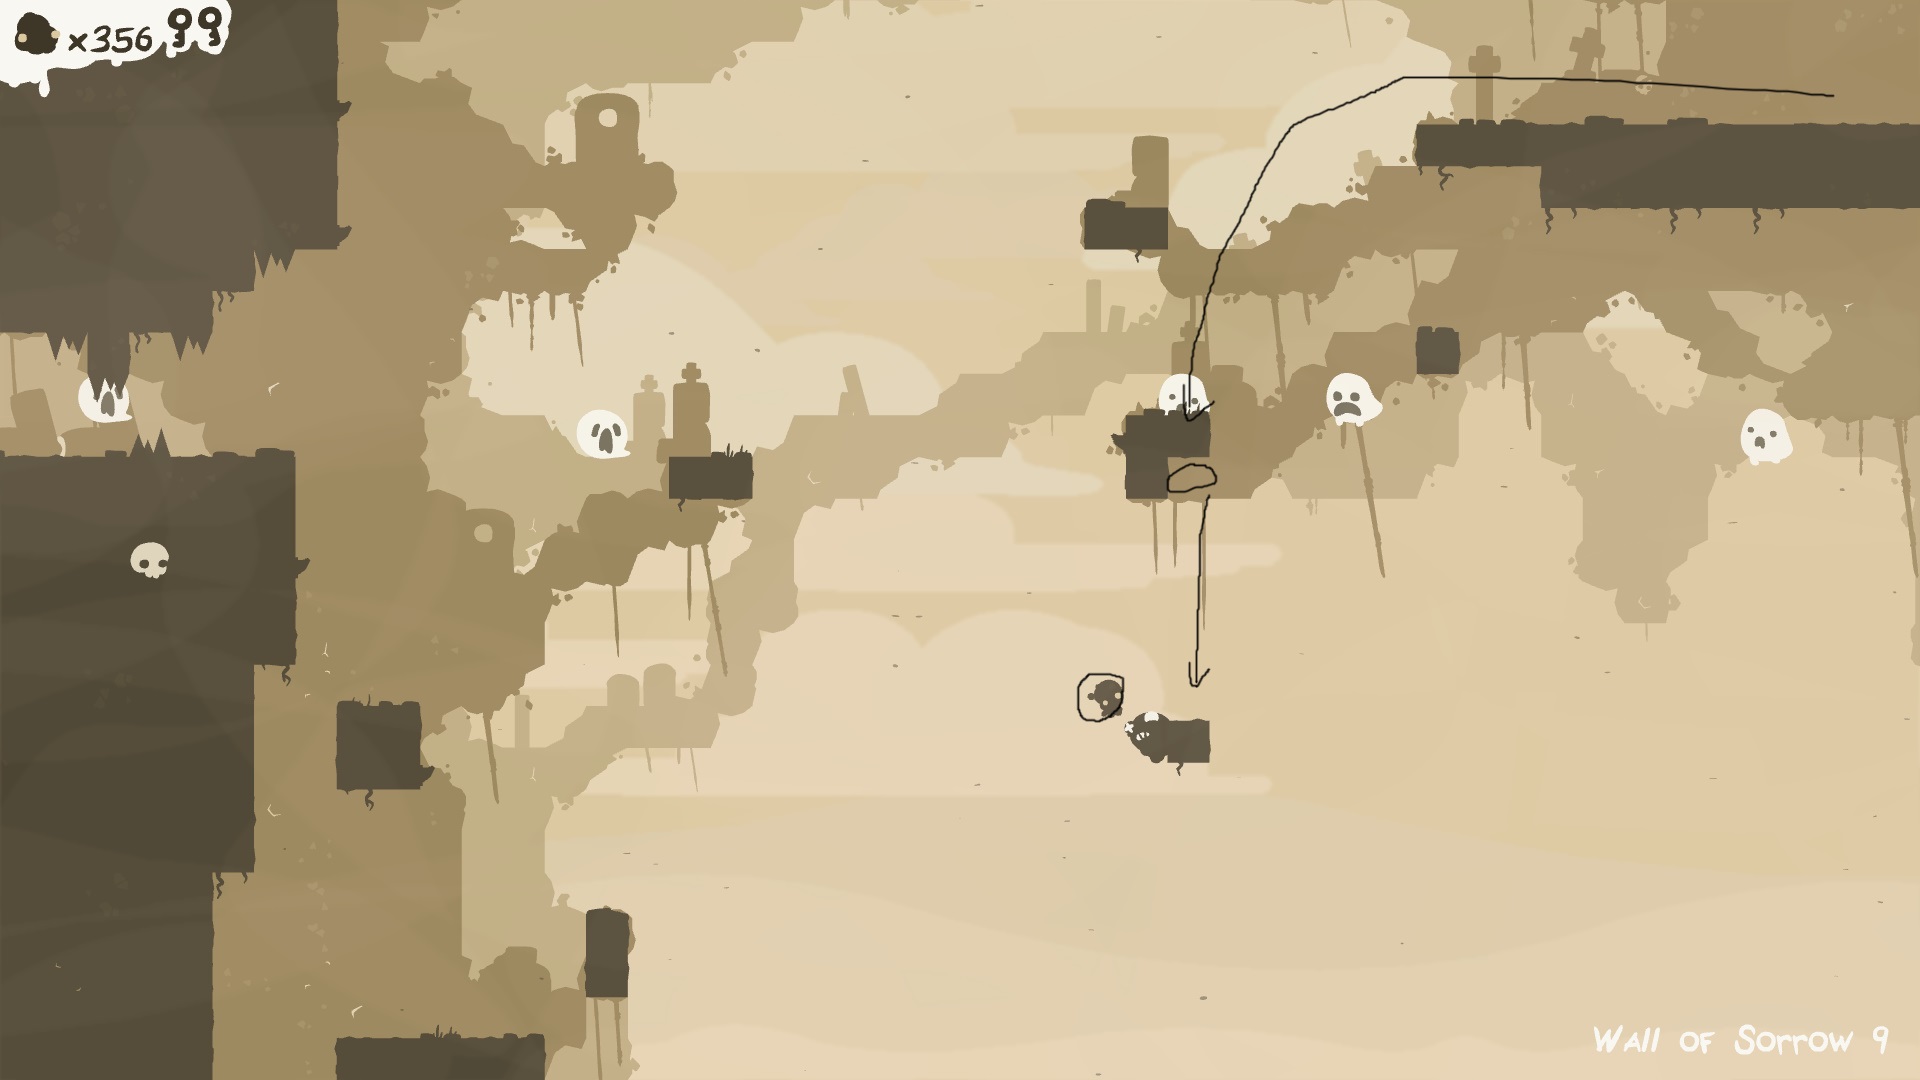
Strategy: Enter Wall of Sorrow backwards and jump down to the lower platform. Wait for the block to fall and wall ledge jump off to collect the tumor.
Mega Tumor: Easily the worst Mega Tumor to collect in the Wall of Sorrow is this one. Use the skull bird to reach the hooks in Wall of Sorrow 9. Head up and you will be in a secret room. Inside this room use the two skull birds to reach the exit. Repeat the process for the next room and you will reach the tumor.
Wall of Sorrow 10: 1 Tumor

Strategy: Use the rising blocks to reach the tumor.
Wall of Sorrow 11: 1 Tumor

Strategy: Ride the platforms up and grab the tumor.
Wall of Sorrow 12: 1 Tumor

Strategy: Use the rising blocks to reach the tumor. You will need to ledge grab the spike block to reach the tumor.
Wall of Sorrow 13: 1 Tumor

Strategy: Ride the first block up and avoid the poison by jumping to the pockets of air and back to the block. Jump from the block to the tumor.
Wall of Sorrow 14: 1 Tumor + 1 Mega Tumor
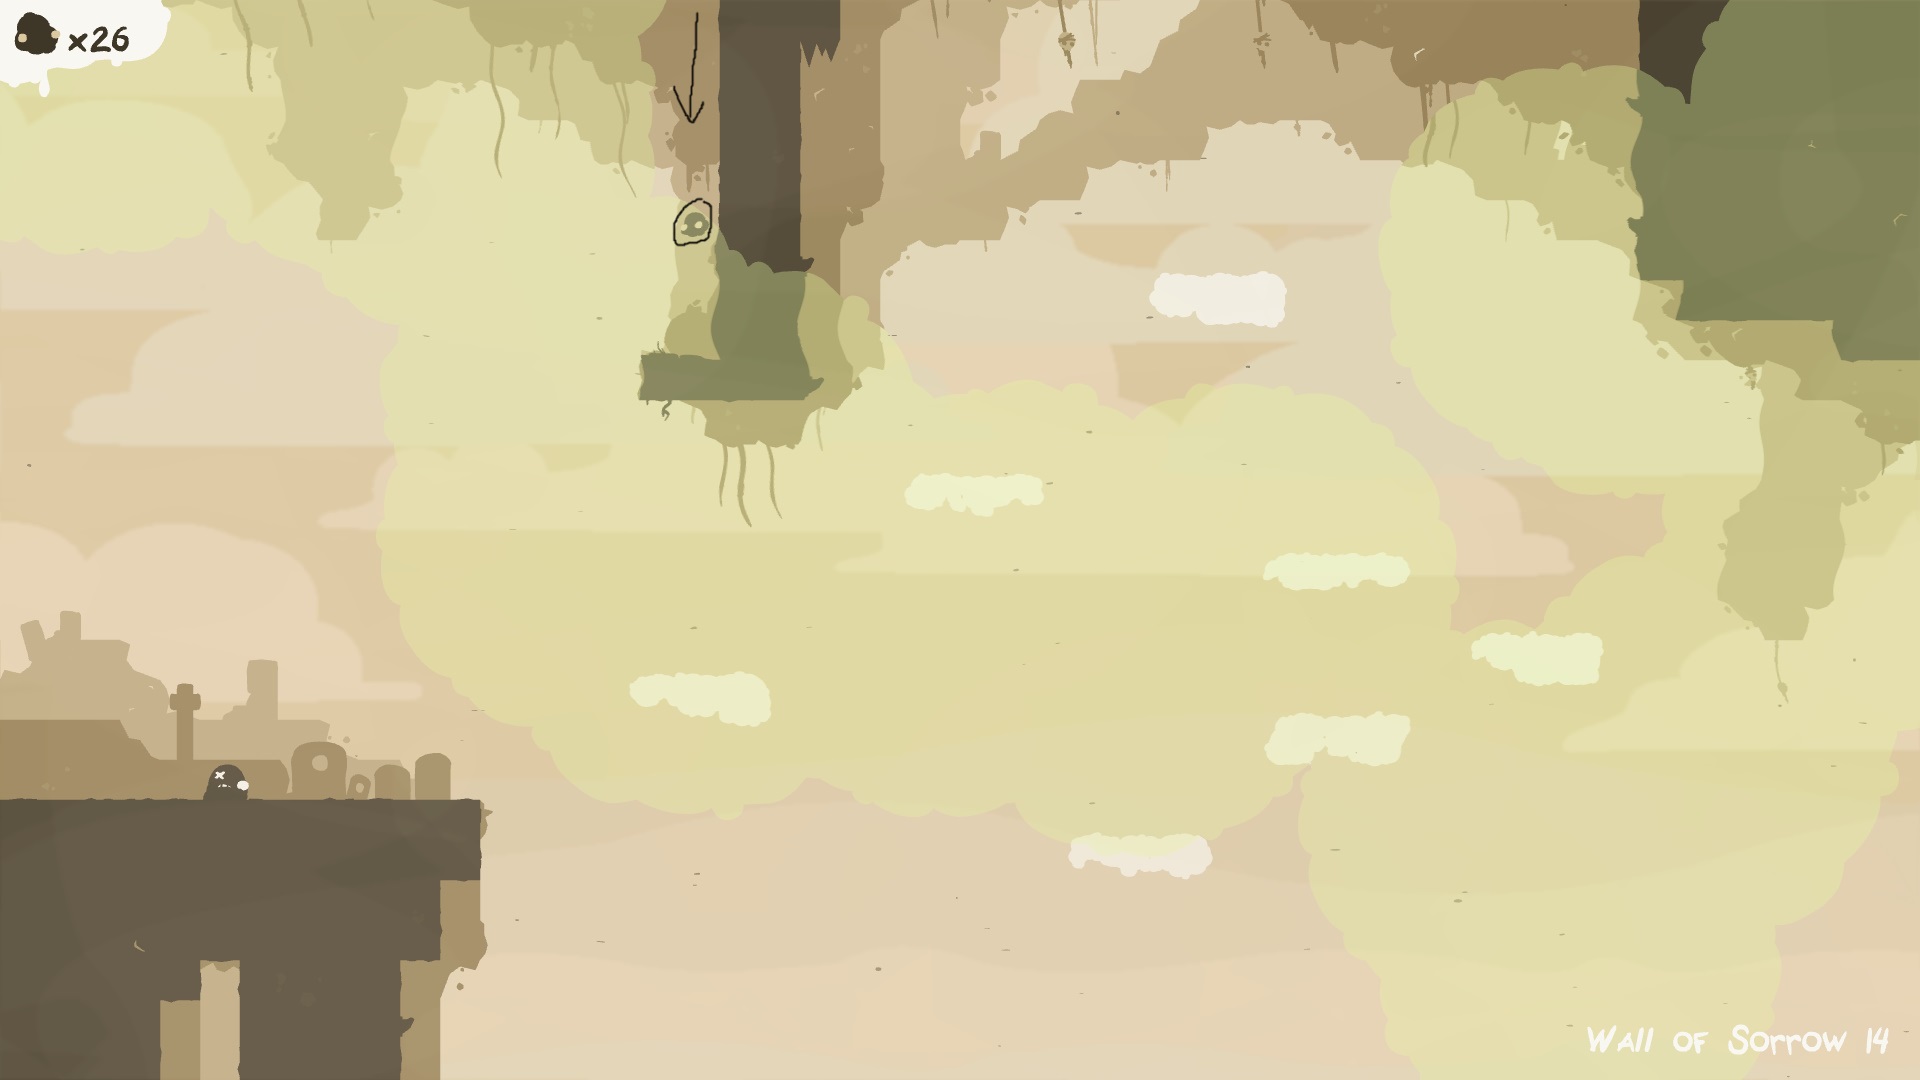

Strategy: You get this tumor by dropping down the hole that is in Wall of Sorrow 15.
Mega Tumor: The location of the Mega Tumor is directly below the starting platform in Wall Sorrow 14. Use the cloud to jump to the hook to reveal a secret room. Head into the room and make your way through the poison to reach the Mega Tumor.
Wall of Sorrow 15: 1 Tumor

Strategy: Pretty simple tumor here. Use the hooks to grab the tumor as the platforms raise.
This The End is Nigh all Tumors and Mega Tumors guide continues on the next page. Any questions or comments? Drop them in The Pit below.
Il you lose all your tumors, it’s Game Over. And you start again the world
What happens if you get out of tumors on the second portion?
Do you mean The Future? Essentially they act as lives, so if I die on Anguish 15 and use up all my tumors, I start the world again at Anguish 1.