The Last of Us 2: The Seraphites Collectibles Guide
Once you’ve played through the Finding Strings mission you will move forward in time so you are back in present day. This will start The Seraphites mission which is a large open-ish area with a number of collectibles for you to find. To help you grab all of these missions collectibles use our The Last of Us Part II The Seraphites Collectibles Guide
The Seraphites Collectibles List (20 Collectibles)
- Artifacts: 7.
- Trading Cards: 6.
- Journal Entries: 3.
- Workbenches: 2.
- Safes: 2.
Randy Styles Trading Card & WLF Target List Locations
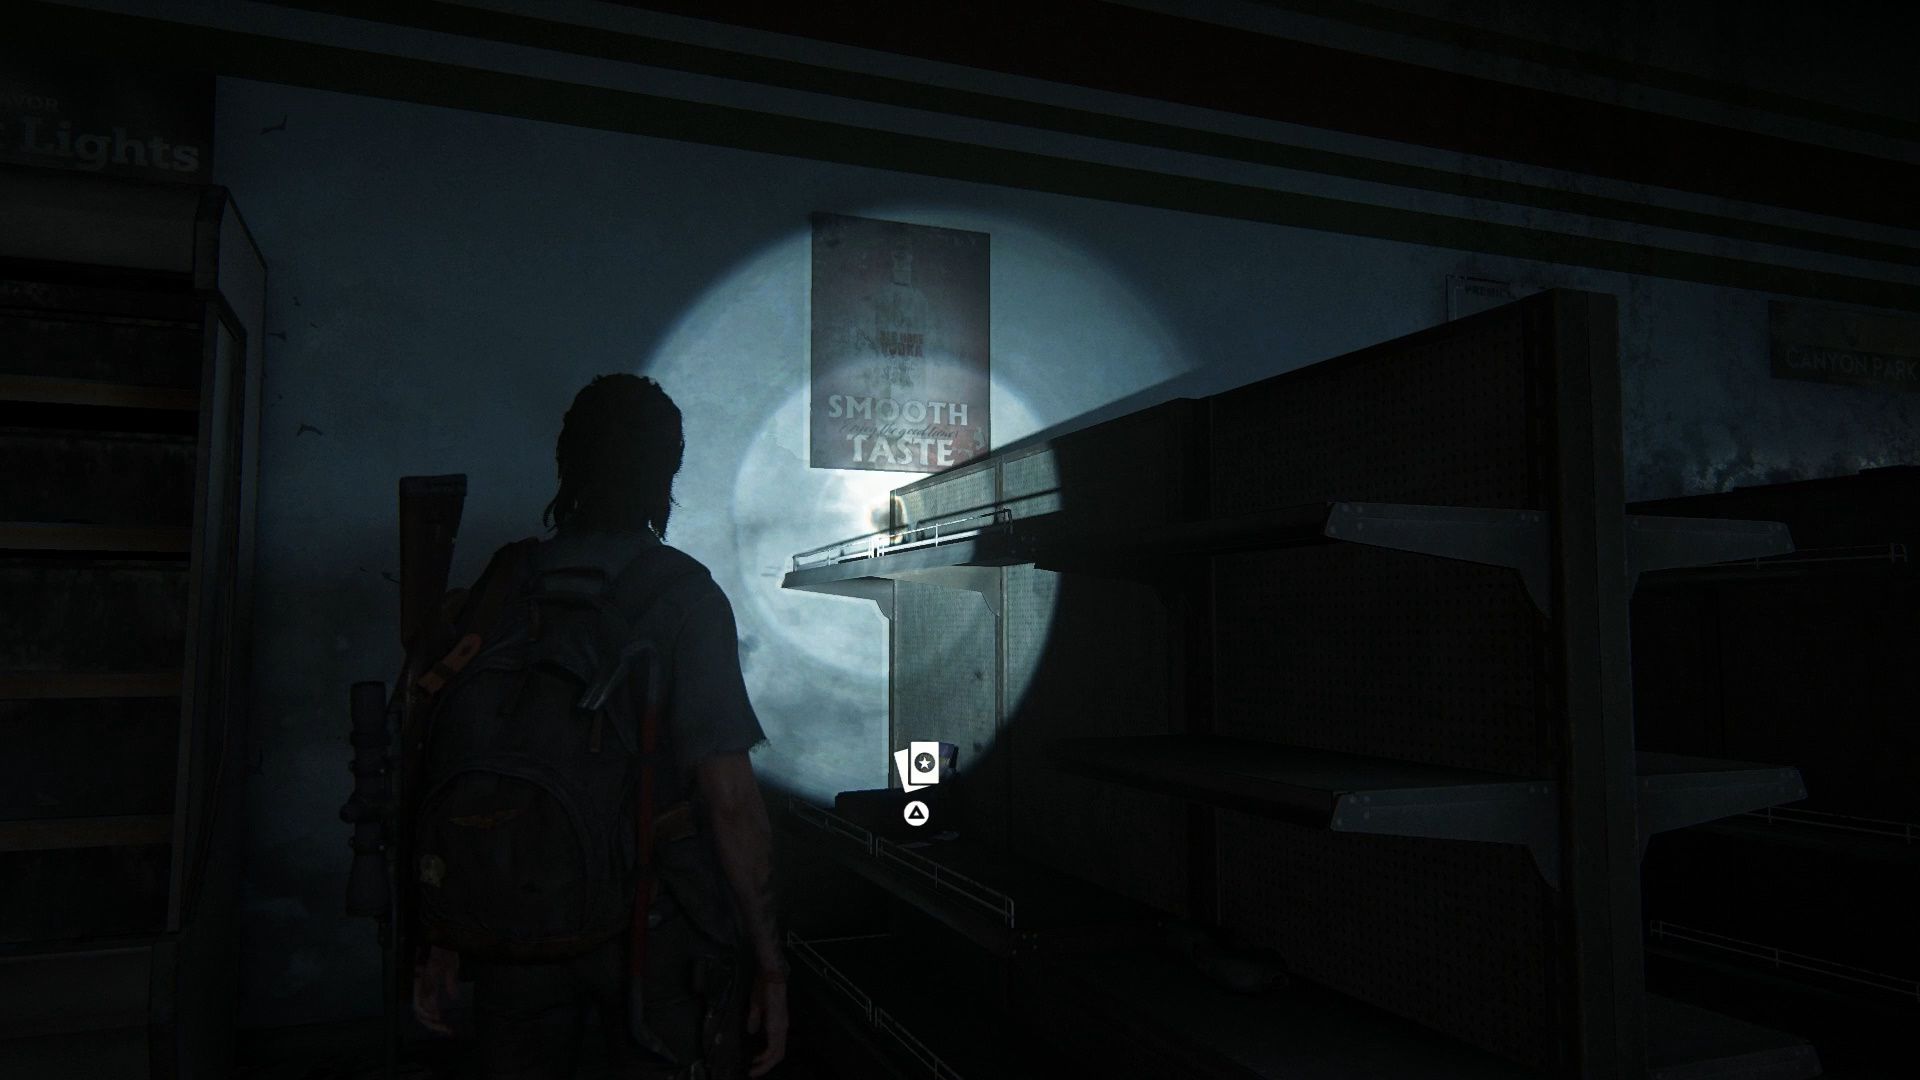
Make through the checkpoint and enter the turnstile. Exit the turnstile and enter the Quickmart. Head inside and look along the right wall for a poster that says “Smooth Taste” on a shelf by this poster is the Randy Styles Trading Card (1/6).
Leave the hospital Quickmart by vaulting out the window. Run across the street to the Kingsgate Brewing Co. store. There are a number of infected inside this building. Defeat them and look for one of them to have dropped the WLF Target List (1/7).
Journal Entry 1, Last Letter to Husband, and Shift Trading Card Locations
Next to the Quickmart is the Conference Center. Inside this building there are three collectibles you can acquire by exploring it. The locations of these collectibles are as follows:
- Journal Entry 1: In the lobby opposite the entrance there is writing on the wall that says Feel Her Love. Interact with the writing to get a journal entry (1/3).
Once you’ve collected this entry turn to the left and head inside the elevator shaft there. Go up the yellow ladder and climb up and over the elevator to reach the second floor. On this floor use the rope to swing over to the other side of the glass awning so you can enter the conference room. To do this break the glass next to the rope and then break the glass on the overhang above the window. Throw the rope over the pipe and use it to swing over.
- Last Letter to Husband: On ground next to blue bins in conference room (2/7).
- Shift Trading Card: On blue leather couch next to duffel bag in conference room (2/6).
Evacuation Letter, The Seraphites Safe 1, and Star Sign Trading Card Locations
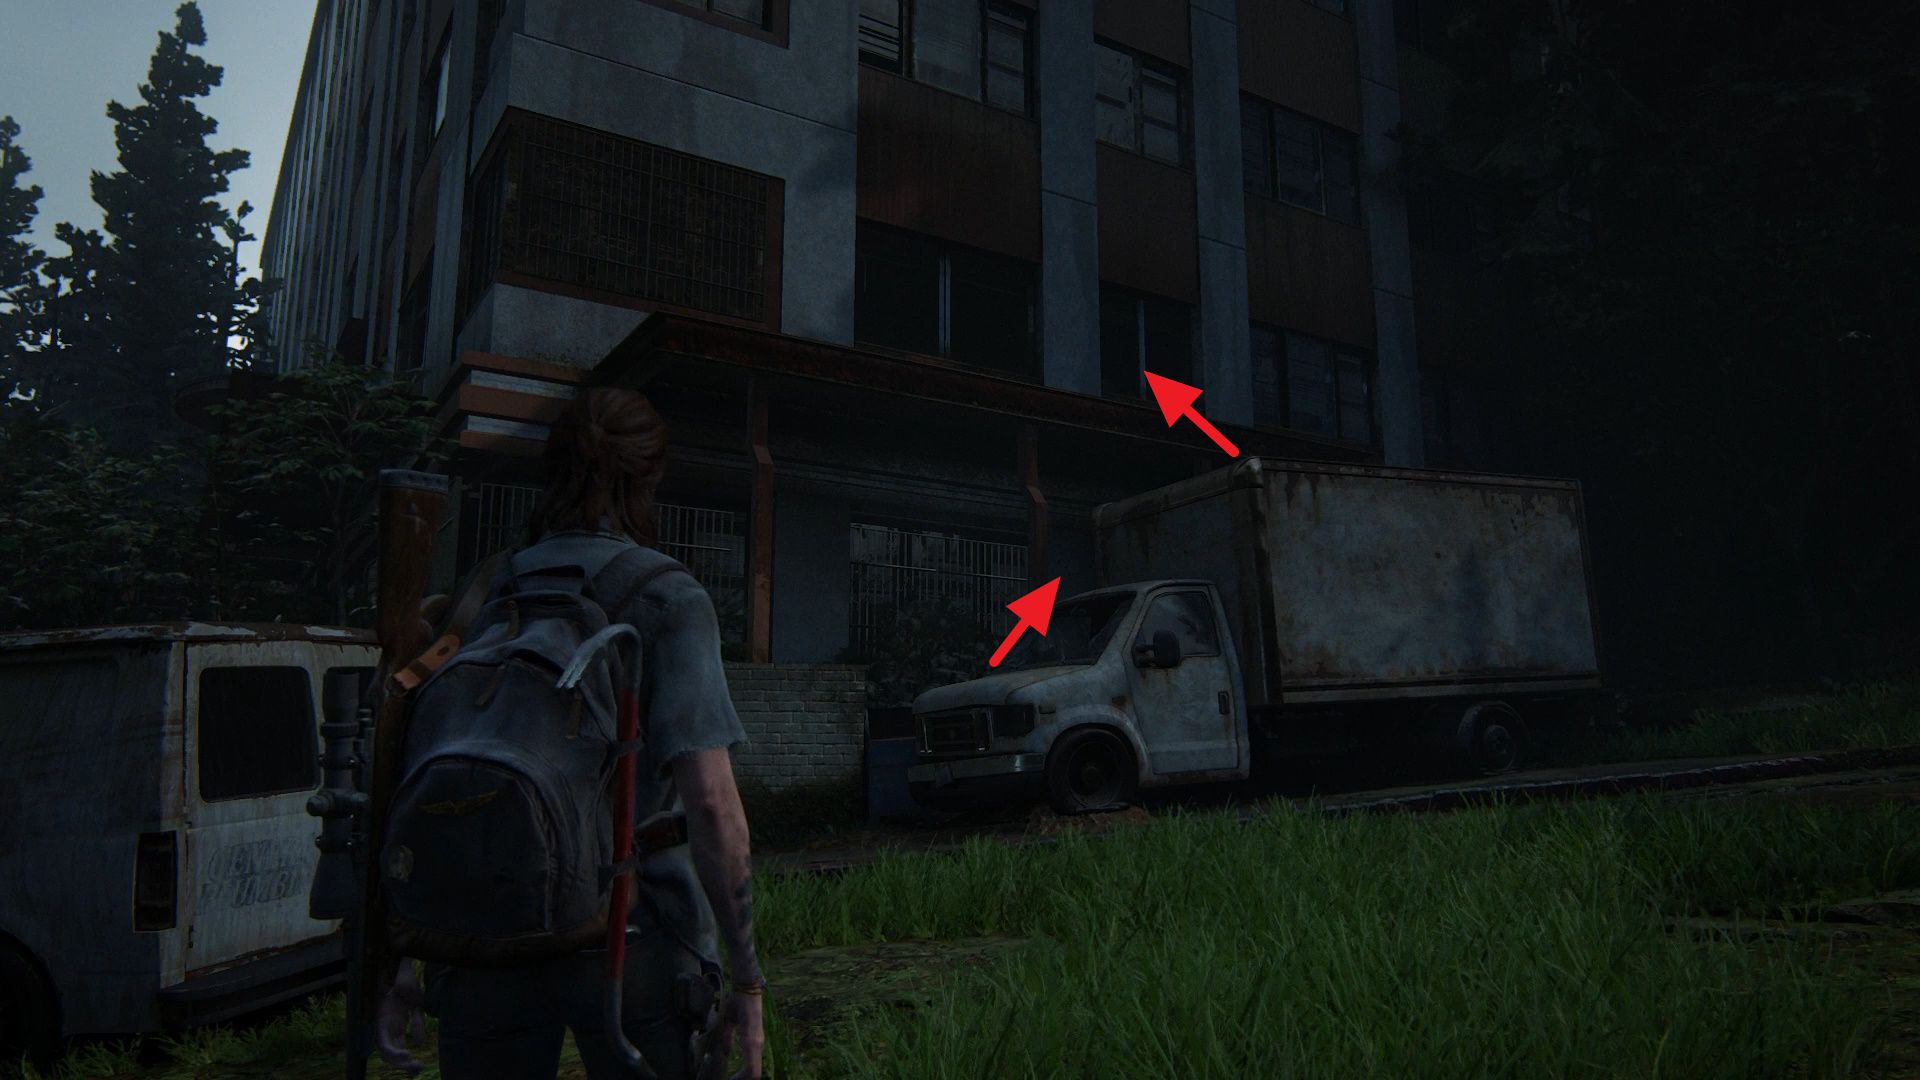
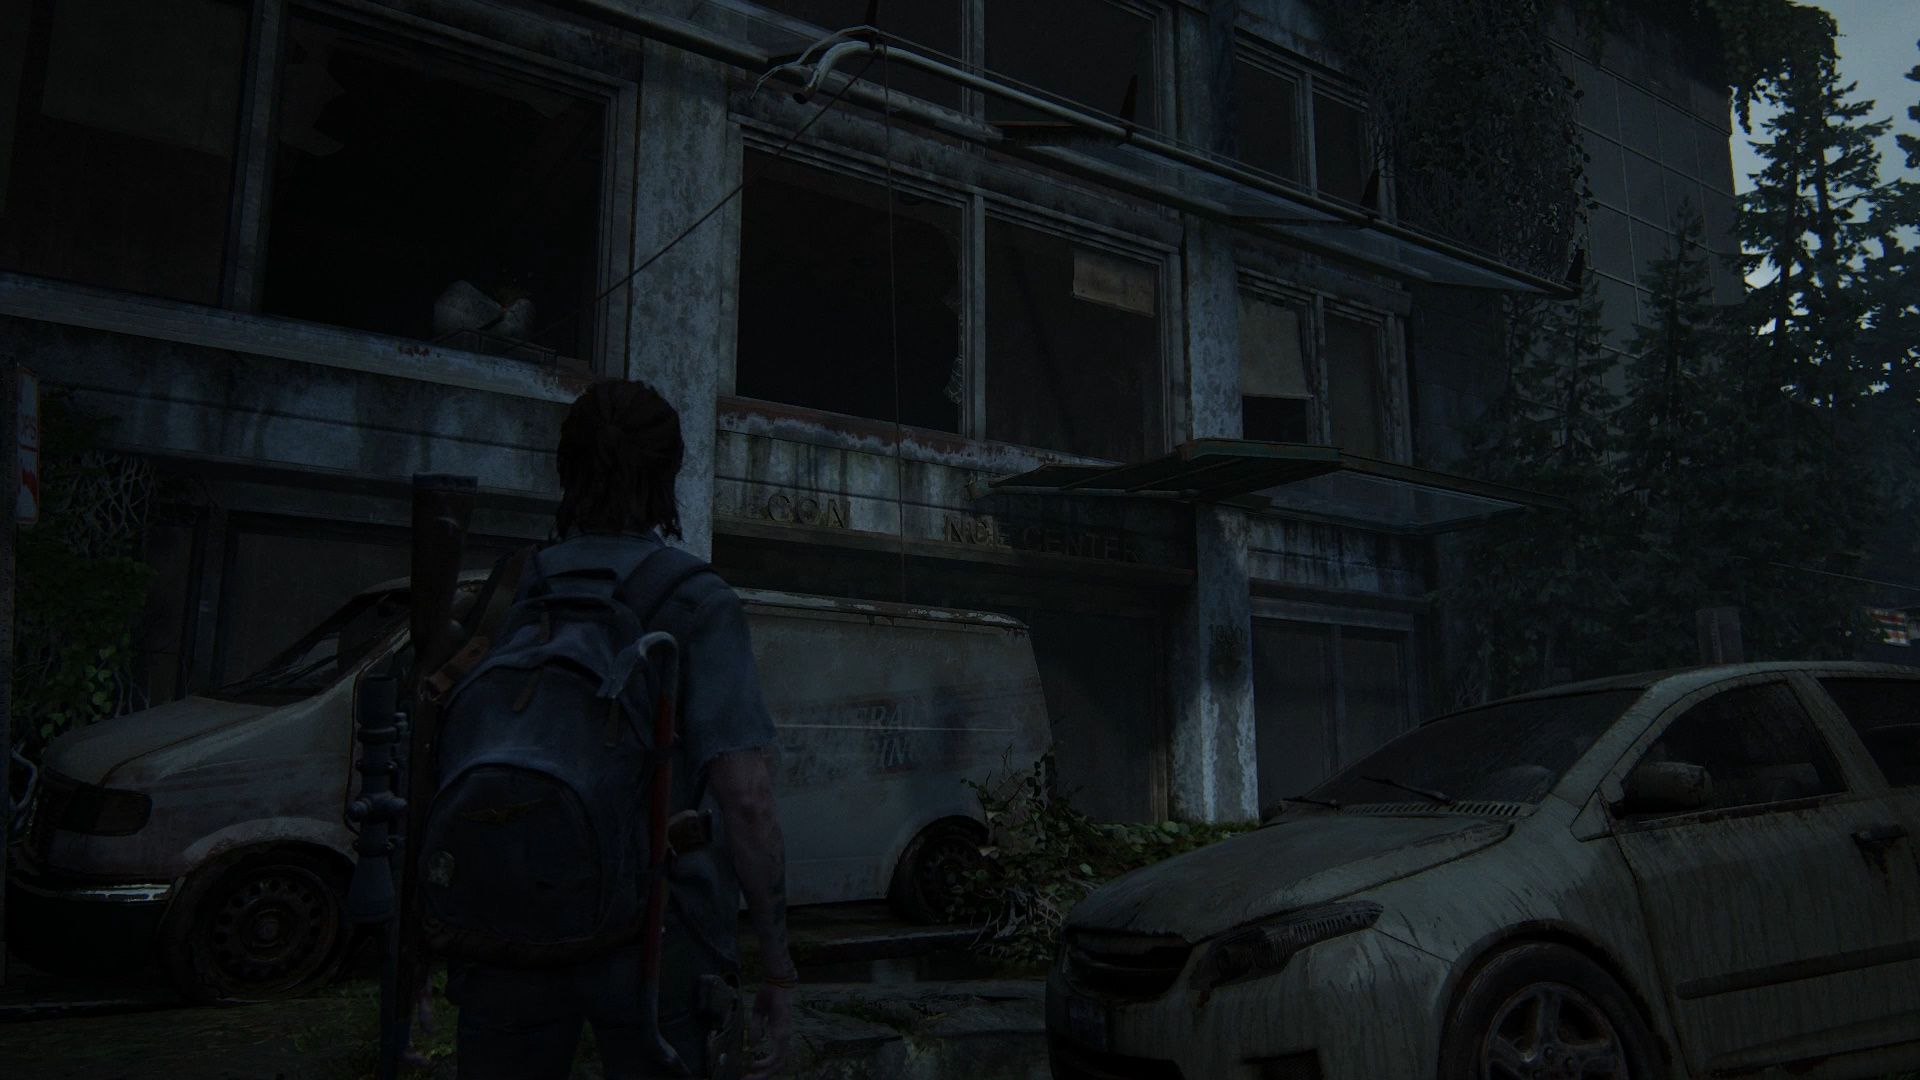
Once you’ve grabbed all of the collectibles listed above head down Route 5 until you reach the end of the street. Here you will see a big building on your left with a red and white design. Climb the white truck outside this building so you can access the second floor window. Grab the Evacuation Letter (3/7) off the table then head into the brown door room to reach the first of The Seraphites safes. This safe can be opened (1/2) with the combination 08 10 83. In the same room as this safe you can grab the Star Sign Trading Card (3/6) from the nightstand.
Workbench and WLF Deserter’s Letter Locations

Leave the apartment via the white door and head across to the next apartment on this floor. Go through this apartment until you reach the Workbench (1/2) next to the kitchen. When you interact with this Workbench you will be attacked by some soldiers. Clear them out.
Head back to the apartment entrance and you will notice a door is open. Go through the door to enter the bedroom. Inside the bedroom there is the WLF Deserter’s Letter (4/7) on the dresser and an Explosives Training Manual on the bed.
Journal Entry #2 and Arch-Enemy Trading Card Locations

Leave the apartment building and head across Route 5 to the building across from the apartment complex. This building has a large metal gate with the notice “DO NOT BLOCK 24 HOUR ACCESS.” Use the red block next to this gate to climb over it. Enter the garage to the right by going in the orange door. Pull the dumpster up the ramp then run over and open the gate using the chain. Hold the gate open so the dumpster rolls out of the garage. Push the dumpster opposite the garage door and use it to climb over the stone wall.
Head up the stairs and climb the stone so you can go higher. When you climb up the stone you will trigger a cutscene where Ellie looks at the hospital. After this cutscene you will get the Journal Entry #2 (2/3).

Walk along the stone exterior of the Seattle Conference Center and break the glass to go inside. Jump from the higher scaffolding to the lower one so you can reach the ground floor. By the scaffolding there is a pair of windows you can break. Break one of them and climb up through it to reach an office. Grab the supplies and open a desk drawer to get the Arch-Enemy Trading Card (4/6).
Journal Entry #3, Doppelganger Trading Card, and Dying Husband’s Plea Locations

Make your way through the mission until you complete the sewer and forest sections you will arrive outside the Garden Suites. Before going inside interact with the corpse by the bus stop to get the Journal Entry #3 (3/3). Once you have this entry head into the hotel.
To find the Doggleganger Trading Card (5/6) go into the Garden Suites and head up the stairs. Take a left and then another left to find it among a bunch of scattered toys next to a table.
Leave the Garden Suites through room 201 window that leads to the fire escape. On the fire escape head up. Break the window into the apartment here and jump through. Loot the items around the corpse to get the Dying Husband’s Plea (5/7).
Bhat M’Andarr Trading Card, Pharmacy Note, The Seraphite Safe 2, Workbench Locations

Complete the sequence that features a number of Seraphite enemies you need to avoid or defeat as you travel closer to the hospital. Once you reach the hospital area you want to enter the store that is Weston’s Pharmacy. Inside this store there are a number of collectibles and a safe to open:
- Bhat M’Andarr Trading Card: As soon as you enter the pharmacy look to the left to find the on a shelf attached to the counter next to an old computer photo setup (6/6).
- Pharmacy Note: Jump behind the counter and grab the note off a shelf there (6/7).
Once you have these two collectibles you will need to head into the pharmacy’s back room. To do this look for a hole in the wall between two shelves. Crawl through this hole to get to the backroom.
- The Seraphite Safe 2: This safe can be opened using the combination 38-55-23 (2/2).
- Workbench: In the backroom you will also find a workbench (2/2).
Supply List Location

The final collectible for this level can be found in the hospital. To find Nora you need to head to the second floor. To do this you will go through an emergency exit (after which you will push some boxes to barricade it). Head up the stairs and take the first door on your right. Grab the Supply List (7/7) off the desk.
Next Level: Road to the Aquarium collectible guide.